Hello fellow garden enthusiasts!
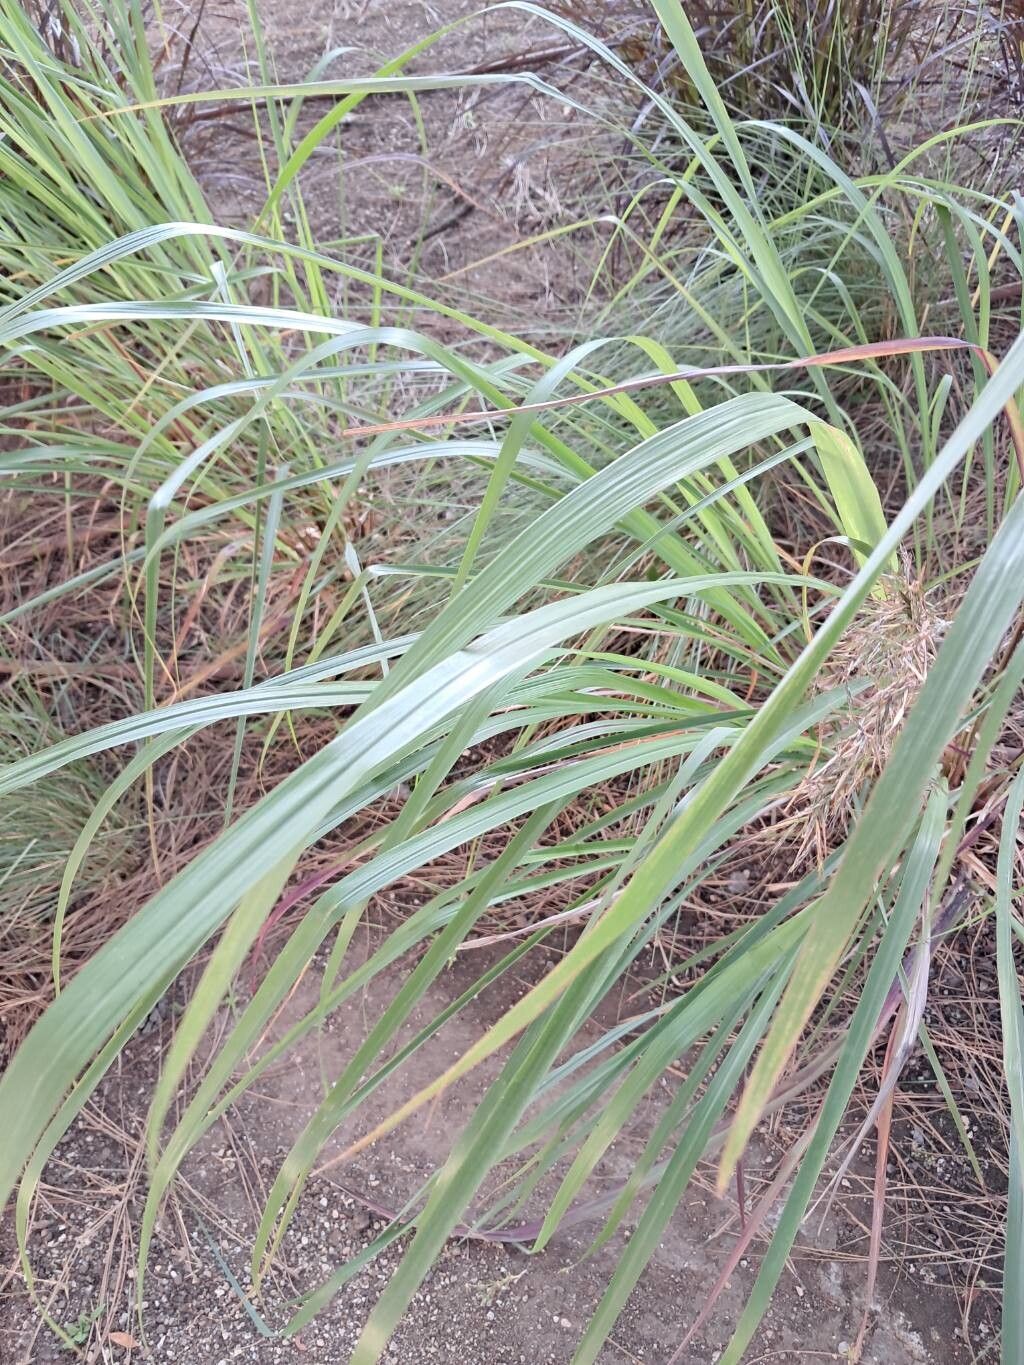
If you’ve ever enjoyed the wonderfully fresh, citrusy aroma of citronella grass wafting through your garden, or perhaps used its fragrant beauty to keep pesky bugs at bay, then you’re already familiar with Cymbopogon nardus. This gorgeous grass isn’t just a pretty face; it’s a powerhouse of fragrance and utility. And the best part? It’s surprisingly forgiving to propagate. For beginners, I’d say this is a cheerful entry point into the world of plant multiplication. Watching it sprout and grow from a tiny piece is one of gardening’s quiet triumphs.
The Best Time to Start
For the most success with Cymbopogon nardus, I always aim to propagate in late spring or early summer. This is when the plant is actively growing and has plenty of energy to put into developing roots. Think of it like giving your new baby plants the very best start with warm weather and long days ahead.
Supplies You’ll Need
Here’s what I usually gather before I get my hands dirty:
- Healthy, mature citronella grass clumps: Look for vigorous growth.
- Sharp pruning shears or a clean knife: You want a precise cut.
- Well-draining potting mix: A 50/50 blend of potting soil and perlite or coarse sand works wonders.
- Rooting hormone (optional but recommended): This gives your cuttings an extra boost.
- Small pots or containers: With drainage holes, of course!
- Watering can or spray bottle: For gentle hydration.
- A clear plastic bag or humidity dome: To create a mini greenhouse effect.
Propagation Methods
There are a couple of ways to get new citronella plants going, but my favorite is division.
Division Method:
- Excavate with Care: Gently dig up your mature citronella grass clump. You can do this in spring or early summer. Try to disturb the roots as little as possible.
- Clean Off Excess Soil: Gently shake off some of the soil so you can clearly see the rhizomes (the underground stems) and the points where new shoots are emerging.
- Find Natural Breaks: Look for where the plant naturally wants to divide. You should be able to see distinct sections with their own shoots and root systems.
- Divide Gently: Using your hands or a clean knife/spade, carefully separate the clump into smaller sections. Each section should have at least one or two shoots and a good amount of healthy roots. If you’re having trouble, a sharp, clean knife can help you make the cut.
- Plant Your Divisions: Pot each division into its own container filled with your well-draining potting mix. Just plant them at the same depth they were growing before.
- Water and Settle: Water them in gently to help the soil settle around the roots.
While less common, you can try stem cuttings too, but division is generally more reliable for citronella. If you go the cutting route, take pieces of the leafy shoots, dip the cut end in rooting hormone, and stick them into moist soil, keeping them humid.
The “Secret Sauce” (Pro Tips)
Here are a few things I’ve learned over the years that make a real difference:
- Don’t Overcrowd: When you’re dividing, resist the urge to make your divisions too small. Smaller divisions have a harder time establishing themselves. Bigger is often better when starting out.
- Embrace the Humidity: Citronella loves a humid environment, especially in its early days. After potting your divisions, I like to cover the pots loosely with a clear plastic bag or a humidity dome. This traps moisture and helps the plant stay hydrated while it develops roots. Just make sure to air it out daily for a few minutes to prevent fungal issues.
- Patience is Key: Never feel discouraged if you don’t see immediate growth. New roots are forming underground, often before new shoots appear. Give it time!
Aftercare & Troubleshooting
Once your divisions are potted, keep them in a bright spot, but out of direct, scorching sun for the first week or two. Water them whenever the top inch of soil feels dry. Don’t waterlog them; soggy soil is the quickest way to invite root rot.
If you notice your new plants looking wilted and sad, it could be a sign they haven’t established roots yet or are getting too little water. If you see yellowing leaves or a mushy base, that’s usually a sign of overwatering and the beginnings of rot. In this case, gently unpot the division, trim away any rotted parts with a clean knife, and repot into fresh, dry potting mix.
A Encouraging Closing
Propagating Cymbopogon nardus is a wonderfully rewarding experience. It’s a chance to multiply the beauty and fragrance in your garden for free! Be patient with your new plants, give them what they need, and enjoy the journey. Soon you’ll have even more of this fantastic grass to share or enjoy yourself. Happy gardening!
Resource:
https://identify.plantnet.org/k-world-flora/species/Cymbopogon%20nardus%20(L.)%20Rendle/data