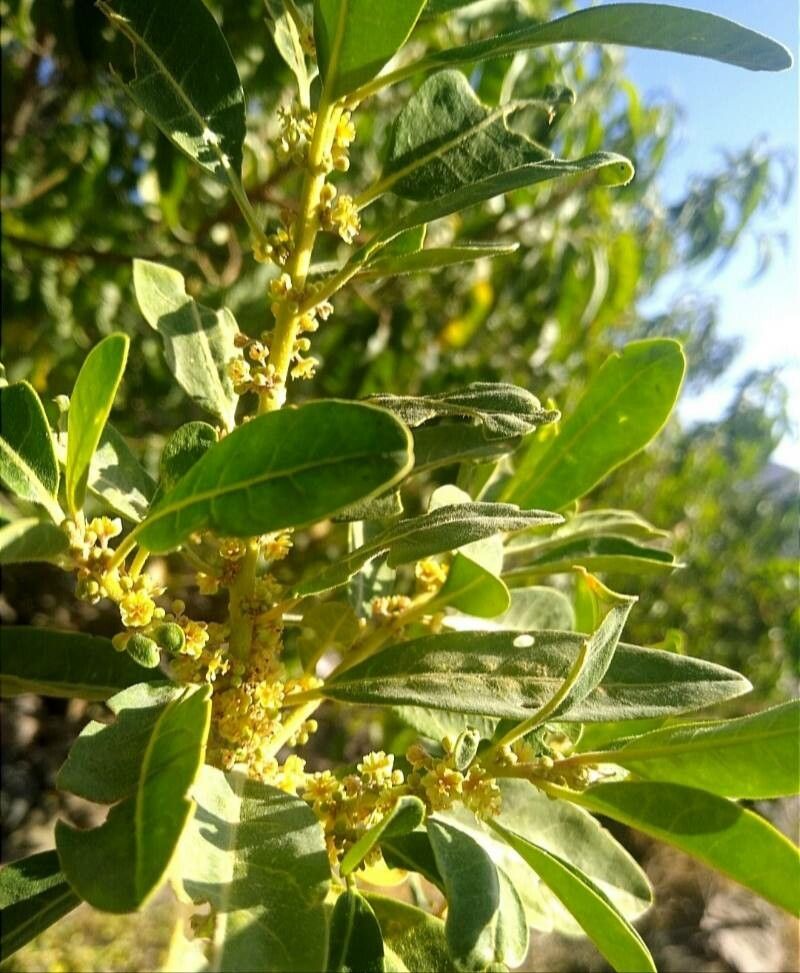
Oh, Clutia lanceolata! If you’ve ever had the pleasure of seeing this lovely South African native grace a garden, you’ll know why it’s such a special plant. With its delicate, almost airy foliage and often charming little flowers, it brings a whisper of the wild into our landscapes. And the best part? It’s wonderfully rewarding to share its beauty by growing more plants from cuttings. It’s a project that’s surprisingly accessible, even for those just starting their gardening journey. I’ve always found a great sense of satisfaction in coaxing new life from a simple stem.
The Best Time to Start
When it comes to Clutia lanceolata, the sweet spot for propagation by cuttings is usually in late spring or early summer. This is when the plant is actively growing, so the stems have plenty of energy to put into developing roots. You’re looking for new growth that’s already somewhat firm, not the floppy, brand-new, bright green shoots, but also not woody, old stems. Think of it as “semi-hardwood” – that’s your golden ticket for the best success.
Supplies You’ll Need
Gathering your supplies beforehand makes the whole process much smoother. Here’s what I usually have on hand:
- Clean, sharp pruning shears or a sharp knife. Hygiene is key, so make sure they’re spotless.
- A well-draining potting mix. I often use a blend of perlite, coarse sand, and peat moss, or a good quality seedling mix.
- Rooting hormone (optional, but it can give you a real boost!).
- A small pot or propagation tray with drainage holes.
- A clear plastic bag or a propagator lid.
- A spray bottle filled with water.
- A label marker to note what you’ve planted and when.
Propagation Methods
For Clutia lanceolata, stem cuttings are my absolute go-to method. It’s straightforward and yields fantastic results.
- Take Your Cuttings: Select a healthy stem from your mature plant. Using your clean shears, cut a piece about 4-6 inches long. Make your cut just below a leaf node (where the leaves attach to the stem).
- Prepare the Cuttings: Gently remove the lower leaves from the cutting, leaving just a few at the very top. If the remaining leaves are quite large, you can even snip them in half to reduce water loss.
- Apply Rooting Hormone (Optional): If you’re using rooting hormone, lightly dip the cut end of the stem into the powder or gel. Tap off any excess.
- Plant the Cuttings: Fill your pot with your prepared potting mix. Make a hole in the center with your finger or a pencil. Carefully insert the cutting into the hole, ensuring the leaf nodes you cleared are below the soil surface. Gently firm the soil around the stem.
- Water and Cover: Water the soil gently until it’s evenly moist but not waterlogged. This is crucial! Then, cover the pot with a clear plastic bag or place it inside a propagator. This creates a humid environment, which is vital for the cuttings while they develop roots.
The “Secret Sauce” (Pro Tips)
Now, for a few little tricks I’ve learned over the years that can really make a difference.
- Don’t let the leaves touch the water if you opt for water propagation. While Clutia can sometimes root in water, I find cuttings are much more prone to rotting this way. Keep them in soil where the moisture is more controlled.
- Bottom heat is your friend. If you have a seedling heat mat, placing your pot on top of it can significantly speed up root development. It mimics the warmth of spring and encourages those roots to get going.
- Mist, don’t soak. While humidity is important, you don’t want the leaves to sit in water for extended periods. A light misting with your spray bottle every day or two is usually sufficient, especially if the cuttings are covered. Check the soil moisture too – it should be consistently damp, not soggy.
Aftercare & Troubleshooting
Once you start seeing signs of new growth – perhaps tiny leaves unfurling at the tip, or a gentle tug on the cutting revealing some resistance – that’s a good indication that roots are forming!
Continue to keep the soil consistently moist and the humidity high. Gradually acclimate your new plant to drier air by opening the plastic bag or propagator lid for increasingly longer periods over a week or two. Once they seem happy in the open air, you can transplant them into their own small pots.
The most common issue you might encounter is rot. If a cutting turns black and mushy, it’s likely gone too far. This is often due to overwatering or poor drainage. If you see this, remove the affected cutting immediately to prevent it from spreading to others. Sometimes, even healthy cuttings can fail to root. Don’t be discouraged! Gardening is a journey of experimentation.
A Little Patience Goes a Long Way
Propagating plants like Clutia lanceolata is a beautiful act of patience and hope. Watching those first tiny roots emerge and then seeing a tiny new plant take hold is incredibly satisfying. So, take a deep breath, gather your supplies, and give it a try. Enjoy the process, and soon you’ll have a whole new generation of Clutia lanceolata to share or admire!
Resource:
https://identify.plantnet.org/k-world-flora/species/Clutia%20lanceolata%20Forssk./data