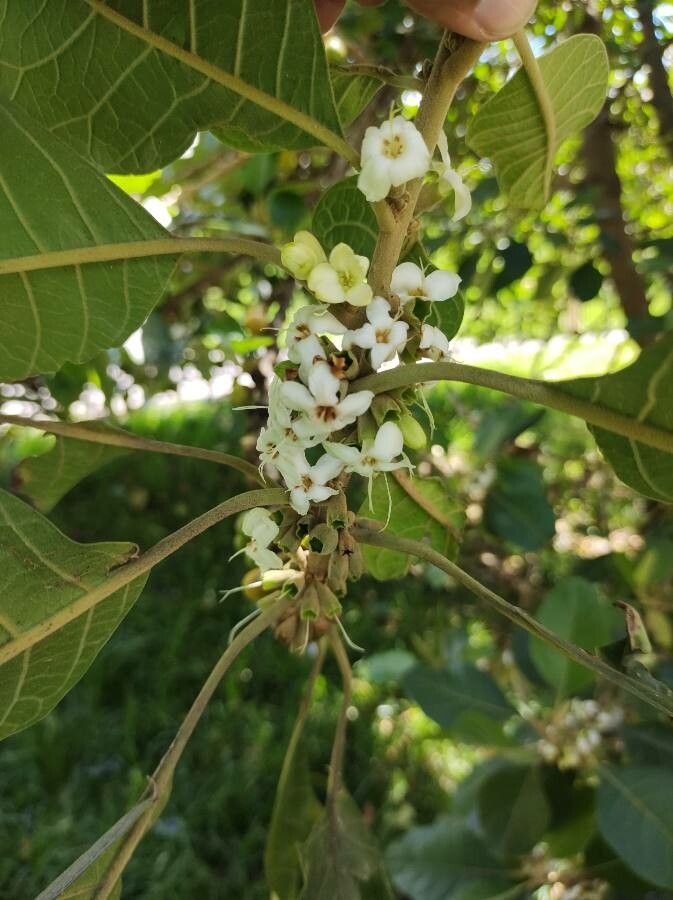
Oh, hi there! Pull up a chair, let’s chat about one of my absolute favorites: Aegiphila bogotensis. If you’re looking for a truly unique addition to your plant collection, this is it. It boasts those gorgeous, fuzzy, almost velvety leaves that just beg to be touched. And trust me, there’s nothing quite as satisfying as watching a tiny cutting unfurl its first new leaves, signaling that you’ve been successful. Now, is it a walk in the park for brand-new gardeners? I’d say it’s moderately easy. You’ll need to pay a little attention, but the rewards are so worth it.
The Season is Right: When to Get Started
For Aegiphila bogotensis, the absolute best time to think about propagation is during its active growing season. This usually means spring and summer. The plant is full of vigor then, and those young stems have all the energy they need to push out roots. Trying to propagate in the dead of winter is like asking a sleepy bear to run a marathon – not ideal! You want your little cuttings to feel that warmth and light encouraging them along.
Your Propagation Toolkit
Here’s what you’ll want to have on hand before you dive in:
- Sharp Pruning Shears or a Knife: Clean cuts are crucial.
- Rooting Hormone Powder (Optional but Recommended): This gives your cuttings a little boost. Look for one with a fungicide to ward off rot.
- A Well-Draining Potting Mix: I love a blend of perlite, peat moss, and a little bit of good quality potting soil. Something that dries out fairly quickly is key.
- Small Pots or Seedling Trays: About 4-inch pots are usually a good size to start.
- Clear Plastic Bags or a Propagator Lid: These create a humid microclimate.
- Watering Can with a Fine Rose: For gentle watering.
- Labels and a Marker: Because trust me, you will forget what you planted where.
Bringing New Life: Propagation Methods
Aegiphila bogotensis is pretty forgiving, and you’ll have good luck with stem cuttings. Here’s how I do it:
- Select Your Cuttings: Look for healthy, non-flowering stems that are at least 4-6 inches long. You want stems that are somewhat firm but not woody – think of a pencil eraser in thickness. Using your sharp pruning shears, make a fresh, clean cut just below a leaf node (where a leaf attaches to the stem). This is where the magic happens!
- Prepare the Cuttings: Gently remove the lower leaves from your cutting, leaving just a few at the very top. If the leaves are still quite large, I love to cut them in half horizontally. This reduces the amount of water the cutting loses through transpiration while still allowing for photosynthesis.
- Apply Rooting Hormone (If Using): Dip the cut end of the stem into your rooting hormone, tapping off any excess.
- Planting: Fill your small pots with your pre-moistened potting mix. Make a small hole in the center of the soil with your finger or a pencil. Insert the cutting into the hole, making sure the leaf nodes are buried in the soil – that’s where the roots will emerge. Gently firm the soil around the base of the cutting.
- Create Humidity: Water the soil gently until it’s evenly moist but not waterlogged. Then, place the pot inside a clear plastic bag or cover it with a propagator lid. This will trap moisture around the leaves and keep your cutting happy.
The “Secret Sauce”: My Insider Tips
- Bottom Heat is Your Friend: If you can, place your pots on a heated propagation mat. This gentle warmth from below mimics ideal soil conditions and significantly speeds up root development. It’s a game-changer!
- Don’t Overwater – Ever! This is probably the most common mistake. Overwatering leads to rot, and we don’t want that. The plastic tent will keep things moist. You only need to water if the soil starts to feel dry to the touch. And when you do water, do it gently.
- Air it Out: Every couple of days, open the plastic bag for a few minutes to allow for fresh air exchange. This helps prevent fungal issues and is important for the cutting’s health. You’ll also get a good look at your progress!
Life After Roots: Aftercare and What to Watch For
You’ll know your cutting has struck gold when you see new leaf growth or feel a gentle tug when you try to lightly pull on it (carefully, of course!). This usually takes anywhere from four to eight weeks, sometimes a little longer.
Once roots have formed and you see signs of new growth, it’s time to gradually acclimate your new plant to normal room conditions. Start by opening the plastic bag a little wider each day for a week. Then, remove the bag altogether. Continue watering gently when the top inch of soil feels dry.
The biggest culprit for failure is root rot. If your cutting turns yellow and mushy, or develops black spots and falls apart, it’s likely gone too far. This is usually a sign of too much moisture and not enough air circulation. Don’t get discouraged if this happens; it’s all part of the learning process! Just clean your pot and start again with fresh materials.
Happy Growing!
Propagating Aegiphila bogotensis is a wonderfully rewarding experience. It’s a chance to connect with your plants on a deeper level, and soon you’ll have a whole collection of these velvety beauties to share. Be patient, keep an eye on your cuttings, and most importantly, enjoy the journey of coaxing new life from these incredible plants. Happy gardening!
Resource: