Ah, Volkameria aculeata! If you’re looking to add a touch of unique charm to your garden, this is a fantastic choice. Known for its beautiful cascading flowers and interesting thorny stems, it’s a real conversation starter. And the best part? Propagating it yourself is incredibly rewarding. You get to extend that beauty, share it with friends, or simply marvel at your own green thumb at work. For most folks, I’d say propagating Volkameria is moderately easy, especially if you’re willing to be a little patient. It’s definitely within reach for the enthusiastic beginner!
The Best Time to Start
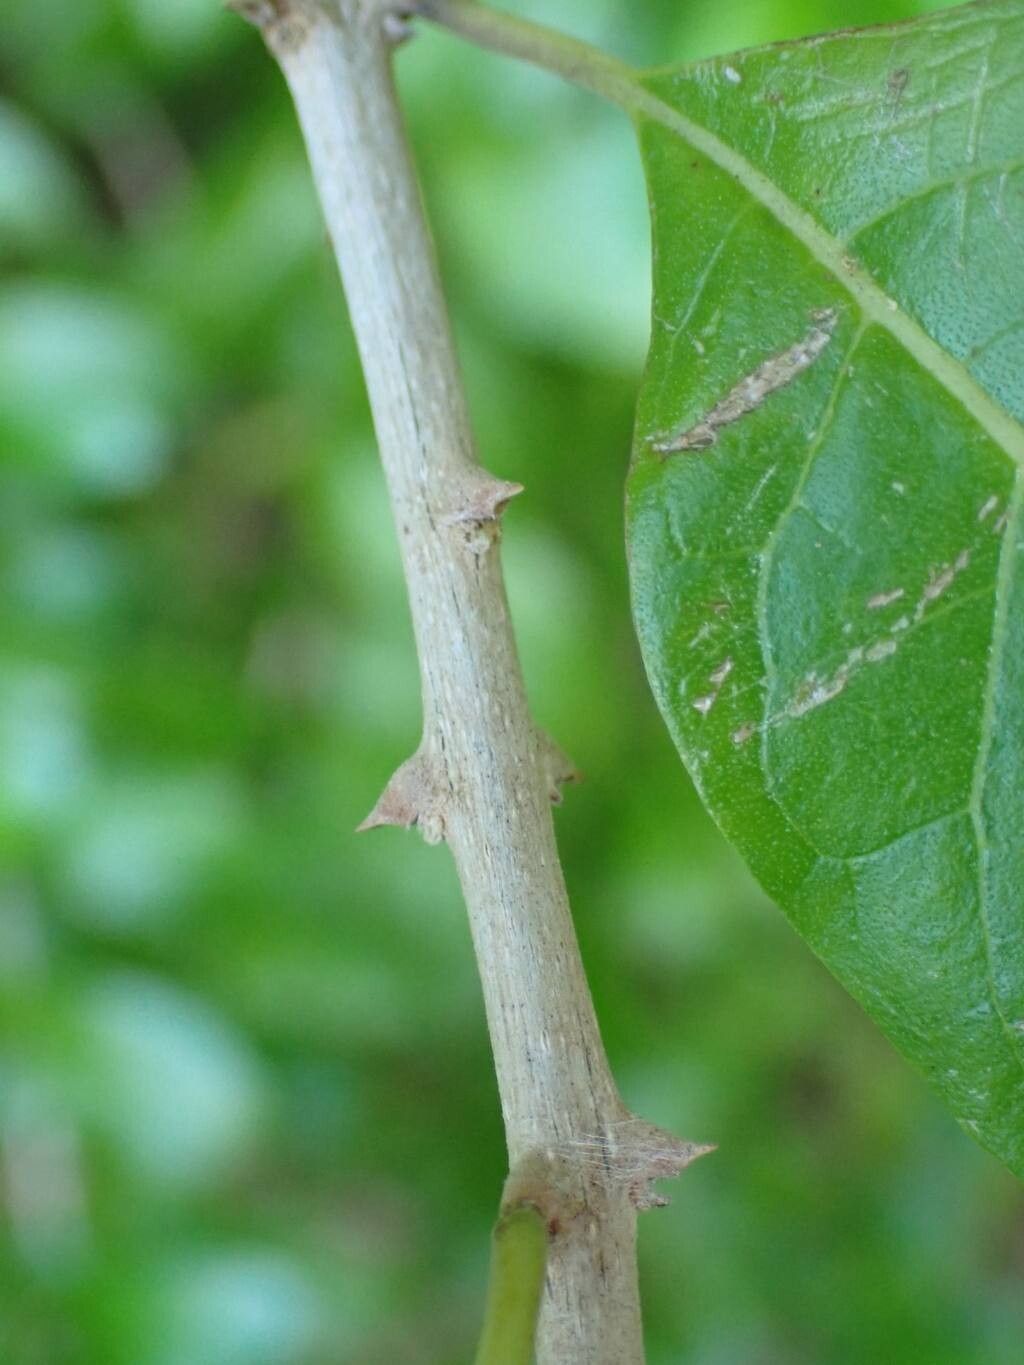
When it comes to getting new Volkameria plants going, timing is everything. I find the late spring or early summer is your sweet spot. This is when the plant is actively growing and has plenty of energy to put into developing new roots. Look for stems that are semi-hardwood – they’re not brand new and wispy, but they haven’t turned fully woody and old either. Think of a pencil-like thickness.
Supplies You’ll Need
Gathering your supplies beforehand makes the whole process so much smoother. Here’s what I always have on hand:
- Sharp Pruning Shears or a Knife: A clean cut is crucial.
- Rooting Hormone (Optional but Recommended): This can give your cuttings a real boost.
- Well-Draining Potting Mix: I like a blend of perlite, peat moss, and a bit of coarse sand. You can buy specialized seed-starting or propagation mixes too.
- Small Pots or Propagation Trays: Make sure they have drainage holes!
- Plastic Bags or a Clear Dome: To create a humid environment for your cuttings.
- Watering Can with a Fine Rose: For gentle watering.
- Labeling Sticks: So you don’t forget what you’ve planted!
Propagation Methods
I’ve had the most success with Volkameria using stem cuttings. It’s straightforward and yields great results.
Stem Cuttings:
- Select Your Cuttings: Head out (ideally in late spring/early summer) and look for healthy, non-flowering stems. You want pieces that are about 4-6 inches long.
- Make the Cut: Using your clean pruning shears or knife, cut just below a leaf node (where a leaf attaches to the stem). This is where the magic happens for rooting.
- Prepare the Cutting: Gently remove the leaves from the bottom half of the cutting. If you have very large leaves, you can even snip any remaining leaves in half to reduce water loss.
- Apply Rooting Hormone (If Using): Dip the cut end of the stem into your rooting hormone powder or gel, tapping off any excess.
- Plant Your Cuttings: Fill your small pots or trays with your well-draining potting mix, moisten it slightly, and then make a hole with your finger or a pencil. Insert the cutting into the hole, ensuring the leafless part is buried. Gently firm the soil around the stem.
- Create Humidity: Water the soil gently. Then, cover the pots with a plastic bag or a clear dome. This creates a mini-greenhouse effect. Make sure the plastic doesn’t touch the leaves too much!
The “Secret Sauce”
Here are a couple of things I’ve learned over the years that really make a difference:
- Don’t Drown Them: While they need humidity, don’t let the leaves sit in standing water inside the bag. This can lead to rot. I often prop the bag up with a small stick or two.
- A Little Warmth Helps: If you can, place your propagation pots on a heat mat or in a warm spot. Volkameria roots are happier when they have a bit of bottom heat. It encourages faster root development.
Aftercare & Troubleshooting
Once your cuttings are planted, patience is your best friend. Keep the soil consistently moist but not waterlogged. The plastic cover helps maintain humidity, so you might only need to water lightly every few days.
You’ll know your cuttings are rooting when you see new leaf growth or feel a gentle resistance when you tug lightly on the stem. This can take anywhere from 3 to 6 weeks, or sometimes even longer.
The most common issue you might encounter is rot. If you see stems turning black and mushy, it’s usually from too much moisture and not enough air circulation. If this happens, sadly, that cutting is likely lost. Just remove it and try to be a bit more careful with watering on your remaining cuttings.
A Encouraging Closing
Propagating Volkameria aculeata is such a satisfying journey. Don’t get discouraged if your first few attempts aren’t perfect. Every gardener has their share of learning curves! Keep at it, enjoy the process of nurturing new life, and soon you’ll have a whole collection of these beautiful plants to admire. Happy growing!
Resource:
https://identify.plantnet.org/k-world-flora/species/Volkameria%20aculeata%20L./data