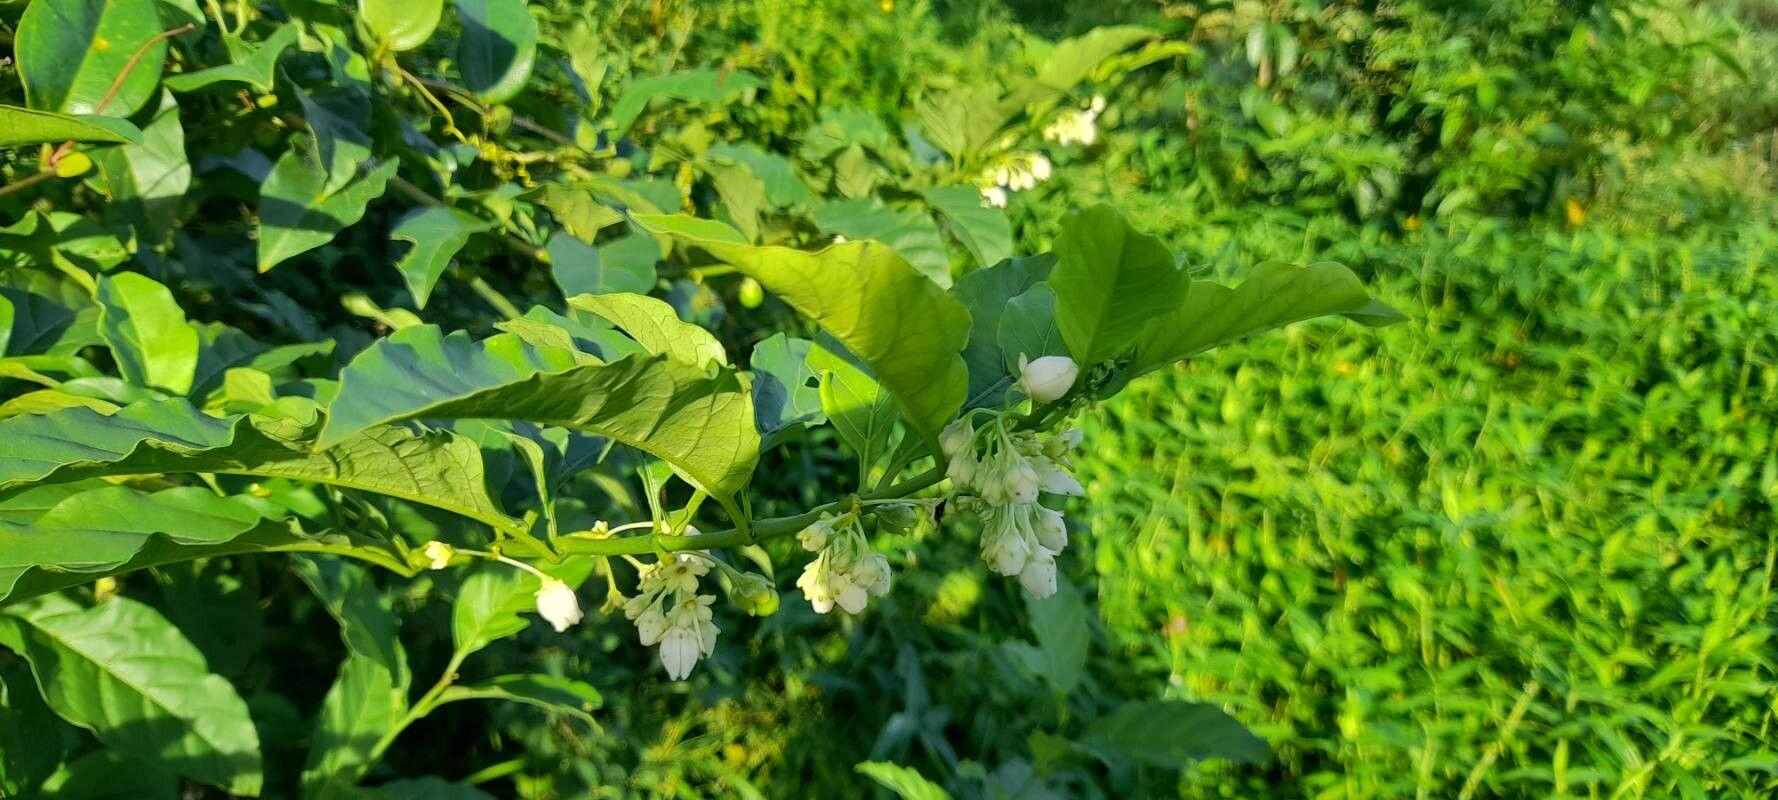
Hello there, fellow plant lovers! Today, we’re diving into the wonderful world of propagating Solanum caavurana. If you’ve ever admired those beautiful, often vibrantly colored berries and lush foliage of this fascinating plant, you know why it’s such a joy to have in the garden or as a houseplant. Ethnobotanical uses often highlight its medicinal properties, adding another layer of intrigue. And the best part? Bringing more of these beauties into your life is incredibly rewarding. For beginners, I’d say Solanum caavurana is moderately easy to propagate. With a little patience and these tips, you’ll be well on your way.
The Best Time to Start
For the highest success rate, I find that late spring through early summer is absolutely prime time. The plant is actively growing, energies are high, and cuttings will have plenty of daylight and warmth to establish themselves. You can also try in early fall, but keep in mind growth will slow down as days shorten.
Supplies You’ll Need
Here’s what I always have on hand when I’m ready to propagate:
- Sharp pruning shears or a clean knife: For making clean cuts.
- Rooting hormone (optional but recommended for faster results): A powder or gel.
- Well-draining potting mix: A blend of peat moss, perlite, and vermiculite works wonderfully. You can also use a commercially available seed-starting mix.
- Small pots or trays: With drainage holes, of course!
- Clear plastic bags or a mini-greenhouse: To maintain humidity.
- Watering can with a fine rose: For gentle watering.
Propagation Methods
Let’s get our hands dirty! Here are a couple of tried-and-true methods for Solanum caavurana:
Stem Cuttings
This is my go-to method.
- Select a healthy stem: Look for a healthy, non-flowering stem that’s about 4-6 inches long. The stem should be somewhat woody but not completely mature.
- Make the cut: Using your clean shears or knife, make a clean cut just below a leaf node. A leaf node is where a leaf joins the stem; this is where roots are most likely to form.
- Prepare the cutting: Gently remove the lower leaves, leaving just two or three at the top. This prevents them from rotting when buried or in water. If the remaining leaves are large, I often cut them in half to reduce water loss through transpiration.
- Apply rooting hormone (optional): Dip the cut end into your rooting hormone, tapping off any excess.
- Plant your cutting: Firmly insert the cut end into your prepared potting mix. Make sure at least one leaf node is buried.
- Water gently: Water thoroughly until you see excess draining from the bottom.
- Create a humid environment: Cover the pot with a clear plastic bag or place it in a mini-greenhouse. This traps humidity, which is crucial for cuttings to root. Ensure the bag doesn’t touch the leaves if possible.
- Find a warm spot: Place the pot in a bright location out of direct sunlight.
Water Propagation
This method is so satisfying to watch!
- Follow steps 1-3 from Stem Cuttings.
- Place in water: Put the prepared stem cutting into a clean jar or glass with fresh water.
- The crucial part: Make sure no leaves are submerged in the water. They will rot and can kill your cutting. Only the stem should be in contact with the water.
- Change water regularly: Refresh the water every few days or whenever it looks cloudy to keep it clean and oxygenated.
- Wait for roots: You should start seeing tiny white roots emerge from the leaf nodes in a few weeks.
- Pot up: Once the roots are about an inch long, you can carefully transplant your cutting into a pot with well-draining soil, just like your stem cuttings.
The “Secret Sauce” (Pro Tips)
Here are a few tricks I’ve learned over the years that really boost my propagation success:
- Bottom Heat is Your Friend: For stem cuttings, especially if your home isn’t super warm, placing the pots on a heat mat designed for seedlings can make a huge difference. It encourages root development from below and speeds things up considerably.
- Misting is Good, But Not Too Much: While humidity is key, frequent misting inside the plastic bag or greenhouse can sometimes encourage fungal issues. Instead of constant misting, focus on getting that initial humidity level high and maintaining it. If you see condensation, that’s a good sign!
- Patience with the Parent Plant: When taking cuttings, I always make sure to take them from healthy, vigorous growth. Don’t strip a struggling plant! This ensures your new babies have the best possible start.
Aftercare & Troubleshooting
Once you see those lovely new roots, hooray!
- Transition Gradually: If you used a plastic bag, slowly start to acclimate your new plant to lower humidity by opening the bag for a few hours each day before removing it completely.
- Watering: Water your new propagations as you would a mature plant – water thoroughly when the top inch of soil feels dry. Avoid overwatering, as this is a common cause of failure.
- Signs of Trouble: The most common issue is rot. If your cutting turns black and mushy, it’s likely rotted. This is usually due to too much moisture and not enough air circulation. If you see signs of rot very early, you can try to cut away the rotten part and reroot the healthy section, but often it’s best to start fresh. Yellowing leaves can sometimes mean too little light or too much water.
A Encouraging Closing
Propagating plants is such a rewarding adventure. It connects us more deeply with our green companions and allows us to share the beauty of our gardens. Don’t be discouraged if your first few attempts aren’t perfect. Every gardener has failures, it’s all part of the learning process! Just keep trying, observe your cuttings, and enjoy the journey. Happy propagating!
Resource:
https://identify.plantnet.org/k-world-flora/species/Solanum%20caavurana%20Vell./data