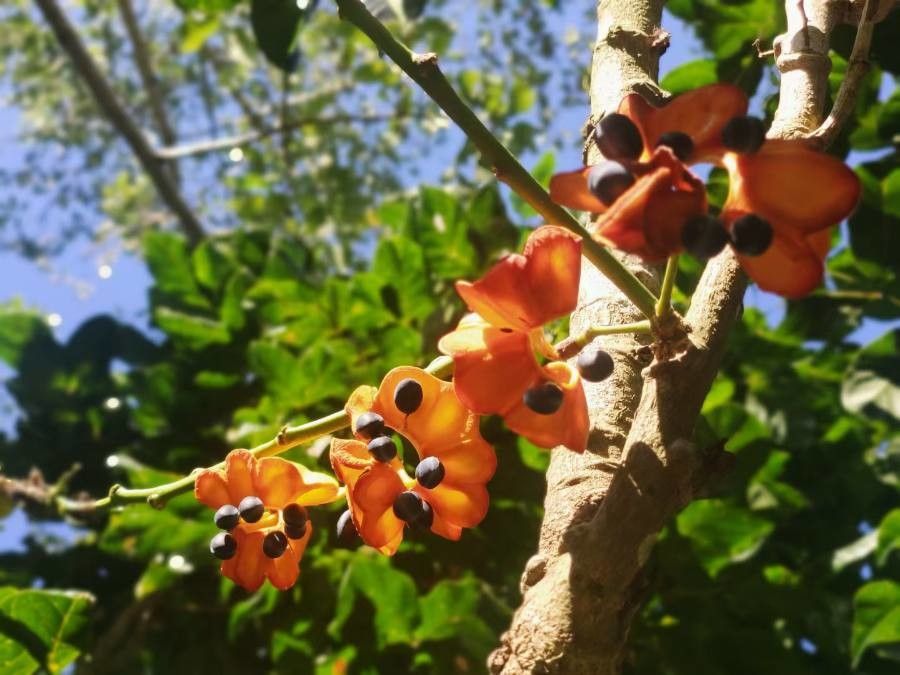
Hello there, fellow plant enthusiasts! Today, we’re diving into the wonderful world of Rhynchosia volubilis, a gorgeous climbing vine that’s truly a delight for any garden. Its delicate, often yellow or pale pink pea-like flowers and attractive foliage make it a stunning addition, whether you’re growing it up a trellis, letting it spill over a wall, or even training it into a shrub. Propagating it yourself is not only incredibly satisfying – seeing a tiny cutting transform into a robust plant – but also a fantastic way to expand your collection or share the green love with friends. For those wondering, I’d say Rhynchosia volubilis is moderately easy to propagate, making it a good project for those with a little bit of gardening under their belt.
The Best Time to Start
When it comes to getting new Rhynchosia volubilis plants going, late spring to early summer is your golden ticket. This is when the plant is actively growing, meaning its energy reserves are high, and cuttings are more likely to develop roots. Think of it as capturing that vibrant growth spurt. Starting at this time gives your new babies plenty of the growing season to establish themselves before cooler weather arrives.
Supplies You’ll Need
Before we get our hands dirty, let’s gather our arsenal:
- Sharp pruning shears or a clean, sharp knife: For making clean cuts.
- Small pots or trays: With drainage holes, of course!
- Propagating mix or a well-draining potting mix: A good blend of perlite, peat moss, and a bit of compost works wonders. You can also buy specialized seed-starting or propagation mixes.
- Rooting hormone (optional but recommended): This can give your cuttings a real boost.
- Watering can or spray bottle: For gentle watering.
- Plastic bags or a clear plastic dome: To create a humid environment.
- Labels: So you know what you’ve propagated and when!
Propagation Methods
The most reliable way I’ve found to multiply Rhynchosia volubilis is through stem cuttings. It’s straightforward and very effective.
Stem Cuttings:
- Select your cuttings: Look for healthy, semi-hardwood stems. These are stems that have grown this season but are starting to firm up – not brand new, floppy growth, nor old, woody stems. You want pieces that are about 4 to 6 inches long.
- Make the cut: Using your sharp shears or knife, make a clean cut just below a leaf node (where a leaf attaches to the stem). This is where the magic of root development often happens.
- Prepare the cutting: Gently remove the leaves from the bottom half of the cutting. If the remaining leaves are very large, you can cut them in half crosswise. This reduces water loss through transpiration.
- Apply rooting hormone (if using): Dip the cut end of the stem into your rooting hormone, tapping off any excess.
- Plant your cuttings: Fill your small pots with your chosen propagating mix and moisten it thoroughly. Make a small hole in the center of the soil with your finger or a pencil and insert the cut end of the Rhynchosia cutting. Gently firm the soil around the stem.
- Create humidity: Water the soil again gently. Then, cover the pot loosely with a plastic bag or a clear plastic dome. This traps moisture around the leaves and cutting, preventing it from drying out. Place it in a warm spot with bright, indirect light.
The “Secret Sauce” (Pro Tips)
Here are a couple of things that have made all the difference for me:
- When you’re rooting cuttings in water, or even in soil, **make sure the remaining leaves don
Resource:
https://identify.plantnet.org/k-world-flora/species/Rhynchosia%20volubilis%20Lour./data