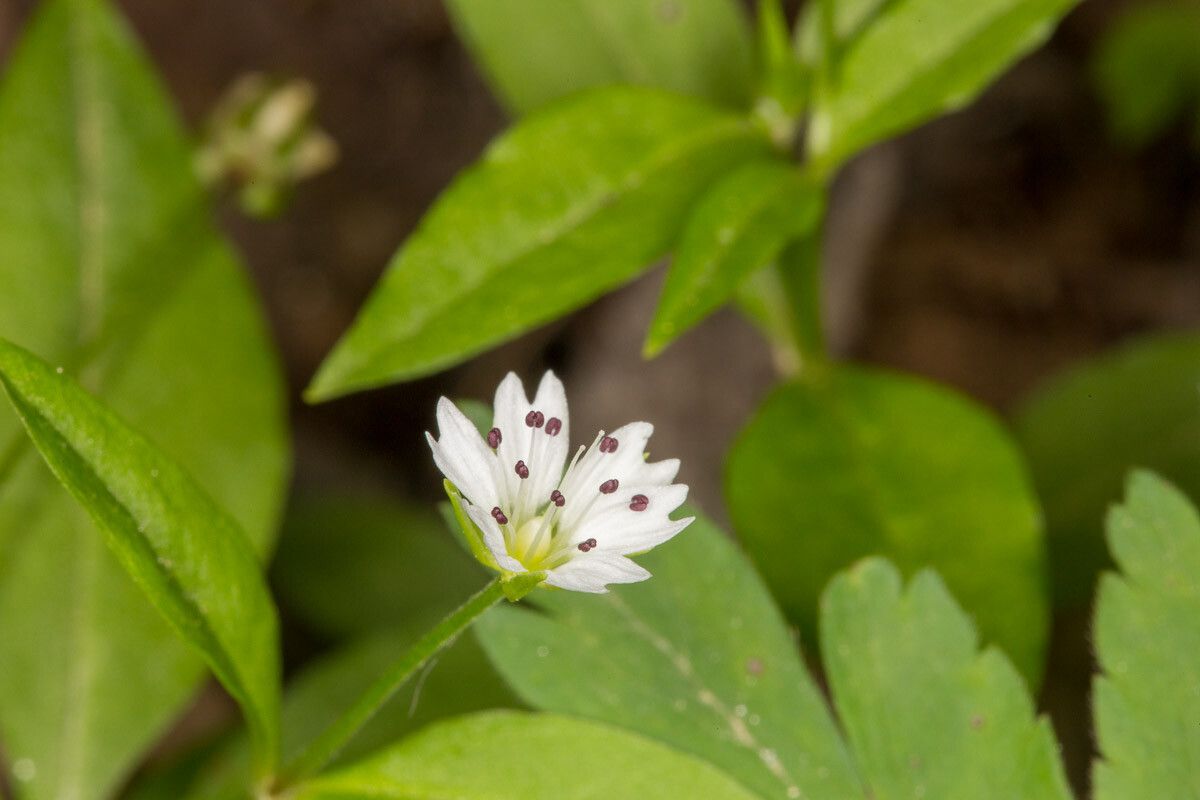
Hello, fellow garden enthusiasts! Today, we’re diving into the delightful world of Pseudostellaria europaea, often known as the European Starwort. If you’re looking for a charming, reliable groundcover that’s not too fussy, you’ve found it. Its delicate, star-shaped white flowers appear in late spring and early summer, peeking out from lovely green foliage. And the best part? Propagating it is a wonderfully rewarding endeavor, even for those of you just starting out in the gardening journey. It’s a forgiving plant, which makes creating more of it a joy.
The Best Time to Start
For the most success with Pseudostellaria europaea, I always aim for late spring or early summer. This is when the plant is actively growing, flush with energy, and ready to put down new roots. Waiting until after the main flowering flush has passed is also a good bet. You want it to have plenty of healthy, vigorous stems to work with.
Supplies You’ll Need
Here’s a little gathering of what you’ll want on hand:
- Sharp, clean pruning shears or a craft knife: For making neat cuts.
- A good quality potting mix: I prefer a well-draining blend, often amending my own with perlite or sharp sand.
- Small pots or seed trays: Whatever suits the size of your cuttings.
- Rooting hormone (optional but helpful): A powder or gel can give your cuttings a little boost.
- A watering can with a fine rose attachment: To water gently.
- A plastic bag or propagation dome: To create a humid environment.
- A plant label and marker: So you don’t forget what’s what!
Propagation Methods
Let’s get our hands dirty! For Pseudostellaria europaea, I find division to be the easiest and most reliable method, but stem cuttings also work beautifully.
Division (My Favorite!)
This is the simplest way to multiply your Starwort.
- Gently excavate: In late spring or early summer, carefully dig up a mature clump of Pseudostellaria europaea. You don’t need huge muscles for this; just get a fork or trowel around the root ball and lift.
- Separate the roots: Gently tease the root ball apart with your fingers or by holding two pieces of the plant and twisting in opposite directions. You’re looking for sections that have both roots and shoots.
- Replant immediately: Find a suitable spot in your garden, or pot up the divisions into fresh, moist potting mix. Make sure the crown (where the roots meet the stems) is at soil level.
- Water well: Give your newly planted divisions a good soak.
Stem Cuttings
This method takes a little more patience, but it’s incredibly satisfying.
- Take cuttings: Select healthy, non-flowering stems from your established plant. Using your clean shears, cut stems that are about 4-6 inches long. Make the cut just below a leaf node (where a leaf grows from the stem).
- Prepare the cuttings: Remove the lower leaves from the cutting, leaving just a few at the top. This prevents them from rotting in the soil.
- Apply rooting hormone (if using): Dip the cut end of the stem into the rooting hormone, tapping off any excess.
- Plant the cuttings: Insert the cut end of each cutting into small pots filled with your moist potting mix. Make a small hole with a pencil or your finger first to avoid rubbing off the hormone.
- Create humidity: Water the soil gently and then cover the pot with a clear plastic bag or place it under a propagation dome. This traps moisture and keeps the leaves from drying out.
The “Secret Sauce” (Pro Tips)
Here are a couple of things I’ve learned over the years that make a real difference:
- Don’t overwater new cuttings: It’s a fine balance. You want the soil moist, but not soggy. Soggy soil is the fastest way to invite rot, which is the bane of propagation. I often check the soil moisture by gently pressing a finger into it. If it feels wet, hold off watering.
- Provide gentle warmth: While not strictly essential for Starwort, placing your pots on a heat mat can significantly speed up root development. It’s like giving your cuttings a cozy little incubator, encouraging them to get going.
Aftercare & Troubleshooting
Once your divisions are planted or your cuttings have rooted (you can gently tug on them; a bit of resistance means roots have formed!), they need a little TLC.
- Gradually acclimate: If you used a plastic bag or dome, start by opening it for a few hours each day, gradually increasing the time until the plant is used to normal humidity.
- Water as needed: Keep the soil consistently moist but not waterlogged. Water when the top inch of soil feels dry.
- Light: Place your new plants in a bright spot, but out of direct, scorching sun, especially while they are establishing.
The most common issue you might encounter is rot, often caused by overwatering. If you see stems turning black and mushy, it’s a sign of too much moisture. If this happens, remove the affected cuttings immediately and allow the remaining ones to dry out slightly.
A Encouraging Closing
Growing new plants from your existing ones is such a rewarding part of gardening. It’s a slow dance with nature, and with Pseudostellaria europaea, you’ve got a willing partner. Be patient with your cuttings, enjoy the process of watching them grow, and soon you’ll have even more of this lovely plant to fill your garden with its charm. Happy propagating!
Resource:
https://identify.plantnet.org/k-world-flora/species/Pseudostellaria%20europaea%20Schaeftl./data