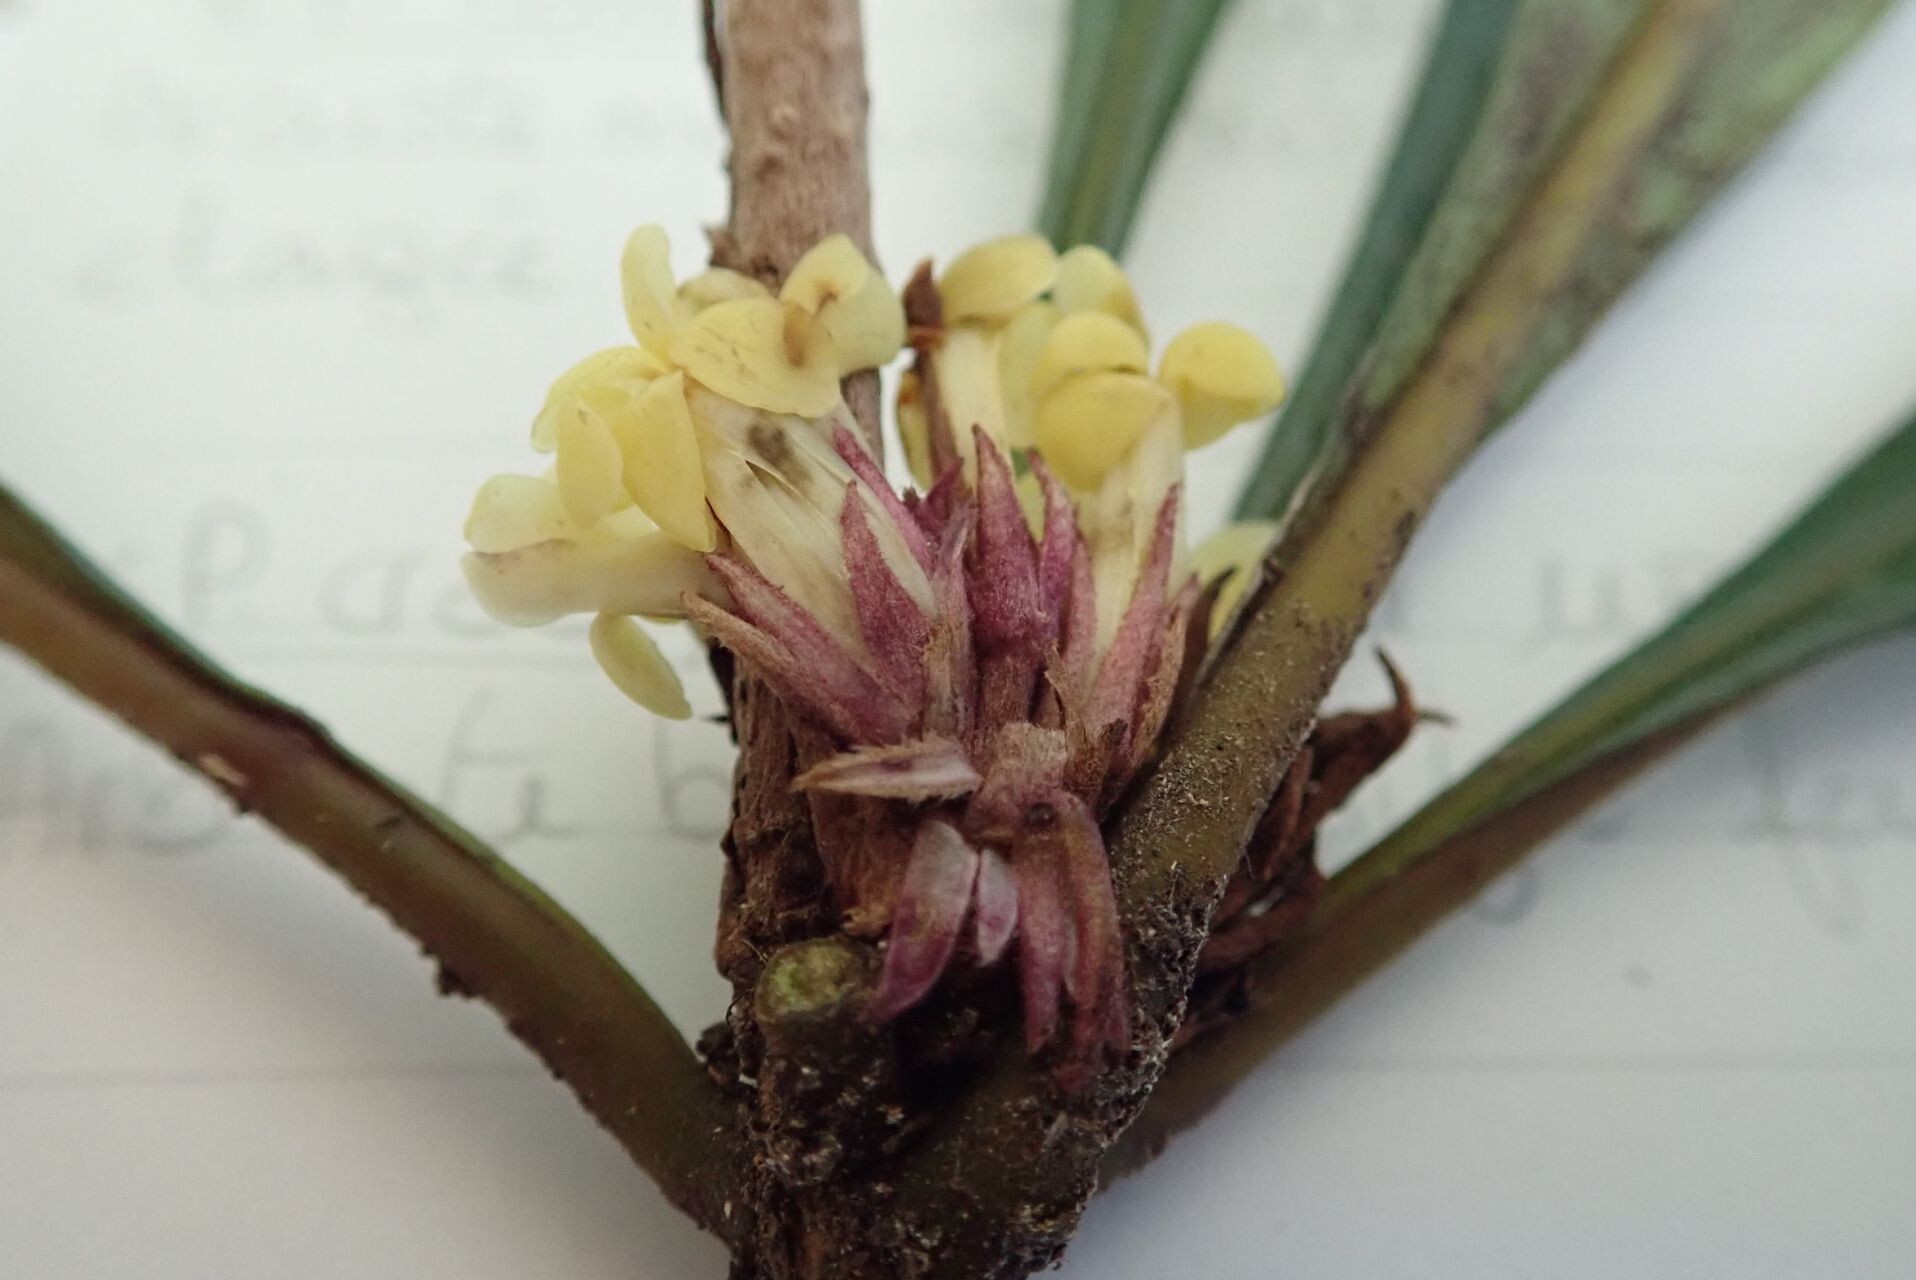
Oh, Pittosporum leratii! What a beauty. Those glossy, deep green leaves and that wonderful, sweet fragrance – it’s a plant that just brings a smile to your face. And you know what’s even more rewarding than admiring it? Growing more of them yourself! It’s like magic, watching a tiny cutting transform into a whole new plant.
Now, if you’ve never propagated anything before, don’t worry. Pittosporum leratii is a wonderfully cooperative plant to start with. It’s not one of those finicky divas; it’s quite forgiving, which makes it a great friend for beginner gardeners eager to expand their collection.
The Best Time to Start
For the best chance of success with your Pittosporum leratii cuttings, I always aim for late spring or early summer. This is when the plant is actively growing, so your cuttings will have plenty of energy to put into developing roots. Look for new growth that’s firm but not yet woody. Think of it as that perfect stage – not too soft, not too hard.
Supplies You’ll Need
Gathering your tools beforehand makes the whole process so much smoother. Here’s what I like to have on hand:
- Sharp pruning shears or a clean knife: For making clean cuts without crushing the stem.
- Rooting hormone: This is a game-changer. It really encourages root development. I prefer the powder form.
- Potting mix: A well-draining mix is crucial. I usually use a 50/50 blend of seed-starting mix and perlite or coarse sand. This ensures good aeration and prevents waterlogging.
- Small pots or seed trays: Clean ones are a must to avoid diseases.
- Plastic bags or a propagation dome: To create a humid environment around your cuttings.
- Watering can with a fine rose: For gentle watering.
- Labels and a permanent marker: To keep track of what you’ve planted!
Propagation Methods
The most straightforward way to propagate Pittosporum leratii is through stem cuttings. It’s reliable and gives you a great start.
Here’s how I do it:
- Take Your Cuttings: On a mild day, select a healthy stem from your mature Pittosporum leratii. Using your clean shears, make a cut just below a leaf node (where a leaf meets the stem). You want cuttings that are about 4-6 inches long. Remove the lower leaves from the cutting, leaving just a few at the top. This prevents them from rotting once planted.
- Apply Rooting Hormone: Dip the cut end of the stem into your rooting hormone, tapping off any excess. This stuff really gives the roots a nudge to get going.
- Plant Your Cuttings: Fill your small pots or trays with your prepared, well-draining potting mix. Moisten the mix thoroughly. Make a small hole in the center of the soil with your finger or a pencil. Insert the hormone-coated end of the cutting into the hole, ensuring it’s deep enough to be stable. Gently firm the soil around the stem.
- Create a Humid Environment: Water the soil gently. Then, place a plastic bag over the pot or use a propagation dome. This traps moisture and humidity around the cuttings, which is exactly what they need to start forming roots. Make sure the leaves aren’t touching the plastic sides if possible.
The “Secret Sauce” (Pro Tips)
Over the years, I’ve learned a few little tricks that make a big difference.
- Don’t Drown Them: While humidity is key, soggy soil is your enemy. Make sure your potting mix is damp, not waterlogged. If you can squeeze water out of a handful, it’s too wet.
- Bottom Heat is Your Friend: If you have a propagation mat or can place your pots on top of a gently warming appliance (like a seedling heat mat), the gentle warmth from below will significantly speed up root development. It’s like a cozy heated bed for your cuttings.
- Patience is a Virtue (and a Practicality): Sometimes, it takes a good 4-8 weeks for Pittosporum leratii to show signs of rooting. Don’t be discouraged if you don’t see much happening immediately. Resist the urge to constantly pull them out to check – this disturbs any developing roots.
Aftercare & Troubleshooting
Once you start seeing new leaf growth, it’s a good sign that roots have formed! You can gently test by giving the cutting a very light tug – if there’s resistance, roots are likely there.
Gradually acclimate your cuttings to drier air by opening the plastic bag for a few hours each day before removing it entirely over a week or two. Continue to keep the soil consistently moist but not soggy.
The most common problem you might encounter is rot. This usually happens due to overwatering or poor drainage. If a cutting looks mushy or black at the base, it’s likely rotted and you’ll need to discard it. If you see this happening, check your watering habits and ensure your soil is draining well. You might also see cuttings shrivel and die, which could be due to lack of humidity or insufficient root development before they were exposed to drier air.
A Little Encouragement to Get You Growing
See? It’s not rocket science, just a little bit of care and attention. Propping your Pittosporum leratii is such a satisfying journey. Be patient with yourself and your little plant babies. Snip, pot, and wait. Before you know it, you’ll have more of those beautiful, fragrant plants to enjoy and perhaps even share with friends. Happy growing!
Resource:
https://identify.plantnet.org/k-world-flora/species/Pittosporum%20leratii%20Guillaumin/data