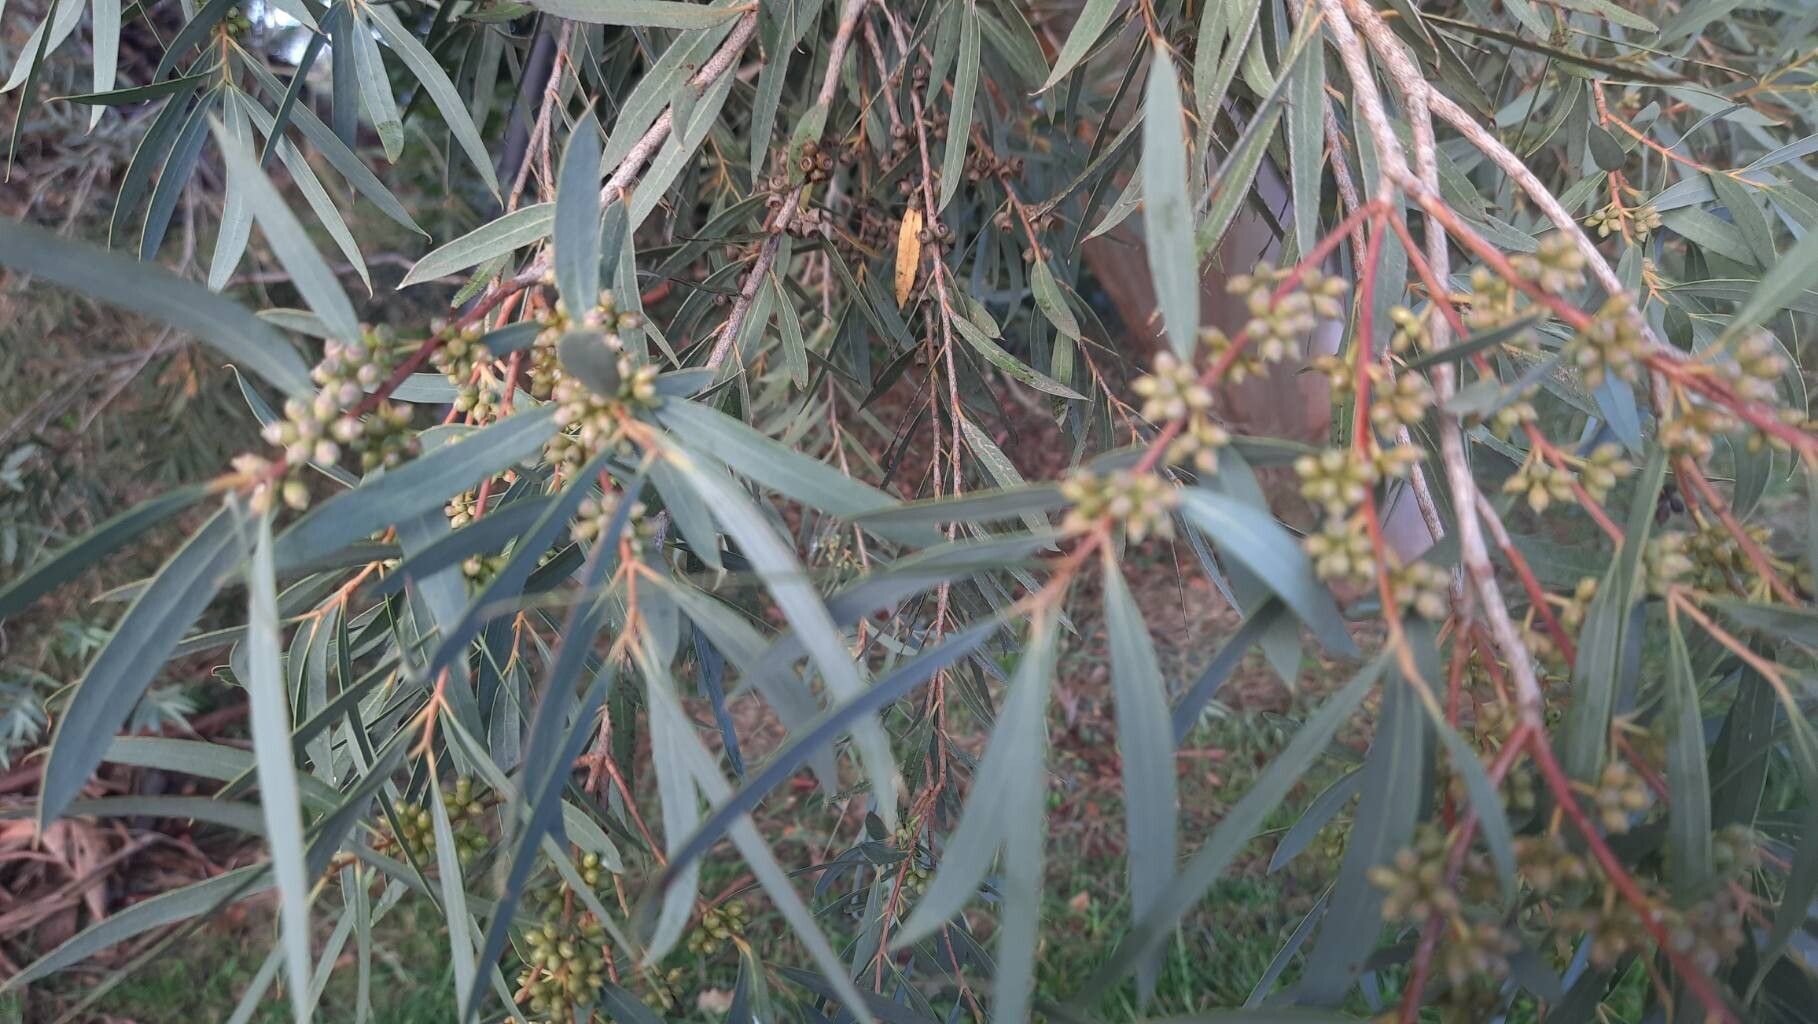
Well hello there, fellow plant enthusiasts! I’m so delighted you’re thinking about bringing more of the gorgeous Eucalyptus acaciiformis into your life. If you’ve ever admired those silvery-green leaves, their wonderful fragrance, and the way they bring a touch of wild, beautiful Australia to your garden, then propagating this stunner is a truly rewarding venture. It’s a bit like unlocking a little bit of nature’s magic for yourself. For beginners, I’d say it’s moderately challenging – not impossible, but it definitely rewards a bit of attention and patience.
The Best Time to Start
When it comes to getting new Eucalyptus acaciiformis plants off to a good start, I’ve found that the late spring to early summer is really your golden window. Think about when the plant is actively growing, putting out fresh, tender shoots. These soft new stems are much more inclined to strike roots than older, woody bits. You want to catch them at that juicy, vigorous stage.
Supplies You’ll Need
Here’s what I like to gather before I begin. It makes the whole process so much smoother:
- Sharp, clean pruning shears or secateurs: Essential for making clean cuts.
- Rooting hormone powder or gel: This really gives cuttings a boost.
- A well-draining potting mix: I often use a 50/50 blend of perlite and seed-starting mix. Good drainage is absolutely key for eucalyptus.
- Small pots or seedling trays: Clean ones are important to prevent disease.
- A clear plastic bag or propagator lid: To create a humid environment.
- Watering can with a fine rose: For gentle watering.
- Optional: A heat mat: This can speed up root development.
Propagation Methods
I’ve had the most success with stem cuttings for Eucalyptus acaciiformis. It’s straightforward and usually yields great results if you follow a few simple steps.
- Gathering the Cuttings: On a mild morning, after the dew has dried, select healthy, semi-hardwood cuttings. These are stems that are a bit firm but still have some flexibility. Look for stems that have new growth at the tip, but the base is starting to firm up. You want cuttings about 4-6 inches long.
- Preparing the Cuttings: Using your clean shears, make a clean cut just below a leaf node (where a leaf attaches to the stem). Remove the lower leaves from the bottom 2-3 inches of the cutting. If your leaves are quite large, you can even snip them in half horizontally to reduce water loss.
- Applying Rooting Hormone: Dip the cut end of the stem into your rooting hormone powder or gel. Tap off any excess. This really helps encourage root formation.
- Planting Your Cuttings: Fill your pots or trays with your well-draining potting mix. Make a pilot hole in the center using a pencil or your finger. Gently insert the prepared cutting into the hole, making sure the rooting hormone stays on the stem. Firm the soil gently around the base of the cutting.
- Creating Humidity: Water the soil gently. Then, cover the pot or tray with the clear plastic bag or propagator lid. This traps moisture and creates the humid microclimate that cuttings love. Make sure no leaves are touching the plastic if possible. Place the covered pots in a bright spot, but out of direct, scorching sunlight.
The “Secret Sauce” (Pro Tips)
I’ve learned a few tricks over the years that seem to make all the difference.
- Have you ever heard of gentle bottom heat? If you have a propagation mat, placing your pots on it can be a game-changer, especially if your living room isn’t baking hot. It encourages root growth from the bottom up.
- When watering, mist the leaves as well as the soil. This helps keep the foliage hydrated while the cuttings are trying to establish roots.
- And here’s one I learned the hard way: don’t let the leaves touch the water if you were to attempt water propagation (which I find less successful with eucalyptus). It just leads to rot. Stick to a good soil mix!
Aftercare & Troubleshooting
Once your cuttings are planted, the real waiting game begins! Keep the soil consistently moist but not waterlogged. Check the humidity inside your propagator by peeking under the bag – you should see condensation. If it’s dry, give it a light mist.
You’ll know roots are forming when you see new growth appearing at the tip of the cutting. This can take anywhere from a few weeks to a couple of months. Once you see that, you can gradually acclimate your new plant to normal conditions by airing out the propagator for longer periods each day before removing the cover entirely.
Now, what if things go wrong? The most common culprit is rot. If you see your cuttings turning black and mushy, it’s usually a sign of too much moisture and poor air circulation. Make sure your soil is draining well and you’re not overwatering. Yellowing leaves can sometimes indicate a lack of light or nutrients, but often with cuttings, it’s just the plant shedding older foliage before it gets going.
A Encouraging Closing
Remember, gardening is a journey, and propagation is one of its most delightful aspects. Don’t be discouraged if not every cutting takes. Each attempt is a learning experience, and the thrill of seeing those first tiny roots emerge is truly a reward in itself. Be patient, be observant, and most importantly, enjoy the process of nurturing new life. Happy propagating!
Resource: