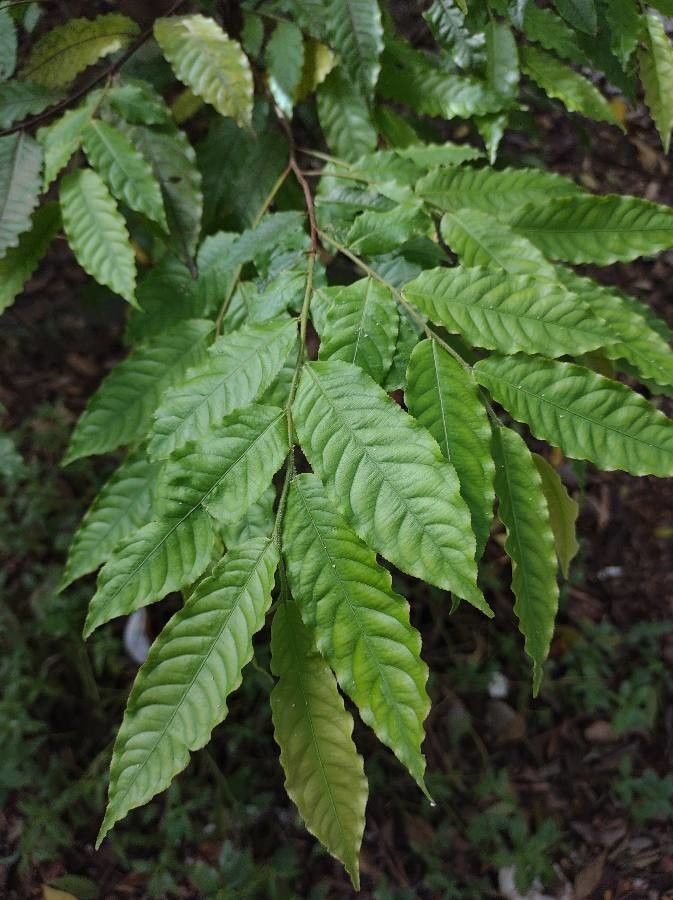
Oh, hello there! Pull up a chair. I’m so glad you’re interested in Eschweilera chartaceifolia. This beautiful tree, with its often stunning blooms, is a real treasure to have in the garden. And you know what’s even more rewarding? Growing your own from scratch! It’s a little project that brings so much satisfaction, watching a tiny cutting transform into a vibrant new plant. Now, is it a walk in the park for absolute beginners? Honestly, it has its nuances, but with a little guidance, I think you’ll find it very doable. Don’t let that deter you one bit!
The Best Time to Start
For Eschweilera chartaceifolia, timing is everything, just like with many of our green friends. I’ve found the late spring or early summer to be the absolute best window. This is when the plant is in its active growth phase. You’ll see new shoots emerging, full of life and ready to put down some roots. Starting when the plant is vibrant and energized practically guarantees you’re giving your cuttings the best possible chance at success.
Supplies You’ll Need
Gathering your tools beforehand makes the whole process much smoother. Here’s what I like to have on hand:
- Sharp Pruning Shears or a Clean Knife: For making clean cuts, which is crucial.
- Rooting Hormone: A good quality rooting powder or gel can really boost your success rate.
- Well-Draining Potting Mix: I usually use a blend of peat moss or coco coir mixed with perlite or coarse sand. Think of it as giving your cuttings a nice airy bed.
- Small Pots or Seedling Trays: Clean ones are a must to prevent any nasty surprises.
- Plastic Bags or a Propagation Dome: To create a humid environment for your cuttings.
- Watering Can with a Fine Rose: For gentle watering.
- Optional: Bottom Heat Mat: This can be a real game-changer, especially if your house tends to be on the cooler side.
Propagation Methods
Eschweilera chartaceifolia is typically propagated from stem cuttings. It’s my go-to method, and I find it works wonders with this tree.
- Taking Cuttings: Select a healthy, semi-hardwood stem from the current season’s growth. Look for a stem that’s firm but still has a little flexibility. Cut a section about 4-6 inches long, making a clean cut just below a leaf node (where a leaf attaches to the stem). Remove the lower leaves, leaving just a few at the top to help with photosynthesis.
- Wounding and Hormoning: Gently scrape a small sliver of bark from one side of the bottom millimeter of the stem. This “wounding” helps the rooting hormone adhere. Dip the cut end into your rooting hormone, tapping off any excess.
- Planting the Cuttings: Fill your clean pots or trays with your prepared well-draining mix. Make a hole with a pencil or your finger, large enough to accommodate the end of the cutting. Gently insert the prepared cutting into the hole, being careful not to dislodge the rooting hormone. Firm the soil gently around the base of the cutting.
- Creating Humidity: Water the soil lightly. Then, cover the pot or tray with a clear plastic bag or a propagation dome. This creates a mini-greenhouse effect, keeping the humidity high, which is vital for the cuttings while they develop roots. Make sure the leaves don’t touch the plastic bag directly.
The “Secret Sauce” (Pro Tips)
Now for a couple of tricks I’ve picked up over the years. These little things can make a big difference!
- The Power of Patience: Honestly, and this isn’t just about propagation, patience is key in gardening. Don’t be tempted to pull up your cuttings too soon to check for roots. It can take several weeks, sometimes even a couple of months, for Eschweilera chartaceifolia to establish. Trust the process!
- Bottom Heat is Your Friend: If you can manage it, placing your pots on a gentle bottom heat mat can significantly speed up root development. It mimics the warmth of spring soil and encourages those roots to get moving. Just make sure it’s not too hot – we want warmth, not a bake!
Aftercare & Troubleshooting
Once you see new growth appearing, that’s usually a good sign that roots are forming! Continue to keep the soil moist but not soggy. As the roots strengthen, you can gradually acclimate your new plant to lower humidity levels by opening the plastic bag or dome a little each day.
Now, what if things don’t go as planned? The most common issue you might encounter is rot. If your cutting looks soggy, discolored, or moldy, it’s a sign of too much moisture and not enough air circulation. If you catch it early, sometimes you can salvage the cutting by removing the affected part and repotting it in fresh, dry mix. If it’s widespread, sadly, it’s time to try again. Don’t get discouraged! Every failed attempt is a learning opportunity.
A Encouraging Closing
So there you have it! Propagating Eschweilera chartaceifolia can be such a rewarding journey. Remember to be patient, observe your cuttings, and don’t be afraid to experiment. Each new plant you grow feels like a little victory, doesn’t it? I have a feeling you’ll do wonderfully. Happy propagating!
Resource:
https://identify.plantnet.org/k-world-flora/species/Eschweilera%20chartaceifolia%20S.A.Mori/data