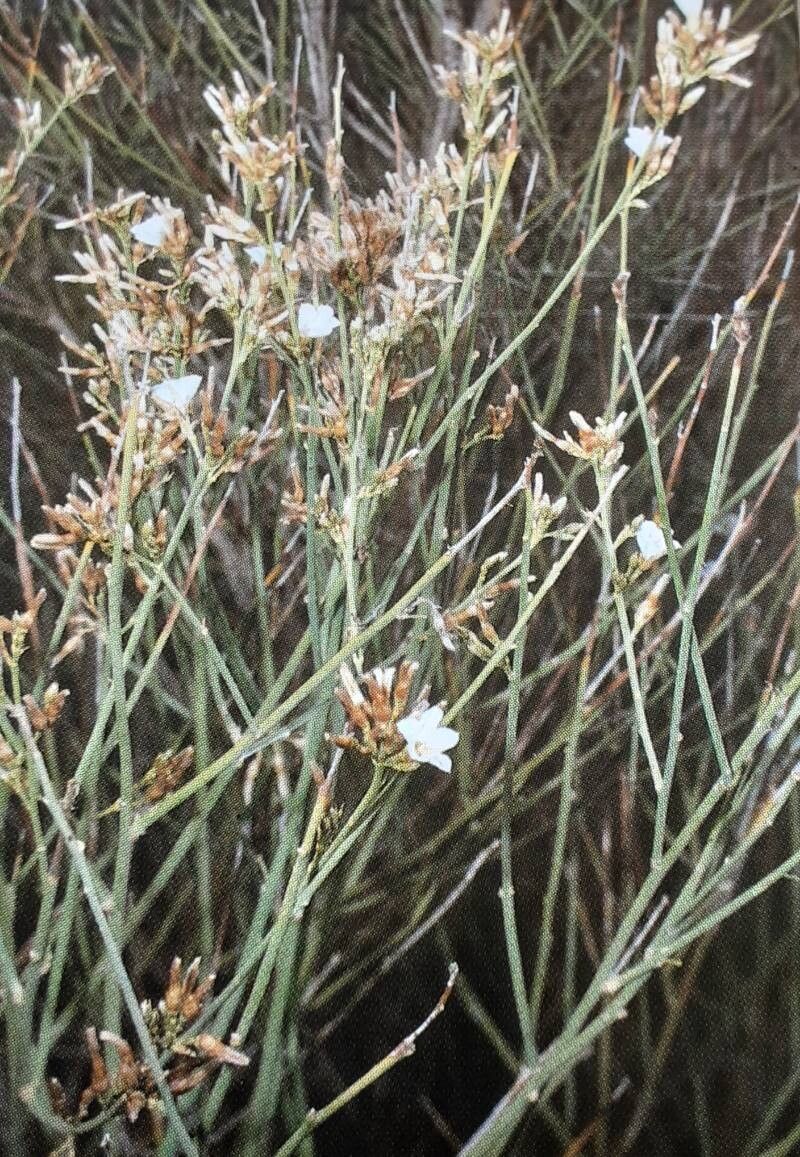
Oh, hello there, fellow garden enthusiast! It’s so lovely to have you here. Today, we’re diving into the delightful world of Convolvulus scoparius. If you’ve ever seen this beauty gracing a garden – with its delicate, often silvery foliage and charming, trumpet-shaped flowers that peek through in the spring and summer – you’ll understand why it captures the heart. It has this wonderful, almost wispy elegance that can really lift a planting.
Now, you might be wondering if it’s a tricky plant to get more of. Honestly, while all propagation has its little learning curves, Convolvulus scoparius is generally quite approachable. I’d say it’s a good one for those of you looking to expand your plant collection without tearing your hair out. The reward of seeing a tiny cutting unfurl its first true leaves is truly special.
The Best Time to Start
For us gardeners, timing is often everything, isn’t it? With Convolvulus scoparius, the absolute best time to take cuttings is in the late spring or early summer. This is when the plant is actively growing, full of youthful energy. You’ll find the stems are pliable but not too soft, making them ideal for rooting. Avoid trying this when the plant is stressed, like during a heatwave or the chill of winter.
Supplies You’ll Need
Gathering your tools is like prepping for a culinary adventure. Here’s what I usually have on hand:
- Sharp pruning shears or secateurs: Cleanliness is key here, so give them a wipe-down before you start.
- Rooting hormone: This isn’t strictly essential, but it does give your cuttings a fighting chance and speeds things up considerably. Look for a powder or gel.
- Small pots or trays: Clean seed trays or 3-4 inch pots work wonderfully.
- A good potting mix: I like a light, well-draining mix. A blend of equal parts peat-free compost, perlite, and coarse sand is my go-to. It mimics the well-drained conditions this plant loves.
- A watering can with a fine rose: Gentle watering is important so you don’t dislodge your precious cuttings.
- A plastic bag or propagator lid: To create a humid environment.
- Labels: Trust me, you will forget what you planted!
Propagation Methods: Stem Cuttings
This is my favorite and most reliable method for getting more Convolvulus scoparius. It’s straightforward and yields fantastic results.
- Select your parent plant: Find a healthy, vigorous Convolvulus scoparius established in your garden or a pot.
- Take the cuttings: Using your clean secateurs, snip off several healthy, non-flowering shoots that are about 4-6 inches long. Look for stems that have started to harden slightly, not the very young, floppy green bits.
- Prepare the cuttings: Gently remove the lower leaves from each cutting, leaving just a few at the top. This prevents them from rotting in the soil. If the stem is a bit long, you can cut it just below a leaf node (where a leaf attaches to the stem).
- Apply rooting hormone: Dip the cut end of each prepared cutting into the rooting hormone, tapping off any excess.
- Pot them up: Make small holes in your prepared potting mix with a pencil or finger. Insert the cuttings, making sure the hormone-covered end is well within the soil. Gently firm the soil around them.
- Water gently: Give them a light watering. The soil should be moist but not waterlogged.
- Create a humid environment: Cover the pots or trays with a clear plastic bag or a propagator lid. This little greenhouse effect is crucial for preventing the cuttings from drying out. Pop these in a bright spot, but out of direct sunlight.
The “Secret Sauce” (Pro Tips)
Here are a few little tricks I’ve learned over the years that can really make a difference:
- Bottom Heat is Your Friend: If you have one, placing your pots on a heat mat set to a gentle warmth (around 20-22°C or 70-75°F) will significantly speed up root formation. This mimics the warmth from the soil that the plant naturally experiences.
- Watch for the Wilt: When you first pot up your cuttings, keep a close eye on them. A little wilting is normal as they adjust. However, if they look thoroughly dejected and don’t perk up after a watering, it’s a sign they aren’t yet taking up moisture. Sometimes, I’ll mist the leaves lightly inside the propagator every few days, but resist the urge to overdo it.
- The “Air Out” Ritual: Once a day, if you’re using a bag, open it up for about 10-15 minutes to let some fresh air circulate. This helps reduce the risk of fungal diseases building up in that humid environment.
Aftercare & Troubleshooting
Be patient! It can take 3-6 weeks for your cuttings to develop a good root system. You’ll know they’re ready when you see new leaves starting to unfurl or if you gently tug on a cutting and feel resistance.
This is also the time to start hardening them off. Gradually introduce them to less humid conditions by removing the plastic bag or lid for longer periods each day. Once they seem robust, you can transplant them into their own small pots.
What if things go wrong? The most common culprit is often rot. If a cutting turns black and mushy, it’s usually a sign of too much moisture and poor drainage, or a fungal infection. It’s best to discard any rotted cuttings to prevent it from spreading. Sometimes, a cutting just doesn’t take. Don’t be discouraged! Every plant, and every cutting, is a little bit different, and gardening is a constant learning process.
A Little Encouragement to Finish
So there you have it! Propagating Convolvulus scoparius is a truly rewarding process, and with a little care and attention, you’ll soon have a small army of these beauties to share or simply enjoy in your own garden. Remember to be patient; nature has its own timeline. Happy propagating, and may your new plants thrive!
Resource:
https://identify.plantnet.org/k-world-flora/species/Convolvulus%20scoparius%20L.f./data