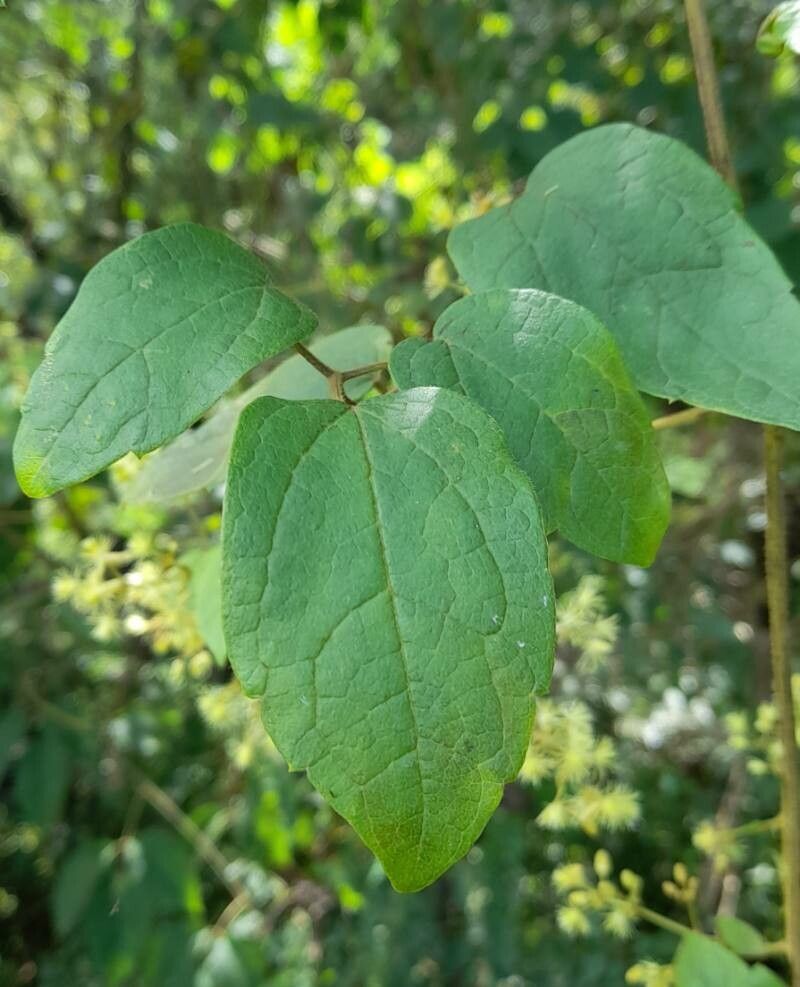
Hello fellow garden enthusiasts! Today, we’re diving into the wonderful world of Clematis, specifically the often-overlooked gem, Clematis haenkeana. If you’re not familiar with it, imagine a vine that’s a bit more understated, with elegant, bell-shaped flowers (often creamy white or pale green) that spill gracefully over a trellis or fence. It’s a plant that whispers rather than shouts, and I find its subtle beauty incredibly captivating.
Propagating Clematis haenkeana can be a very rewarding experience. It allows you to easily expand your collection or share these lovely plants with friends. While some clematis can be a bit fussy to propagate, I find this particular variety to be moderately easy, making it a great project for those looking to step up their propagation game.
The Best Time to Start
For the highest success rate with Clematis haenkeana, I’ve found that late spring to early summer is your sweet spot. This is when the plant is actively growing, but before it gets too stressed from the intense heat. You’re looking for semi-hardwood cuttings, meaning the stems are starting to firm up but are not yet woody and stiff. Think of a pencil – firm, but still bendy.
Supplies You’ll Need
Gathering your supplies beforehand makes the entire process smoother. Here’s what you’ll want to have on hand:
- Sharp Pruning Shears or a Knife: Clean cuts are crucial.
- Rooting Hormone: A powder or gel will do.
- Small Pots or Seed Trays: Plenty of drainage holes are a must.
- Well-Draining Potting Mix: I like to use a blend of equal parts peat moss (or coco coir) and perlite or coarse sand. This ensures good aeration and prevents waterlogging.
- Clear Plastic Bags or a Propagator: To create a humid environment.
- Watering Can with a Fine Rose: For gentle watering.
- Optional: Heat Mat: This can significantly speed up rooting.
Propagation Methods
I typically have the most success with stem cuttings for Clematis haenkeana. It’s straightforward and yields great results.
- Take Your Cuttings: On a pleasant morning, select healthy, vigorous stems from your mature Clematis haenkeana. Look for stems that have at least two sets of leaves. Using your clean shears, make a cut just below a leaf node (where a leaf attaches to the stem). Aim for cuttings that are about 4-6 inches long. Remove the lower leaves, leaving just the top two or three.
- Prepare the Cuttings: Gently dip the cut end of each cutting into your rooting hormone, tapping off any excess.
- Plant the Cuttings: Fill your pots or trays with your prepared potting mix. Make a small hole with a pencil or your finger in the center of the soil for each cutting. Insert the cuttings into the holes, ensuring the leaf nodes that will be below the soil surface are covered. Gently firm the soil around the base of each cutting.
- Create a Humid Environment: Water the soil gently until it’s moist but not soggy. Then, I like to place the pots inside a clear plastic bag, loosely secured with a twist tie or rubber band around the rim of the pot. This creates a mini-greenhouse. If you have a propagator with a lid, even better!
The “Secret Sauce” (Pro Tips)
Now, for a couple of things I’ve learned over the years that really make a difference:
- Don’t Let the Leaves Touch the Soil: This is so important! If the lower leaves in the soil get soggy, they’ll rot, and that’s the fastest way to lose your cutting. Keep them perked up and clear of the soil surface.
- Bottom Heat is Your Friend: While not strictly necessary, placing your pots on a gentle heat mat set to around 70-75°F (21-24°C) will encourage root development much faster. It mimics the warmth of summer soil and gives your cuttings that extra boost.
Aftercare & Troubleshooting
Once your cuttings are planted and nestled into their humid environment, place them in a bright spot out of direct sunlight. I usually keep them out of harsh sun until I see signs of new growth.
Be patient! It can take anywhere from 4 to 8 weeks for roots to form. You’ll know they’re ready when you gently tug on a cutting and feel resistance, or when you start to see tiny new leaves unfurling.
The most common issue you’ll encounter is rot. If you see stems turning black and mushy, it’s usually a sign of too much moisture and not enough airflow. If this happens, try to remove the affected cuttings, ensure your soil is draining well, and perhaps increase ventilation slightly by opening your plastic bag or propagator for a short period each day.
A Encouraging Closing
Propagating plants is a journey, and each cutting is a little experiment. Don’t be discouraged if not every single one takes. Celebrate the successes, learn from any setbacks, and most importantly, enjoy the magical process of coaxing new life from a single stem. Happy gardening!
Resource:
https://identify.plantnet.org/k-world-flora/species/Clematis%20haenkeana%20C.Presl/data