Hey there, fellow green thumbs! Today, we’re diving into something truly special: propagating Buchanania sessifolia. If you’ve ever admired its glossy leaves and unique charm, you’re in for a treat. Bringing new life into existence from a parent plant is one of the most satisfying parts of gardening, and Buchanania sessifolia is a wonderful subject to practice on. Now, I won’t lie to you, this isn’t the absolute easiest plant to propagate for a beginner, but with a little care and attention, you can absolutely achieve success. Think of it as a rewarding challenge that you’ll master with practice!
The Best Time to Start
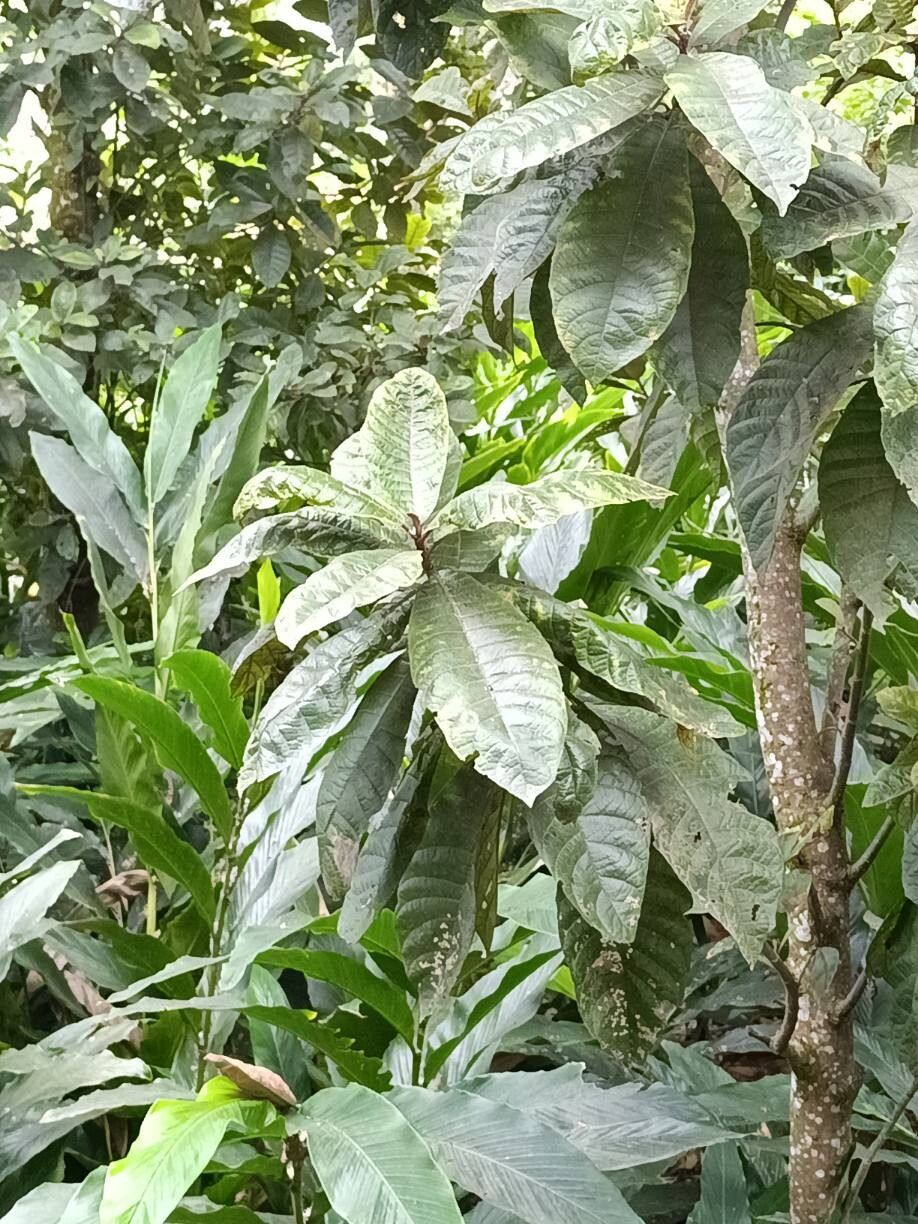
For Buchanania sessifolia, the sweet spot for propagation is generally late spring to mid-summer. This is when the plant is actively growing, fueled by longer days and warmer temperatures. You’re looking for semi-hardwood cuttings, meaning stems that are no longer brand new and soft, but also not old and woody. They should be somewhat flexible but have a bit of firmness to them. It feels like the plant is just bursting with energy at this time, making it more receptive to rooting.
Supplies You’ll Need
Gathering your supplies beforehand makes the whole process much smoother. Here’s what I usually have on hand:
- Sharp pruning shears or a clean knife: For making clean cuts.
- Rooting hormone powder or gel: This isn’t strictly mandatory, but it seriously boosts your success rates.
- Well-draining potting mix: A good blend is usually equal parts peat moss or coco coir, perlite, and coarse sand. Sometimes I’ll add a little bit of orchid bark for extra aeration.
- Small pots or propagation trays: With drainage holes, of course!
- A misting bottle: For keeping your cuttings happy and hydrated.
- Plastic bags or a propagator lid: To create a humid environment.
- Labels and a permanent marker: To keep track of what you’ve planted!
Propagation Methods
While there are a few ways to go about this, stem cuttings are my go-to method for Buchanania sessifolia. It’s reliable and typically yields the best results.
Stem Cuttings: Your Best Bet
- Select your parent plant: Find a healthy, vigorous Buchanania sessifolia. Look for stems that are at that ideal semi-hardwood stage.
- Take the cuttings: Using your clean shears, make a cut just below a leaf node (where a leaf attaches to the stem). You want cuttings that are about 4-6 inches long. Remove any lower leaves that would be submerged in the potting mix or water, leaving just a couple at the top.
- Prepare the cuttings: Dip the cut end of each stem into your rooting hormone. Gently tap off any excess.
- Plant your cuttings: Fill your pots with your prepared, well-draining potting mix. Make a small hole in the center with your finger or a pencil and insert the cutting. Gently firm the soil around the base. Water thoroughly until the water runs out of the drainage holes.
- Create a humid environment: The key here is to mimic the warm, humid conditions a plant cutting would find in nature. You can do this by placing the potted cuttings inside a plastic bag that’s loosely tied, or by covering them with a propagator lid. Make sure the leaves aren’t touching the sides of the bag or lid too much, as this can encourage rot.
- Placement: Find a bright spot with indirect light. Direct sun will scorch your tender cuttings.
The “Secret Sauce” (Pro Tips)
Here are a couple of things I’ve learned over the years that really make a difference:
- Bottom Heat is Your Friend: If you can, placing your propagating pots on a gentle heat mat (the kind used for seedlings) is a game-changer. It encourages root development from below, which is crucial for successful rooting. A mat set to around 70-75°F (21-24°C) is usually perfect.
- Don’t Get Impatient with Watering: While you want the soil to stay consistently moist, avoid soggy conditions. Overwatering is a fast track to rot. I like to check the moisture by gently poking my finger into the soil. If the top inch feels dry, it’s time to water. Misting the leaves regularly also helps keep them turgid.
- The “Bend Test” for Roots: After a few weeks, you can gently tug on a cutting. If you feel a slight resistance, it means roots are forming! You can also carefully slide the entire root ball out of the pot to peek, but this should be a rare occasion.
Aftercare & Troubleshooting
Once you see signs of new growth – tiny leaves unfurling or shoots emerging – that’s your cue that roots have formed. Congratulations! Now, you can begin to gradually acclimate your new plant to less humid conditions. Slowly open the plastic bag or propagator lid a little bit each day over the course of a week. Continue to water as needed, keeping the soil consistently moist but not waterlogged.
The most common problem you might encounter is rot. If you notice your cuttings turning black and mushy, it’s usually a sign of too much moisture and not enough air circulation. Sadly, in these cases, they’re usually beyond saving. Prevention is key, so make sure your soil is well-draining and you’re not overwatering. Yellowing leaves can sometimes indicate that the cutting isn’t getting enough light, or is being overwatered.
A Gentle Closing
Propagating a plant is an exercise in patience and observation. It’s a slow dance with nature, and there will be times when things don’t go exactly as planned. Don’t be discouraged if your first attempt isn’t a runaway success! Every gardener, no matter how experienced, has their share of propagation flops. Keep experimenting, keep tending to your little green charges, and most importantly, enjoy the journey of nurturing new life. Happy propagating!
Resource:
https://identify.plantnet.org/k-world-flora/species/Buchanania%20sessifolia%20Blume/data