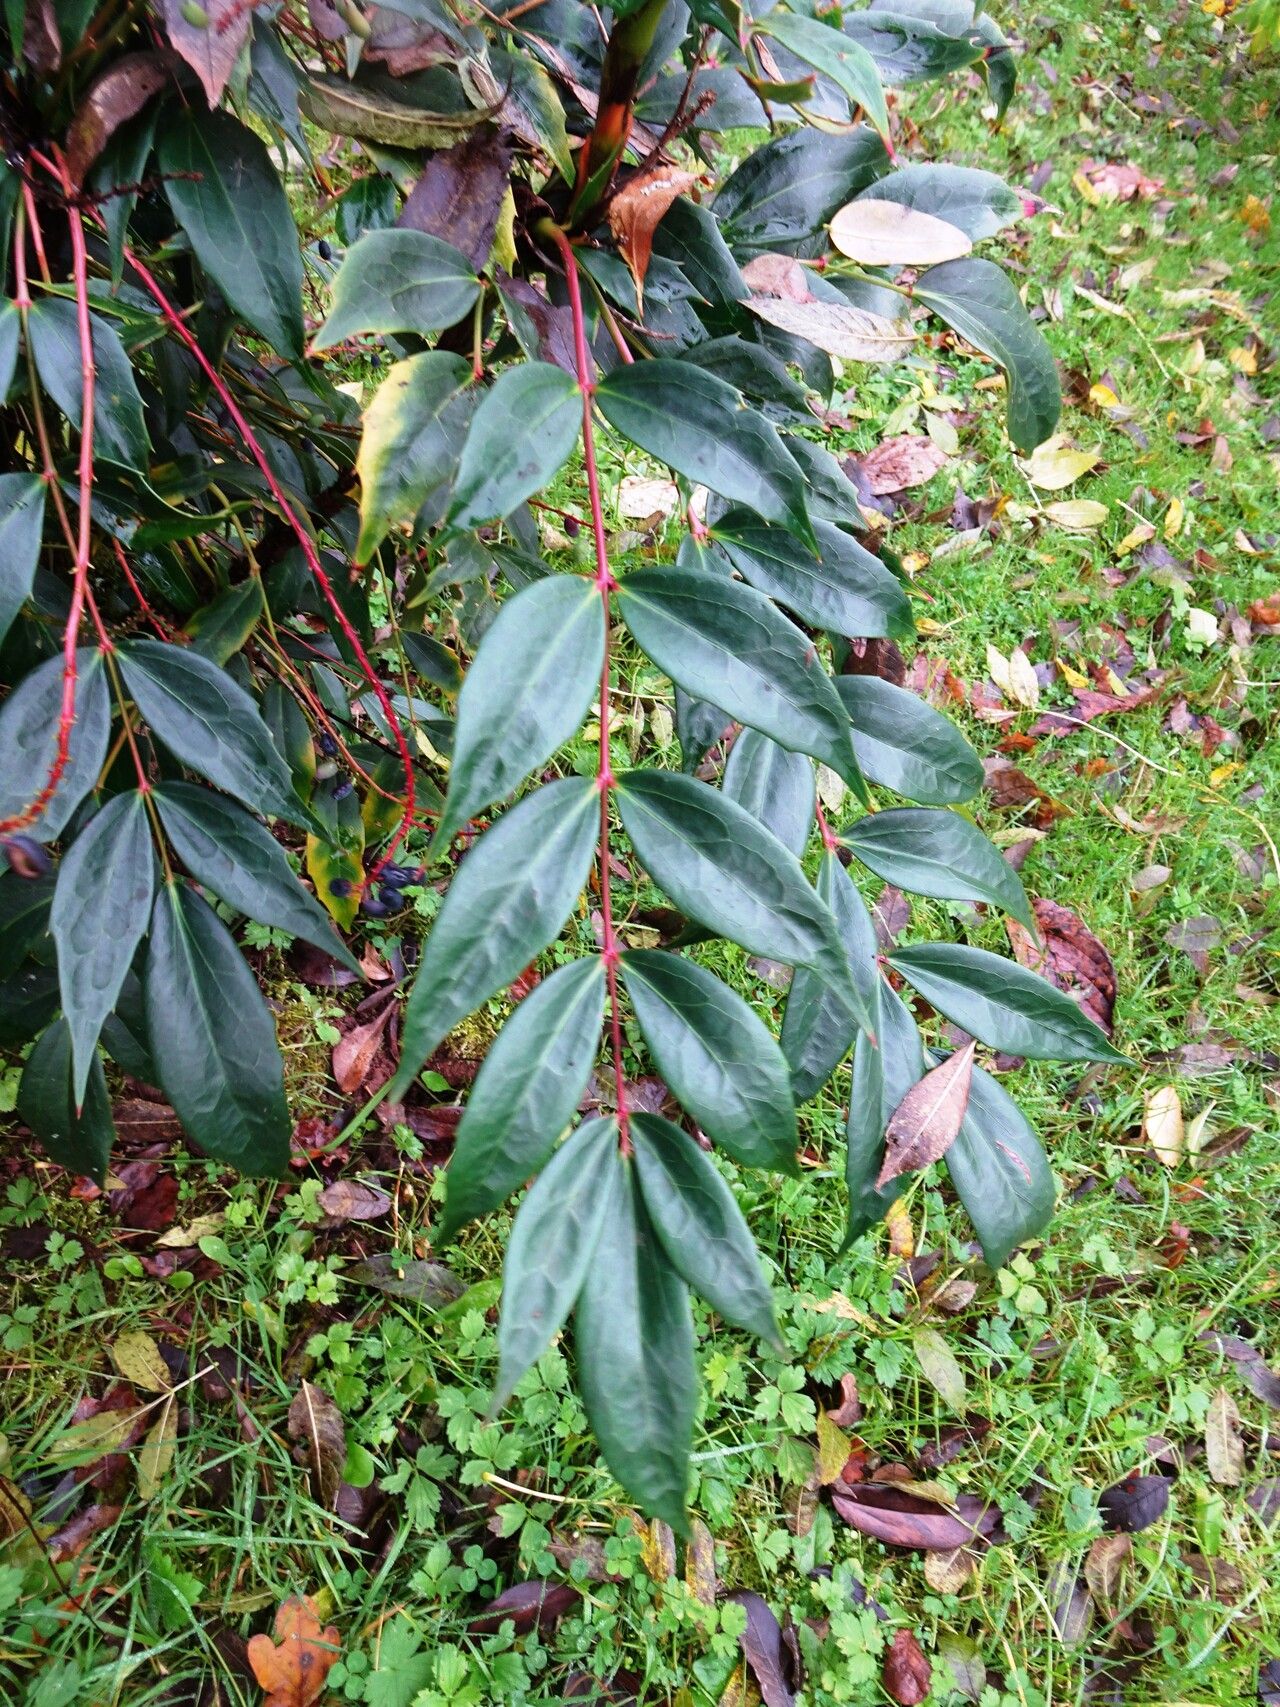
Oh, Berberis elegans! If you’re looking for a shrub that brings a touch of elegance and vibrant color to your garden, this is one to consider. Its delicate foliage, often tinged with bronze or purple, and charming little flowers make it a real standout. And the best part? It’s surprisingly rewarding to propagate. You can easily fill your own garden, or share these beauties with friends. For those just starting out on their propagation journey, I’d say Berberis elegans is a moderately easy plant to work with. With a little patience and the right approach, you’ll be well on your way to success.
The Best Time to Start
For the highest success rate with Berberis elegans, I always aim for late spring or early summer. This is when the plant is actively growing and has plenty of young, flexible stems. You want to be working with semi-ripe cuttings – that is, stems that are starting to firm up but haven’t become woody yet. You can test this by trying to snap a stem; it should bend slightly before breaking, rather than snapping clean like a dry twig.
Supplies You’ll Need
Gathering your tools beforehand makes the whole process smoother. Here’s what I generally keep handy:
- Sharp pruning shears or a clean, sharp knife: For making clean cuts.
- Rooting hormone powder or gel: This isn’t strictly essential for Berberis, but it can give your cuttings an extra boost.
- A well-draining potting mix: I like a blend of equal parts peat moss, perlite, and coarse sand. You can also buy a good quality seed-starting mix.
- Small pots or seed trays: Clean ones are key to preventing disease.
- A plastic bag or propagation dome: To create a humid environment.
- Spray bottle: For misting your cuttings.
- Labels and a marker: To keep track of what you’ve planted and when.
Propagation Methods
While Berberis elegans can sometimes be grown from seed, the most reliable and common method for home gardeners is through stem cuttings. Here’s how I do it:
- Take Your Cuttings: On a bright, mild day, select healthy, non-flowering shoots from your established Berberis plant. Use your sharp shears or knife to take cuttings that are about 4-6 inches long. Make the cut just below a leaf node (where a leaf joins the stem).
- Prepare the Cuttings: Gently remove the lower leaves from your cuttings, leaving just two or three at the top. This prevents them from rotting in the soil.
- Apply Rooting Hormone (Optional): If you’re using rooting hormone, dip the cut end of each stem into the powder or gel. Tap off any excess.
- Pot Them Up: Fill your clean pots or trays with your prepared potting mix. Make a hole in the soil with a pencil or your finger, and insert the cutting. Gently firm the soil around the base of the stem.
- Water Gently: Lightly water the soil. You want it moist, but not waterlogged.
- Create a Humid Environment: Place the pots inside a clear plastic bag or cover them with a propagation dome. Make sure the leaves aren’t touching the sides of the bag, as this can encourage rot. You can use small stakes to prop up the bag if needed.
The “Secret Sauce” (Pro Tips)
Over the years, I’ve learned a few little tricks that really seem to help.
- Ditch the Surface Water: When you water your cuttings, try to avoid getting the leaves directly wet if possible. If you’re misting, a light mist is all they need. Too much moisture sitting on the leaves can lead to fungal issues.
- A Little Warmth Helps: While not always essential, providing some gentle warmth from below can significantly speed up root development. A heated propagator mat designed for seedlings is perfect for this. Just place your pots on top of it.
- Don’t Crowd Them: Give your cuttings a little breathing room in their pots. Overcrowding can lead to competition for resources and increased risk of disease spread.
Aftercare & Troubleshooting
Once your cuttings are potted up, the real waiting game begins! Keep them in bright, indirect light. Avoid direct sun, which can scorch the delicate leaves. Check the soil moisture regularly, and mist occasionally if the environment feels dry. You’ll know your cuttings have rooted when you see new growth appearing or gentle resistance when you give a tiny tug on the stem.
The most common problem you might encounter is rot. If you see your cuttings turning black and mushy, it’s usually a sign of too much moisture or poor air circulation. Don’t despair! Just discard the affected cuttings and reassess your watering and humidity levels for the remaining ones.
A Little Patience Goes a Long Way
Propagating Berberis elegans is a wonderful way to connect with your garden and create more of the plants you love. It takes time, and sometimes not every cutting will make it, but that’s part of the learning curve. Be patient, enjoy the process of nurturing these tiny shoots, and celebrate every new root you discover! Happy propagating!
Resource:
https://identify.plantnet.org/k-world-flora/species/Berberis%20elegans%20H.Lév./data