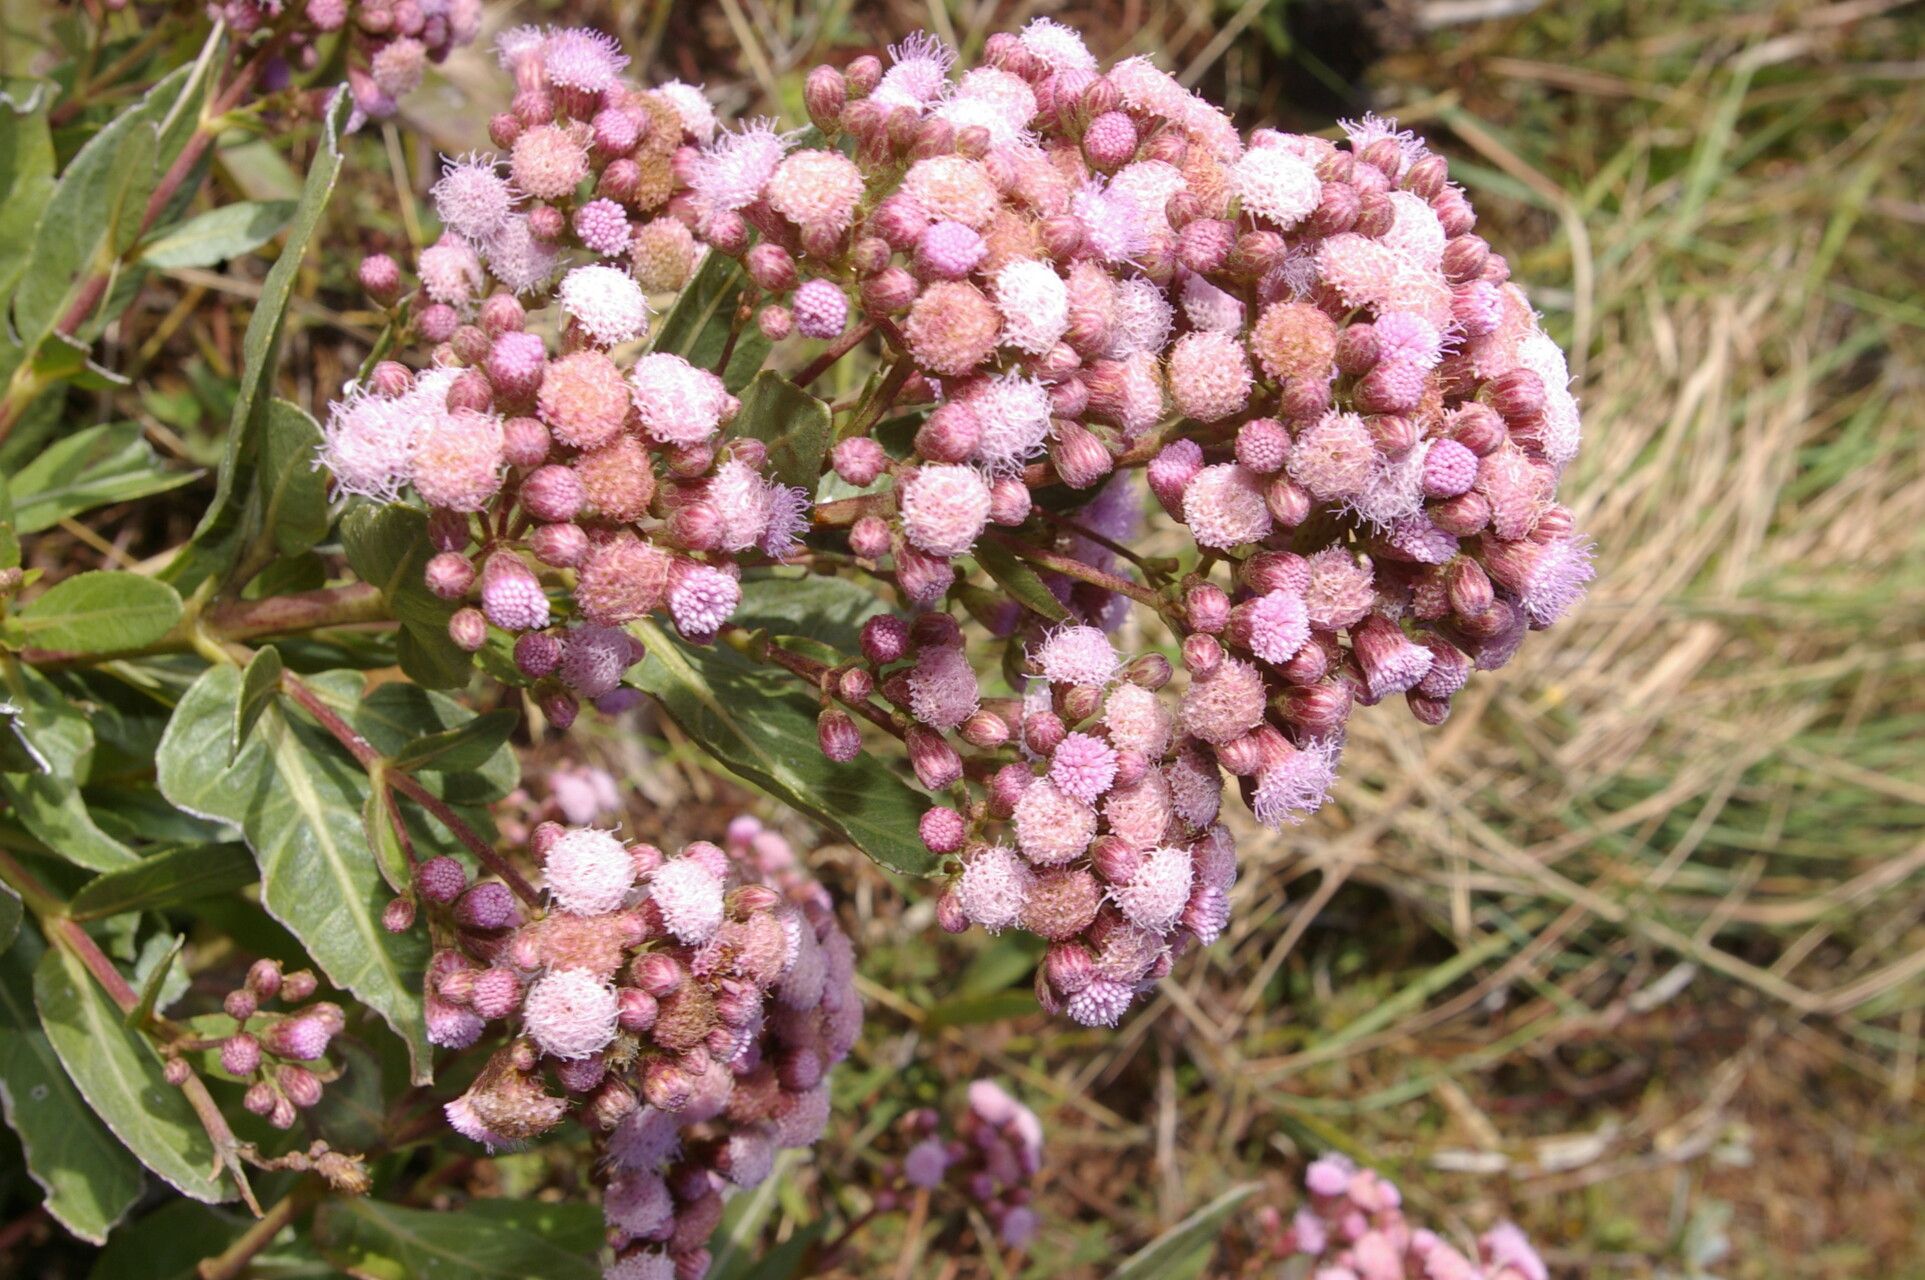
Hello fellow plant enthusiasts! Today, I want to chat about a plant that has truly charmed its way into my garden: Ayapana amygdalina. You might know it by its common names, like climbing eupatorium or missionary weed. Its delicate, fluffy white flowers are a magnet for pollinators, and its medicinal properties are fascinating. For me, the real joy comes from multiplying this beauty. It’s like sharing a little bit of horticultural magic! And the good news? It’s actually quite forgiving, making it a wonderful plant to try propagating, even if you’re just starting out.
The Best Time to Start
When it comes to getting the most bang for your propagation buck, late spring to early summer is your sweet spot for Ayapana amygdalina. This is when the plant is actively growing, full of vigor, and has plenty of young, pliable stems to work with. You’ll often find the most success with cuttings taken from stems that are not yet woody but have just finished their most vigorous flush of growth. Think of it as taking cuttings when the plant is feeling its best!
Supplies You’ll Need
Before we dive into the exciting part, let’s make sure you have your tools ready:
- Clean, sharp pruning shears or a clean knife: Essential for making clean cuts that heal well.
- Rooting hormone (optional but recommended): A little dip can give your cuttings a fantastic start.
- A well-draining potting mix: I like a blend of equal parts peat moss or coco coir, perlite, and a bit of compost. This gives the roots something to grip while also allowing for good air circulation.
- Small pots or trays with drainage holes: Whatever you choose, make sure water can escape!
- Plastic bags or a clear plastic propagator lid: To create a humid environment.
- Water: For misting and watering.
Propagation Methods
Let’s get our hands dirty and talk about how to grow more Ayapana amygdalina!
Stem Cuttings
This is my go-to method for Ayapana amygdalina. It’s straightforward and generally yields excellent results.
- Select Your Stems: Look for healthy, non-flowering shoots that are about 4-6 inches long. These are often called semi-hardwood cuttings.
- Make the Cut: Using your clean shears or knife, make a clean, angled cut just below a leaf node (the point where leaves grow from the stem). This is where the magic happens for root development.
- Prepare the Cuttings: Gently remove the lower leaves, leaving just a couple of sets at the top. This prevents them from rotting in the soil and encourages the plant to focus energy on rooting.
- Apply Rooting Hormone (If Using): Dip the cut end of the stem into your rooting hormone powder. Tap off any excess.
- Pot Them Up: Fill your small pots or trays with your well-draining potting mix. Make a small hole in the center of the soil with your finger or a pencil.
- Insert the Cuttings: Gently place the cuttings into the holes, ensuring the leaf nodes you removed are below the soil surface. Firm the soil gently around the base of each cutting.
- Water Gently: Water the soil thoroughly until it’s moist but not waterlogged.
- Create Humidity: Cover the pots or tray with a plastic bag or propagator lid. This is crucial for keeping the humidity high, which helps prevent the cuttings from drying out before they can root.
Water Propagation
If you’re feeling a bit more experimental, or just don’t have rooting hormone on hand, water propagation can work too!
- Prepare the Cuttings: Follow the same steps as for stem cuttings to select and prepare your 4-6 inch long stems, removing lower leaves.
- Place in Water: Put the cuttings in a clean jar or vase filled with fresh water. Make sure the leaf nodes where you removed the leaves are submerged, but try to keep the leaves themselves out of the water.
- Change Water Regularly: Change the water every few days to keep it fresh and prevent bacterial growth.
- Observe: You should start to see tiny white roots emerging from the nodes within a few weeks.
The “Secret Sauce” (Pro Tips)
Now, for a couple of little tricks I’ve learned over the years that can really boost your success:
- Bottom Heat is Your Friend: If you have a heated propagator or can place your pots on a heat mat, this can significantly speed up the rooting process. Roots love a little warmth! It encourages faster root development, like a cozy bed for those emerging roots.
- Don’t Overcrowd: Give your cuttings a little breathing room in their pots or trays. Too much crowding can increase humidity and lead to fungal issues. Even though we want humidity around the cuttings, we don’t want them packed so tight that air can’t circulate a little.
- Watch for “The Lean”: When your cuttings start to show new growth at the top, it’s a good sign they’re rooting. If they start to look a bit droopy but aren’t wilting severely, it can sometimes mean they’ve developed roots and are ready to be transplanted (or have a good root system but are a bit thirsty).
Aftercare & Troubleshooting
Once you see signs of roots – little white nubs peeking out from the bottom of your pot or visible in your water jar – it’s time for a little extra care.
- Acclimatize: If you used a plastic bag or propagator lid, gradually remove the cover over a few days. This helps the new plant adjust to drier air.
- Transplant Carefully: Gently transplant your rooted cuttings into individual small pots filled with your potting mix. Handle the delicate new roots with care.
- Keep Moist, Not Wet: Water them regularly, keeping the soil consistently moist but never soggy. Overwatering is the quickest way to invite trouble.
- Watch for Rot: The most common sign of failure is rot. If stems turn black and mushy, it’s usually a sign of too much moisture and poor air circulation, or a fungal issue. If this happens, discard the affected cutting and check your watering and drainage. Sometimes the soil mix might be too heavy, so a looser mix is key.
A Little Patience Goes a Long Way
Growing new plants from cuttings is such a rewarding experience. It connects you to the plant cycle in a tangible way. Don’t get discouraged if a few don’t make it – that’s all part of the learning process! Just keep trying, enjoy the journey, and soon you’ll have a whole collection of Ayapana amygdalina to share with friends or simply enjoy in your own garden oasis. Happy propagating!
Resource: