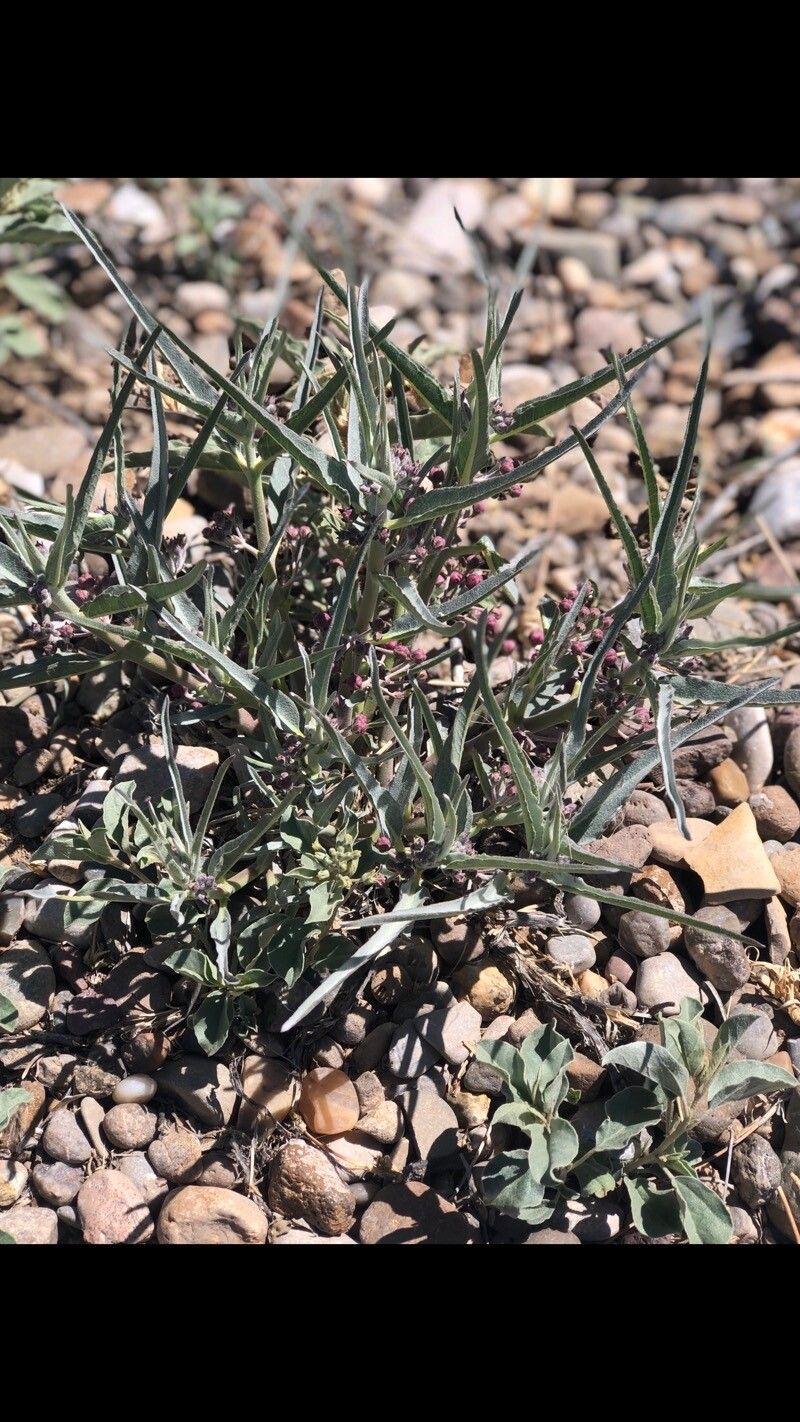
Hey there, fellow plant lovers! It’s so good to connect with you again. Today, we’re diving into one of my favorite subjects: coaxing new life from our beloved plants. And this time, we’re focusing on Asclepias brachystephana, or as it’s often called, Desert Milkweed.
Why You’ll Love Propagating Desert Milkweed
Desert Milkweed is such a gem. Its delicate, star-shaped flowers are a magnet for all sorts of beneficial pollinators, and it’s a crucial host plant for Monarch butterfly caterpillars. There’s a special kind of magic in growing a new plant from a piece of an old one. It’s incredibly satisfying, and for Asclepias brachystephana, it’s a surprisingly accessible way to expand your collection or share the butterfly love with friends. While some Milkweed species can be a bit finicky, A. brachystephana is generally quite forgiving, making it a wonderful choice for those curious about propagation.
The Best Time to Start
For the highest success rate with Asclepias brachystephana, I always recommend propagating in late spring or early summer. This is when the plant is actively growing and has plenty of energy to put into root development. You’ll typically want to take cuttings from healthy, non-flowering stems. If you’re thinking about dividing an existing clump, aim for the same period, just after the plant has finished its main blooming phase.
Supplies You’ll Need
Gathering your supplies beforehand makes the whole process smoother. Here’s what I usually have on hand:
- Sharp, clean pruning shears or a sharp knife: You want a clean cut to prevent disease.
- Rooting hormone powder or gel (optional but helpful): This can give your cuttings a helpful boost.
- Well-draining potting mix: A good mix for succulents or cacti works beautifully. You can also make your own by combining potting soil with perlite or pumice.
- Small pots or seed trays: Ensure they have drainage holes!
- Plastic bags or a propagation dome: To create a humid environment.
- Watering can or spray bottle: For gentle watering.
- Labels and a marker: To keep track of your new plants.
Propagation Methods: Let’s Get Growing!
There are a couple of tried-and-true ways to increase your Asclepias brachystephana population.
Stem Cuttings: My Go-To Method
This is my favorite approach for A. brachystephana, as it’s efficient and usually yields great results.
- Take Your Cuttings: Select a healthy, vigorous stem that’s about 4-6 inches long. Using your clean shears or knife, take a clean, angled cut just below a leaf node (where a leaf meets the stem).
- Prepare the Cuttings: Gently remove the lower leaves from the bottom half of the cutting. This prevents them from rotting in the soil. If the stem has any milky sap oozing out, you can rinse it under cool water and let it air dry for a few hours until a callous forms. This can help prevent rot.
- Apply Rooting Hormone (Optional): Dip the cut end of the stem into your rooting hormone, tapping off any excess.
- Plant Your Cuttings: Fill your small pots with your well-draining potting mix. Make a small hole in the center with your finger or a pencil. Gently insert the cut end of the stem into the hole, ensuring the leaf nodes are covered by the soil. Firm the soil gently around the cutting.
- Water Gently: Lightly water the soil. You want it moist, but not soggy.
- Create Humidity: Cover the pots with a plastic bag or place them under a propagation dome. This creates a mini-greenhouse effect, which is crucial for cuttings. Make sure the leaves don’t touch the plastic.
- Provide Bright, Indirect Light: Place the pots in a location that receives bright, indirect light. Avoid strong, direct sun at first.
Water Propagation (with a caveat)
While I’m a big fan of soil propagation for Asclepias brachystephana, you can try water propagation with a slight adjustment to the usual method.
- Prepare the Cutting: Follow steps 1 and 2 from the stem cutting method.
- Place in Water: Put the cuttings in a small jar or glass of clean water. The key here is to ensure no leaves are submerged. You might need to trim off more lower leaves to achieve this.
- Change Water Regularly: Change the water every few days to keep it fresh and prevent bacterial growth.
- Wait for Roots: You should start to see roots forming in a few weeks. Once the roots are about an inch long, it’s time to transplant them into soil (following the planting steps for stem cuttings). This method requires more vigilance to prevent rot.
The “Secret Sauce” (Pro Tips)
Here are a few little tricks I’ve learned over the years that can make a real difference:
- Bottom Heat is Your Friend: If you can, place your pots on a gentle heat mat. This warmth encourages root development much faster than ambient room temperature alone. It’s a game-changer, especially if your house is a bit on the cooler side.
- Don’t Be Afraid to Test: After a few weeks, you can gently tug on a cutting. If you feel resistance, it means roots have formed! If it pulls out easily, it hasn’t rooted yet, so don’t give up! You can try putting it back in the soil. Sometimes they just need a little more time.
- Sanitize Everything: I can’t stress this enough. Clean tools, clean pots, clean hands. It might seem like a small thing, but it drastically reduces the risk of introducing diseases to your delicate cuttings.
Aftercare & Troubleshooting
Once you see those lovely roots emerging, it’s time to adjust your care.
As roots develop and you see signs of new growth, you can gradually acclimate your new plants to lower humidity by opening the bag or propagation dome a little each day. Once they are established and looking robust, you can remove the cover entirely. Continue to water when the top inch of soil feels dry. Avoid overwatering, as this is the most common culprit for failure.
The biggest sign of trouble is rot. If your cuttings turn mushy, black, or smelly, they’ve likely succumbed to rot. This usually happens from too much moisture and not enough airflow. If you see this happening, unfortunately, it’s best to discard the affected cutting and start fresh, ensuring better drainage and perhaps less frequent watering next time.
A Little Patience Goes a Long Way
Propagating plants is such a rewarding journey. It teaches us patience and rewards us with tangible results. Don’t be discouraged if every single cutting doesn’t make it. Nature has its own pace, and with a little practice and these tips, you’ll be well on your way to having a beautiful patch of Asclepias brachystephana and a garden buzzing with pollinators and fluttering with butterflies. Happy propagating!
Resource: