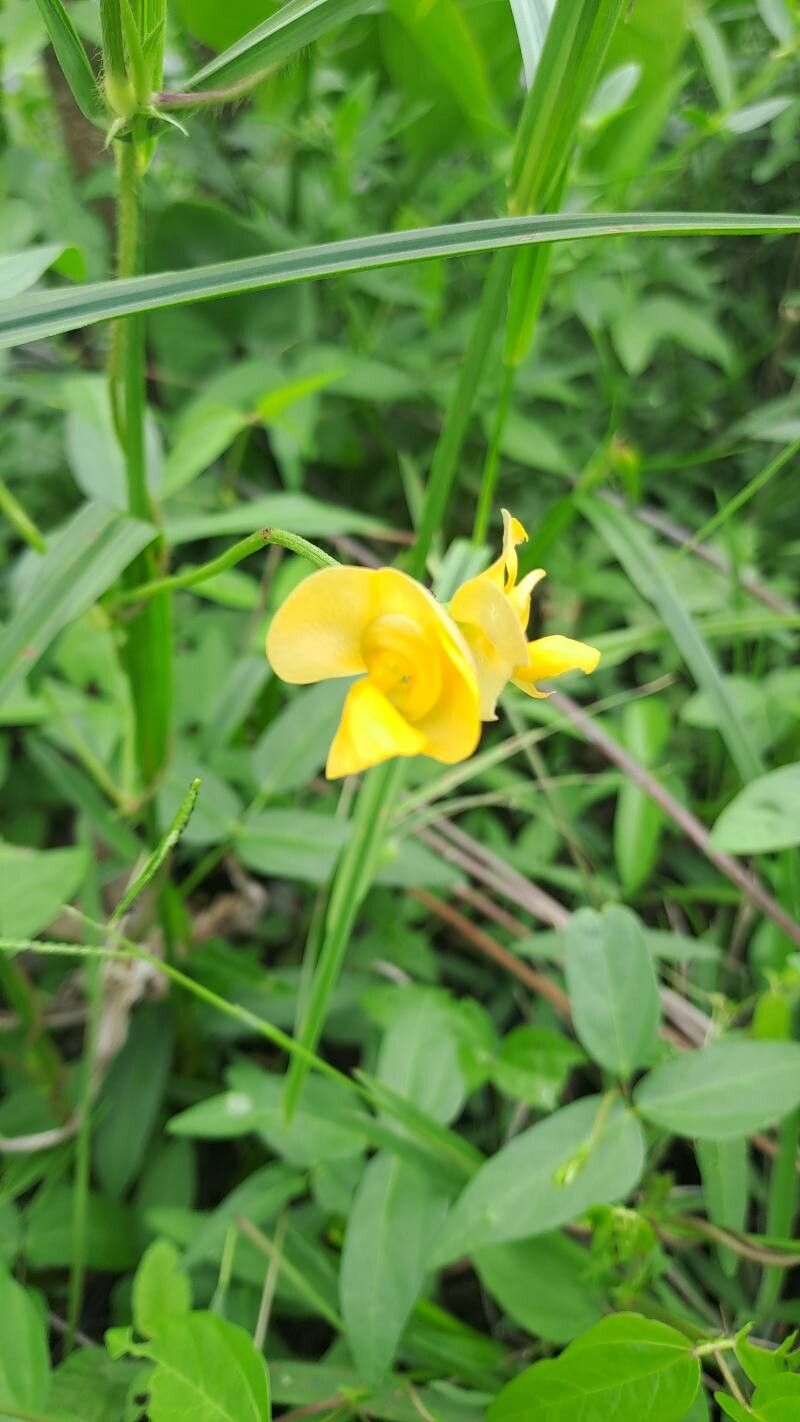
Hello there, fellow plant enthusiasts! Today, I want to talk about a plant that’s brought so much sunny cheer to my garden over the years: Vigna longifolia. You might know it better as some of its common names, like trailing bean or, well, a variety of bean that just loves to sprawl and bloom. Its elegant, pea-like flowers are a delight, and the satisfaction of growing these beauties from scratch? Pure gardening gold. And the best part? For those of you dipping your toes into propagation, Vigna longifolia is wonderfully beginner-friendly. You’ll be surrounded by new plants before you know it!
The Best Time to Start
When it comes to these vining wonders, the sweet spot for propagation is usually late spring to early summer. This is when the plant is really hitting its stride in growth. You want to be working with healthy, vigorous stems that have plenty of energy to put into developing roots. Waiting until the weather is consistently warm is key; think about the conditions your seedlings will need to thrive once they’re ready to go.
Supplies You’ll Need
Gathering your tools makes the process smoother. Here’s what I usually have on hand:
- Sharp pruning shears or a clean, sharp knife: For making clean cuts.
- A good quality potting mix: Something that drains well is crucial. A mix of peat moss, perlite, and a little compost works wonders.
- Small pots or seed trays with drainage holes: For housing your cuttings.
- Rooting hormone powder (optional but helpful): This gives your cuttings an extra boost.
- A clear plastic bag or a propagation dome: To create a humid environment.
- Water: For moistening your soil and for water propagation.
- A spray bottle: For misting.
Propagation Methods
Vigna longifolia is quite adaptable, and I find two methods work particularly well.
1. Stem Cuttings:
This is my go-to method.
- First, select a healthy, non-flowering stem from a mature plant. Look for a stem that’s about 6-8 inches long.
- Make a clean cut just below a leaf node. The leaf node is that little bump where a leaf grows from the stem – it’s where the magic happens for root development.
- Remove the lower leaves, leaving just a few at the top. This prevents them from rotting in the soil or water.
- If you’re using rooting hormone, dip the cut end into the powder.
- Insert the cutting into your prepared moist potting mix, burying the bottom inch or so. Gently firm the soil around it.
- Water lightly, and then cover the pot with a plastic bag or propagation dome to keep humidity high. Place it in a warm spot with bright, indirect light.
2. Water Propagation:
This method is satisfying to watch!
- Take your stem cuttings as described above, making sure to remove the lower leaves.
- Place the cuttings in a jar or glass of clean water. Be sure that the leaf nodes you removed the leaves from are submerged.
- Change the water every few days to keep it fresh and prevent bacterial growth.
- Place the jar in a warm spot with bright, indirect light. You’ll start seeing tiny root hairs emerge in a couple of weeks.
- Once the roots are about an inch long, you can transplant them into pots filled with your potting mix.
The “Secret Sauce” (Pro Tips)
Here are a couple of things I’ve learned over the years that really make a difference:
- When water propagating, don’t let any leaves touch the water. Submerged leaves are a fast track to rot. Pinch them off if they threaten to dip under.
- Bottom heat is your best friend for cuttings. Even a simple heating mat placed under your pots can significantly speed up root development. It mimics the warmth of spring soil and gives those roots a real push.
- Don’t be afraid to experiment! While these methods work well, sometimes a slightly different approach will give you even better results depending on your specific environment.
Aftercare & Troubleshooting
Once you see those lovely roots forming, it’s time to nurture your new Vigna longifolia.
- For cuttings in pots, once roots are well-established (you can gently tug the cutting and feel resistance, or see roots peeking from the drainage holes), you can remove the plastic cover gradually. Start by lifting it for a few hours a day, then leave it off completely. Water them when the top inch of soil feels dry.
- For those started in water, transplant them carefully into pots once the roots are about an inch long. Treat them gently, as the new roots can be delicate.
- The most common issue you’ll face is rot. If your cutting turns black and mushy, it’s likely rotted. This usually happens due to too much moisture and poor air circulation. Make sure your soil isn’t waterlogged and your cuttings have some fresh air. If you see any signs of rot, it’s often best to discard the affected cutting to prevent it from spreading.
A Little Encouragement
Propagating plants is an act of hopeful patience. It’s about trusting the process and the plant’s ability to grow. Don’t get discouraged if a cutting doesn’t make it – it happens to all of us. Celebrate the successes, learn from the challenges, and most importantly, enjoy the journey of bringing new life into your garden! Happy propagating!
Resource:
https://identify.plantnet.org/k-world-flora/species/Vigna%20longifolia%20(Benth.)%20Verdc./data