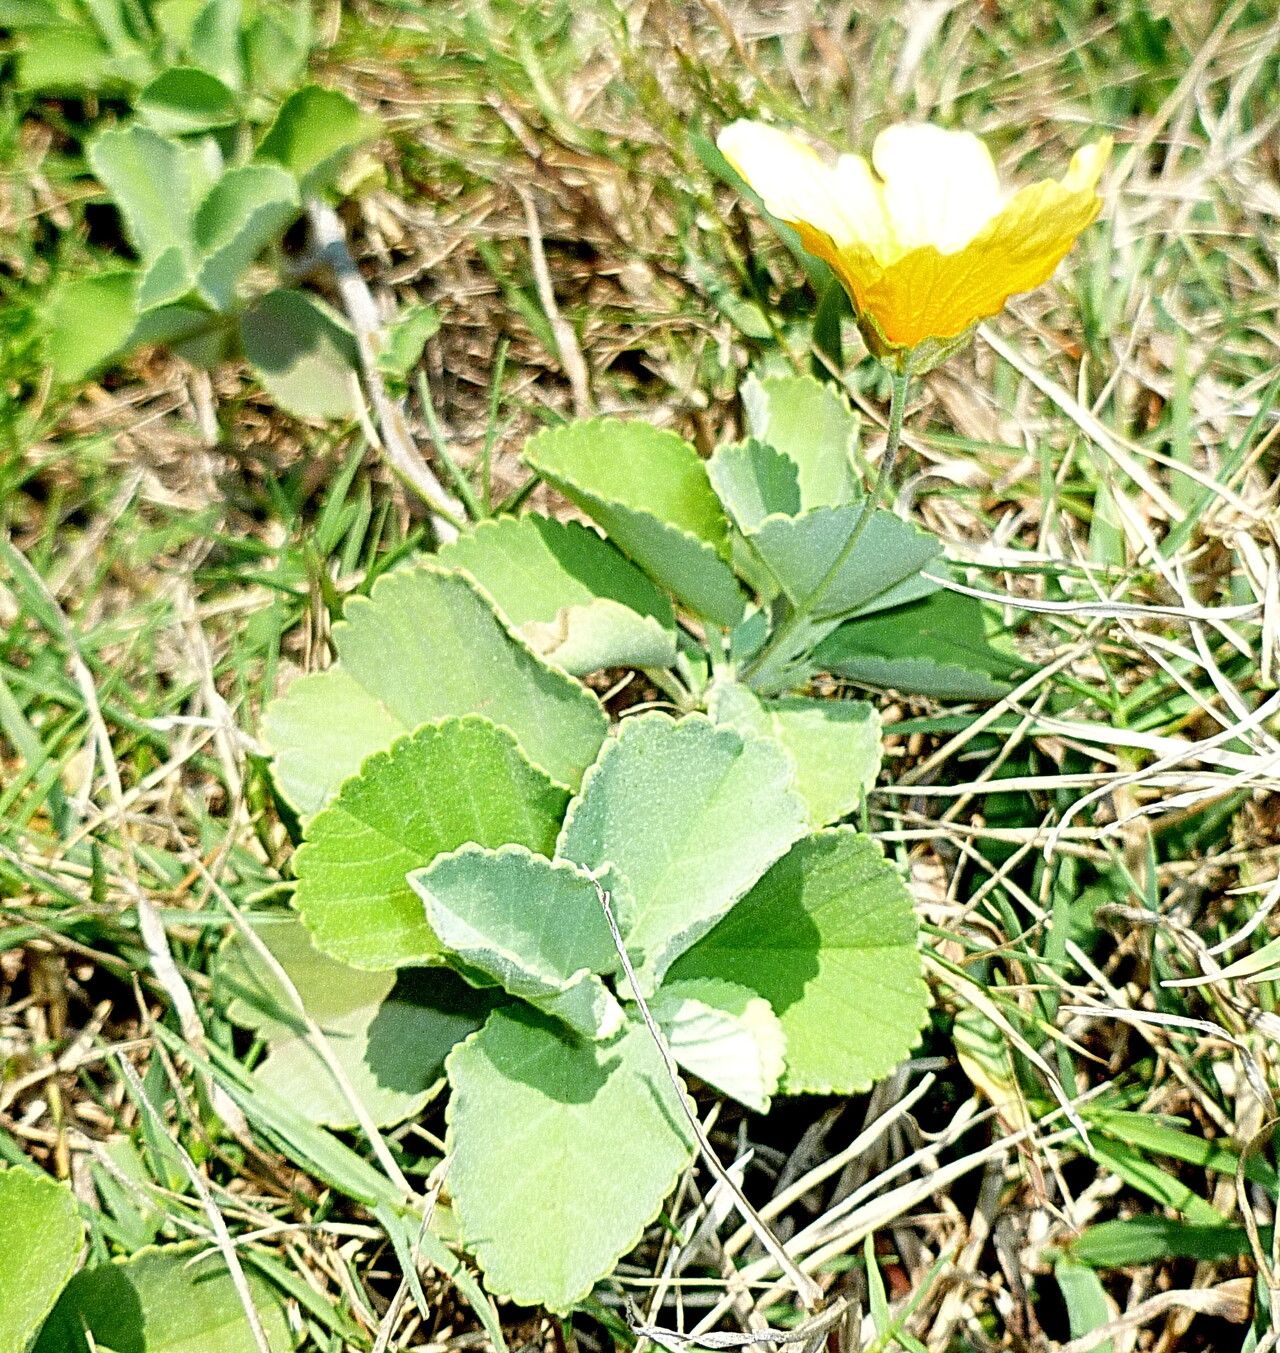
Hello there, fellow plant enthusiasts! It’s so lovely to have you here. Today, we’re diving into the wonderful world of propagating Sida fallax, also known as Flannel Sida or Kāma‘u. This native Hawaiian gem is such a joy in the garden. Its delicate, papery flowers and fuzzy foliage bring a touch of the islands right to your doorstep. Growing new plants from cuttings or seeds is incredibly rewarding. For Sida fallax, I’d say it’s a moderately easy plant to propagate, making it a fantastic project for those looking to expand their green thumb skills. Don’t be intimidated; with a little patience and the right approach, you’ll be creating lots of new Kāma‘u to share!
The Best Time to Start
Timing is everything in the garden, and for propagating Sida fallax, you’ll find the late spring to early summer to be absolutely ideal. This is when the plant is actively growing and pumping out new, healthy shoots. Starting your cuttings during this period gives them the best chance to establish roots before the cooler weather sets in. You can also take cuttings in the fall, but you might find the rooting process takes a little longer.
Supplies You’ll Need
To set yourself up for success, gather these handy items:
- Sharp Pruning Shears or Scissors: Clean cuts are vital.
- Rooting Hormone: A powder or gel helps encourage new root growth.
- Small Pots or Propagation Trays: Something with drainage holes is a must!
- Well-Draining Potting Mix: I like a mix of equal parts perlite, peat moss, and coco coir. You can also use a commercial seed-starting mix.
- Clear Plastic Bags or Domes: To create a humid environment.
- Watering Can or Spray Bottle: For gentle watering.
- A Sunny Spot: Bright, indirect light is what we’re aiming for.
Propagation Methods
Let’s get our hands dirty! The most reliable way to propagate Sida fallax for me has always been through stem cuttings.
Stem Cuttings:
- Select Your Cuttings: Look for healthy, non-flowering stems that are about 4-6 inches long. Gently bend a stem; if it snaps cleanly, it’s perfect for cutting. Avoid woody or very soft new growth.
- Take the Cutting: Using your clean pruning shears, make a cut just below a leaf node – that’s the point where a leaf attaches to the stem. This is where the magic happens for root development.
- Prepare the Cutting: Gently remove the lower leaves, leaving just a few at the top. This prevents them from rotting once planted and directs the plant’s energy towards root formation.
- Apply Rooting Hormone: Dip the cut end of the stem into your rooting hormone, tapping off any excess.
- Plant the Cuttings: Make small holes in your prepared potting mix using a pencil or your finger. Insert the cuttings, ensuring the leaf nodes are buried in the soil. Gently firm the soil around the base of the cutting.
- Create Humidity: Water the soil very gently to settle it around the cuttings. Then, cover the pots or trays with a clear plastic bag or propagation dome. This traps moisture and creates the humid environment cuttings crave. If using a bag, you can prop it up with a few skewers so it doesn’t touch the leaves.
Water Propagation (Less Common but Possible):
While I find stem cuttings in soil more successful for Sida fallax, you can try water propagation. Take similar cuttings and place them in a jar of clean water, ensuring no leaves are submerged. Change the water every few days. Once small roots appear (usually after a few weeks), you’ll need to carefully transplant them into soil, which can be a bit delicate.
The “Secret Sauce” (Pro Tips)
Here are a few tricks I’ve learned over the years:
- Don’t Let Leaves Touch the Water (in water propagation): If you’re trying water propagation, keep the foliage completely out of the water. Submerged leaves are a fast track to rot and disappointment.
- Bottom Heat is Your Friend: If you have a heat mat designed for seedlings, place your pots on it. This gentle warmth from below encourages roots to form much faster and more reliably. It’s a game-changer for many types of cuttings!
- Be Patient with the Leaves: Don’t be alarmed if your cuttings look a little sad initially. They’re in shock and adjusting. As long as the leaves remain green, there’s hope! Yellowing or blackening is a sign to worry.
Aftercare & Troubleshooting
Once you start seeing new leaf growth on your cuttings, that’s your best indicator that roots have formed! You can gently tug on a cutting; if it resists, roots are developing.
Remove the plastic bag or dome gradually over a few days to acclimate your new plants to normal humidity. Continue to keep the soil consistently moist but not waterlogged. Bright, indirect light is still best.
The most common issue you’ll encounter is rot. If a cutting turns black or mushy, or the leaves start to yellow and drop rapidly, it’s usually a sign of too much moisture and not enough airflow, or perhaps the cutting wasn’t healthy to begin with. You can try removing the affected cutting and improving ventilation, but sometimes, it’s best to just start fresh.
A Encouraging Closing
Growing your own Sida fallax is a beautiful journey. Don’t get discouraged if your first few attempts aren’t perfect. Every cutting is a learning experience. Enjoy the process, celebrate the small victories – like seeing tiny new leaves emerge – and before you know it, you’ll have a whole collection of these lovely Hawaiian natives to adorn your garden or gift to friends. Happy propagating!
Resource:
https://identify.plantnet.org/k-world-flora/species/Sida%20fallax%20Walp./data