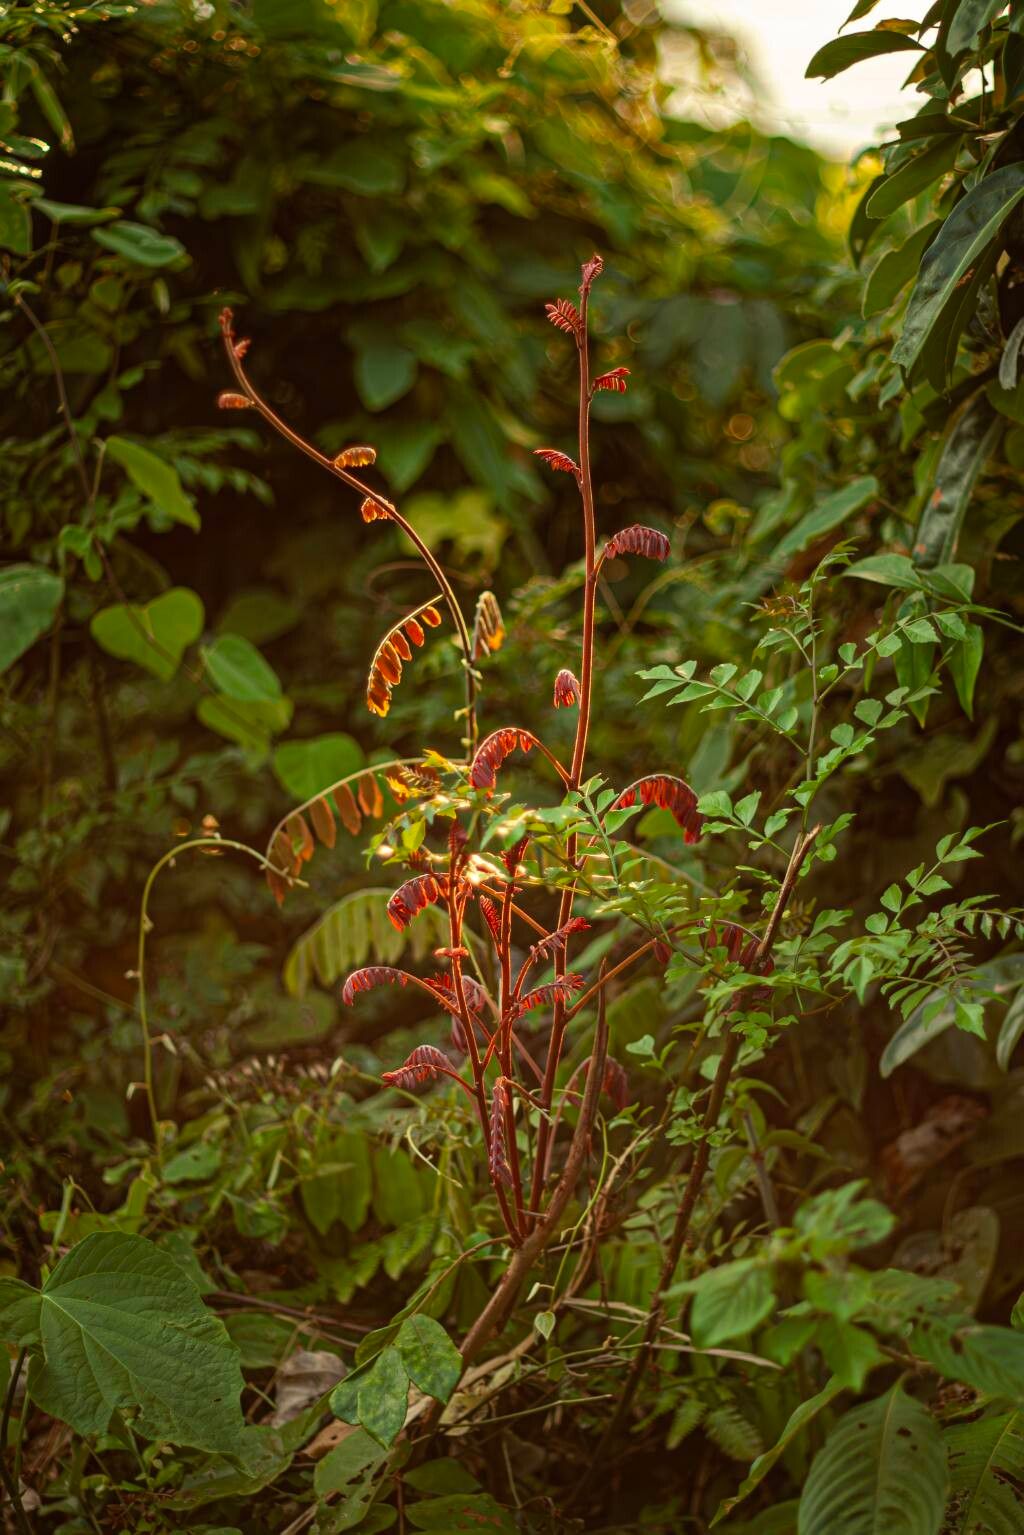
Oh, hello there! Grab a mug of your favorite brew. Today, we’re diving into the delightful world of Rourea microphylla. If you’ve ever seen this gorgeous plant with its delicate, almost feathery foliage, you’ll know why it captures so many hearts. It brings such a gentle elegance to any space. And the best part? Sharing that beauty is wonderfully rewarding. Propagating Rourea microphylla might sound a bit daunting, but I promise you, with a little know-how and patience, it’s totally achievable. It’s not the absolute easiest plant to start from scratch, but it’s by no means impossible for a keen beginner!
The Best Time to Start
The sweet spot for propagating Rourea microphylla is definitely late spring through early summer. This is when the plant is in its most vigorous growth phase. The young, semi-hardwood stems are flexible enough to root well but have developed enough to sustain themselves. Waiting until after it’s had a good burst of energy in the spring is key to good results.
Supplies You’ll Need
Here’s what you’ll want to have on hand before you get started:
- Sharp, clean pruning shears or a knife: We need to make clean cuts to avoid damaging the parent plant or the cuttings.
- Rooting hormone (optional, but recommended): This little helper can significantly boost your success rate. Look for one formulated for stem cuttings.
- A good potting mix: A mix that drains well is crucial. I like to use a blend of equal parts peat moss and perlite, or a commercial seedling mix. For Rourea, a slightly acidic to neutral pH is generally preferred.
- Small pots or propagation trays: Clean containers are a must to prevent disease.
- Clear plastic bags or a propagation dome: These create a humid environment for your cuttings to thrive in.
- Water: For moistening the soil and, potentially, for water propagation.
Propagation Methods
We’ll focus on stem cuttings, which are usually the most reliable for Rourea microphylla.
Stem Cuttings
- Take Your Cuttings: On a healthy, actively growing stem, look for a section that’s about 4-6 inches long. Make a clean cut just below a leaf node (where a leaf attaches to the stem). You’ll want to select stems that are firm but not overly woody.
- Prepare the Cuttings: Gently remove the lower leaves from the cutting, leaving just a few at the very top. This prevents them from rotting once planted. If the leaves are very large, you can even cut them in half to reduce water loss through transpiration.
- Apply Rooting Hormone (Optional): Dip the cut end of the stem into your rooting hormone powder, tapping off any excess. If you’re using a liquid rooting hormone, follow the package instructions.
- Plant Your Cuttings: Moisten your potting mix. Make a small hole in the center of the pot or tray with your finger or a pencil. Insert the cutting into the hole, making sure the leaf nodes are buried. Gently firm the soil around the stem.
- Create a Humid Environment: Water the soil lightly. Then, cover the pot or tray with a clear plastic bag or place it under a propagation dome. This dramatically increases humidity, which is vital for cuttings that can’t yet absorb water through roots. Make sure the leaves aren’t touching the plastic if possible.
- Placement: Place your propagation station in a bright, indirect light location. Avoid direct sun, as this can scorch the tender cuttings.
The “Secret Sauce” (Pro Tips)
- Bottom Heat is Your Friend: If you have one, placing your pots on a seedling heat mat can really speed up root development. Rourea likes a bit of warmth from below, especially in cooler climates or during cooler parts of the propagation season.
- Don’t Drown Them: While you want the soil to be consistently moist, you absolutely do not want it to be waterlogged. Soggy soil is a one-way ticket to rot. Check the moisture level by gently pressing the soil. If it feels dry an inch down, it’s time to water.
- Air Circulation Counts: Even though we create a humid environment, a little bit of airflow is good. Once a day, open the plastic bag or dome for a few minutes to allow for fresh air exchange. This helps prevent fungal issues.
Aftercare & Troubleshooting
Once you start seeing new leaf growth, that’s a great sign! It usually means roots are forming. You can gently tug on a cutting; if there’s resistance, roots have likely developed.
Gradually acclimate your new plant to normal room conditions by opening the plastic bag or dome a little wider each day for about a week before removing it entirely. Continue to keep the soil consistently moist but not soggy.
The most common problem you’ll encounter is rot. If a cutting turns black and mushy, it’s likely rotted. This is usually due to:
- Overwatering: The soil stayed too wet for too long.
- Poor drainage: The potting mix wasn’t airy enough.
- Lack of airflow: Trapped moisture led to fungal growth.
If you see signs of rot, try to remove the affected cutting immediately to prevent it from spreading. Sometimes, a clean cut further up the stem and re-potting might save a cutting if rot is caught early.
Keep Growing!
Propagating plants is such a wonderful way to connect with nature and share your passion. Don’t get discouraged if your first attempt isn’t perfect. Every gardener has had their share of failures—it’s all part of the learning process! Be patient with your Rourea microphylla cuttings, give them the right conditions, and enjoy the journey of watching them grow into beautiful new plants. Happy propagating!
Resource: