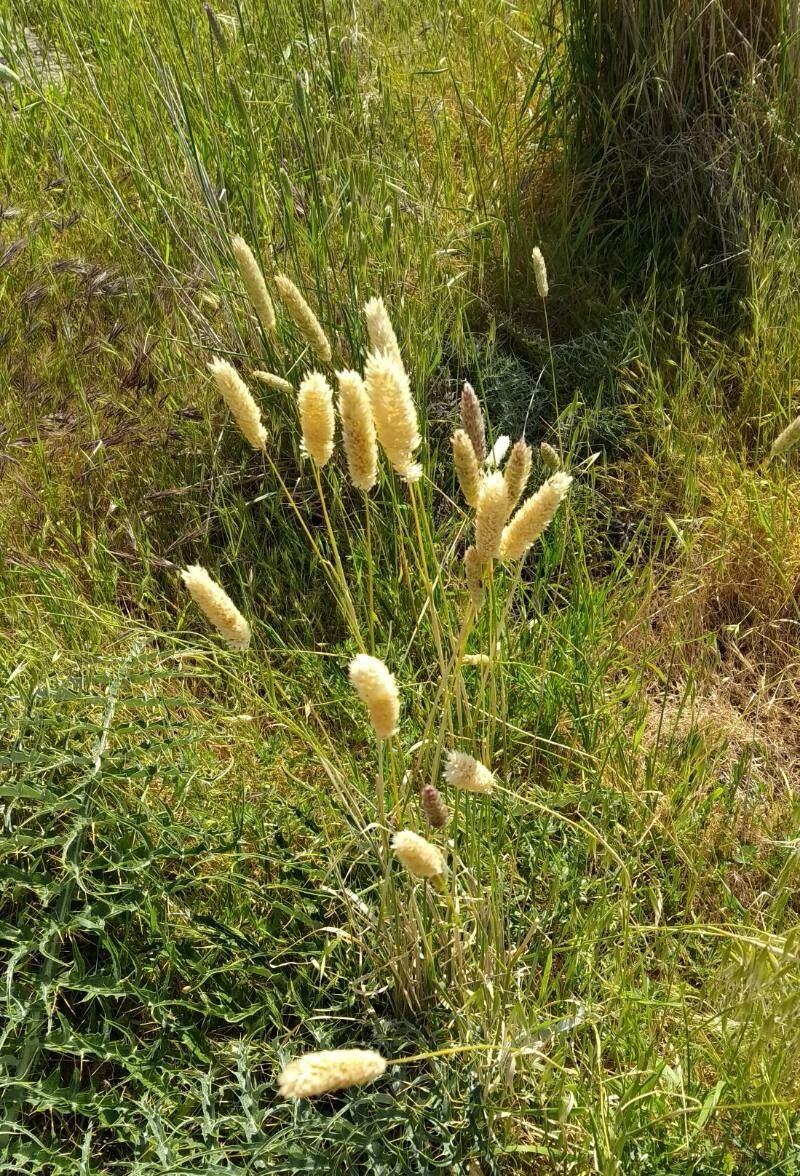
Oh, hello there! Pull up a chair and pour yourself a cuppa. Today, we’re diving into the wonderful world of propagating Phalaris maderensis, also known as Canary Island grass. Isn’t it just a dream? Those flowing, silvery-green blades bring such movement and light to any garden space. And the best part? Bringing more of this beauty into your life is surprisingly achievable, even for those of you who are just starting out with your green thumb. It’s a truly rewarding process, watching a little snipping of your favorite plant grow into a brand-new specimen.
The Best Time to Start
Honestly, Phalaris maderensis is pretty forgiving, but if you want to set yourself up for the very best chance of success, spring is your sweet spot. The plant is waking up, full of vigor, and those fresh shoots are just begging to be taken. You can also have good luck in early autumn, as long as you give the new cuttings enough time to establish before winter truly sets in. Basically, aim for when the plant is actively growing, not when it’s stressed by extreme heat or cold.
Supplies You’ll Need
Gathering your supplies beforehand makes the whole process so much smoother. Here’s what I usually have on hand:
- Sharp Pruning Shears or a Craft Knife: Clean cuts are crucial for preventing disease.
- Potting Mix: A fast-draining mix is best. I often use a blend of equal parts perlite and good quality potting soil, or a specific succulent/cactus mix.
- Small Pots or Seed Trays: Whatever suits the size of your cuttings. Clean them thoroughly before use.
- Rooting Hormone (Optional but Recommended): This little powder can really speed up root development.
- Watering Can or Spray Bottle: For gentle watering.
Propagation Methods
Phalaris maderensis is wonderfully adaptable, and I’ve had great success with a couple of straightforward methods.
Stem Cuttings
This is my go-to, and it’s incredibly effective.
- Select a healthy stem: Look for a piece that’s around 4-6 inches long and has a few leaves. Ideally, it should be a newer, non-flowering stem.
- Make a clean cut: Using your sharp shears or knife, make a clean cut just below a leaf node. This is the point where a leaf joins the stem; it’s usually where roots will form.
- Prepare the cutting: Gently remove the lower leaves from the cutting, leaving just a couple at the very tip. If you’re using rooting hormone, dip the cut end into it now, tapping off any excess.
- Plant your cutting: Make a small hole in your potting mix with your finger or a pencil. Gently insert the cutting, ensuring the leaf nodes you removed are below the soil line.
- Water gently: Water the soil lightly. You want it to be moist, but not waterlogged. A light misting is often perfect.
Water Propagation
Another simple method that lets you see the magic happen!
- Take your cutting: Follow steps 1 and 2 from the stem cutting method.
- Remove lower leaves: Just like before, remove any leaves that would be submerged in water.
- Place in water: Pop your cutting into a clean jar or glass of clean water. Make sure no leaves are touching the water. This is super important to prevent rot!
- Find a nice spot: Place the jar in a bright location, but out of direct, harsh sunlight.
The “Secret Sauce” (Pro Tips)
Over the years, I’ve picked up a few little tricks that I think really make a difference.
- The Bottom Heat Boost: If you can, place your pots of cuttings on a gentle heat mat designed for propagation. This slightly warmer soil temperature mimics spring and encourages root development like you wouldn’t believe. It’s especially helpful if your home is on the cooler side.
- Don’t Drown Them: For stem cuttings, let the cut end callous over for an hour or two before planting. This forms a sort of protective seal and can help prevent rot, especially in humid conditions.
- Mimic the Tropics (a bit): For water propagation, change the water every few days. Stale water can harbor bacteria that lead to rot, so fresh water keeps things healthy.
Aftercare & Troubleshooting
Once you spy those precious new roots peeking out from the bottom of the pot or visibly growing in the water, hooray! It’s time for continued gentle care.
- For Water Cuttings: Once the roots are about an inch long, you can transplant them into pots with your well-draining potting mix. Plant them as you would a stem cutting.
- For Soil Cuttings: Keep the soil consistently lightly moist. Avoid letting it dry out completely, but also steer clear of sogginess.
- Light: Continue to provide bright, indirect light. As the new plants get stronger, you can gradually introduce them to more direct sunlight, but always watch for signs of scorching.
The most common issue you’ll encounter is rot. If your cutting looks limp, mushy, or develops black spots, it’s likely rotted. Usually, this is due to too much moisture. If it’s a water cutting, try taking it out, rinsing the stem, and placing it in fresh water. If it’s in soil, you might need to start over with a new cutting. Don’t get discouraged; it happens to all of us!
A Little Bit of Patience Goes a Long Way
Propagating plants is a journey, and Phalaris maderensis is a joyous companion on that path. Be patient with your little ones, give them consistent care, and revel in the satisfaction of creating something new with your own hands. Happy gardening!
Resource:
https://identify.plantnet.org/k-world-flora/species/Phalaris%20maderensis%20(Menezes)%20Menezes/data