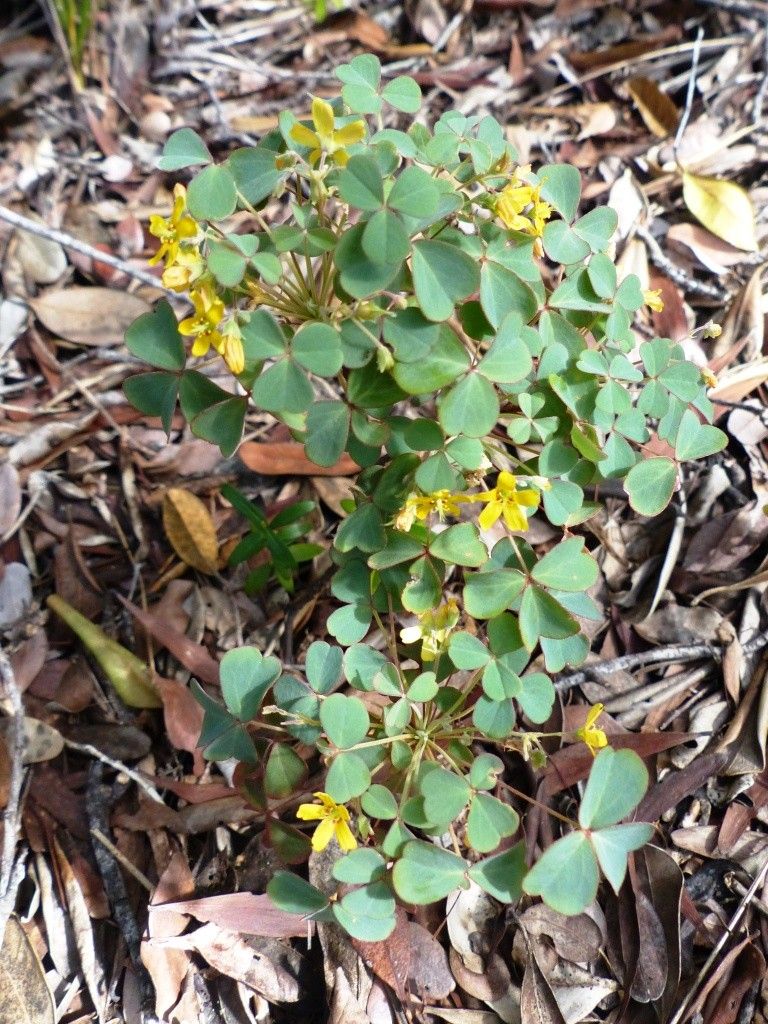
Hey there, fellow plant lovers! If you’ve ever fallen for the charm of Oxalis elsae, you know exactly why I’m so excited to chat about it today. Those delicate, clover-like leaves, often with a stunning splash of color, just bring a little bit of magic to any space. And the best part? Growing more of these beauties from your existing plants is incredibly rewarding. For beginners, I’d say propagating Oxalis elsae is quite forgiving. You’ll find yourself with more plants to share or fill up every sunny nook in your home before you know it!
The Best Time to Start
Generally, spring is your golden ticket for propagating Oxalis elsae. As the days lengthen and the plant really hits its stride in active growth, it’s got all the energy it needs to put out new roots. You can also have good luck in early summer, but once the intense heat of July and August rolls in, things can slow down a bit. Think of it as giving your new babies the best start before the really hot weather arrives.
Supplies You’ll Need
Here’s what I like to have on hand before I get started:
- Sharp pruning shears or sterile scissors: For clean cuts that heal well.
- A well-draining potting mix: I usually use a blend of peat moss, perlite, and a bit of compost.
- Small pots or seed trays: Enough to hold your new cuttings or divisions.
- Watering can with a fine rose: For gentle watering.
- Optional: Rooting hormone powder: While not always necessary for Oxalis, it can give an extra boost.
- Optional: A clear plastic bag or propagation dome: To create a humid environment.
- Optional: Small labels: To mark your new plants with the variety and date.
Propagation Methods
Oxalis elsae is pretty versatile, but my absolute favorite and most successful methods are division and stem cuttings.
Division: The Easy Way to Multiply
This is hands-down the simplest way to propagate Oxalis, especially when your plant is getting a bit crowded.
- Gently remove the plant from its pot. Tip the pot on its side and carefully slide the root ball out. If it’s stuck, a gentle tap or two should do the trick.
- Inspect the root ball. You’ll see clusters of stems growing from the main root system. These are your potential new plants!
- Carefully tease apart the root ball. Use your fingers or a clean trowel to separate the larger clumps. You want each division to have a good amount of roots and at least a few healthy stems. Don’t worry if a few roots break; Oxalis is resilient.
- Pot up your new divisions. Plant each division in its own small pot filled with your well-draining potting mix. Make sure the top of the root ball is at or just below the soil surface.
- Water gently. Give them a good drink, but don’t let them sit in soggy soil.
Stem Cuttings: For a Little More Patience
This method works wonderfully for getting a lot of new plants, especially if you have some healthy, non-flowering stems.
- Take cuttings. Choose healthy stems that are at least 3-4 inches long. Using your sharp shears, make a clean cut just below a leaf node (where a leaf attaches to the stem).
- Prepare the cuttings. Remove the lower leaves from the cutting, leaving only a few at the top. If you’re using rooting hormone, dip the cut end into it now.
- Plant the cuttings. You can push the cut end directly into your prepared potting mix, burying the leaf nodes. Make sure the soil is moist but not soaking.
- Create humidity. Gently water the pot and then cover it with a clear plastic bag or a propagation dome. This creates a mini-greenhouse effect, which is crucial for encouraging root formation. If you don’t have a cover, mist the cuttings regularly to keep them from drying out.
- Placement is key. Put your cuttings in a bright spot with indirect sunlight. Avoid direct sun, which can scorch them.
The “Secret Sauce” (Pro Tips)
Here are a couple of tricks I’ve learned over the years that really help boost success:
- Don’t let those leaves touch the water (if water propagating): While some people root Oxalis in water, I find it’s a slippery slope to rot. If you do try it, make absolutely sure that only the stem is submerged, not any leaves. Roots form much better in soil where it’s drier.
- A little bottom heat makes a difference: For cuttings, especially if your house is a bit on the cooler side, placing your pots on a gentle heating mat can dramatically speed up root development. It mimics the warmth of spring soil.
Aftercare & Troubleshooting
Once your Oxalis elsae has established roots – you’ll see new growth emerging from the top, or feel a gentle tug on the pot if you try to lift it slightly – it’s time to treat it like a young plant.
- Gradually acclimate cuttings: If you’ve used a plastic bag or dome, slowly start to open it up over a few days to let the plant get used to normal humidity.
- Watering: Water whenever the top inch of soil feels dry. Always ensure good drainage.
- Light: Continue to provide bright, indirect light.
- Watch for rot: The most common problem is root rot, which shows up as wilting, yellowing leaves, and mushy stems. This is usually a sign of overwatering or poor drainage. If you spot it, try to repot the plant in fresh, dry soil, and trim away any rotten parts.
A Little Patience, A Lot of Joy
Propagating Oxalis elsae is a journey, and like all good gardening adventures, it requires a little patience. Don’t get discouraged if not every cutting or division takes off immediately. Keep experimenting, enjoy the process of nurturing these little plants, and soon you’ll have a whole collection to admire! Happy growing!
Resource:
https://identify.plantnet.org/k-world-flora/species/Oxalis%20elsae%20R.Knuth/data