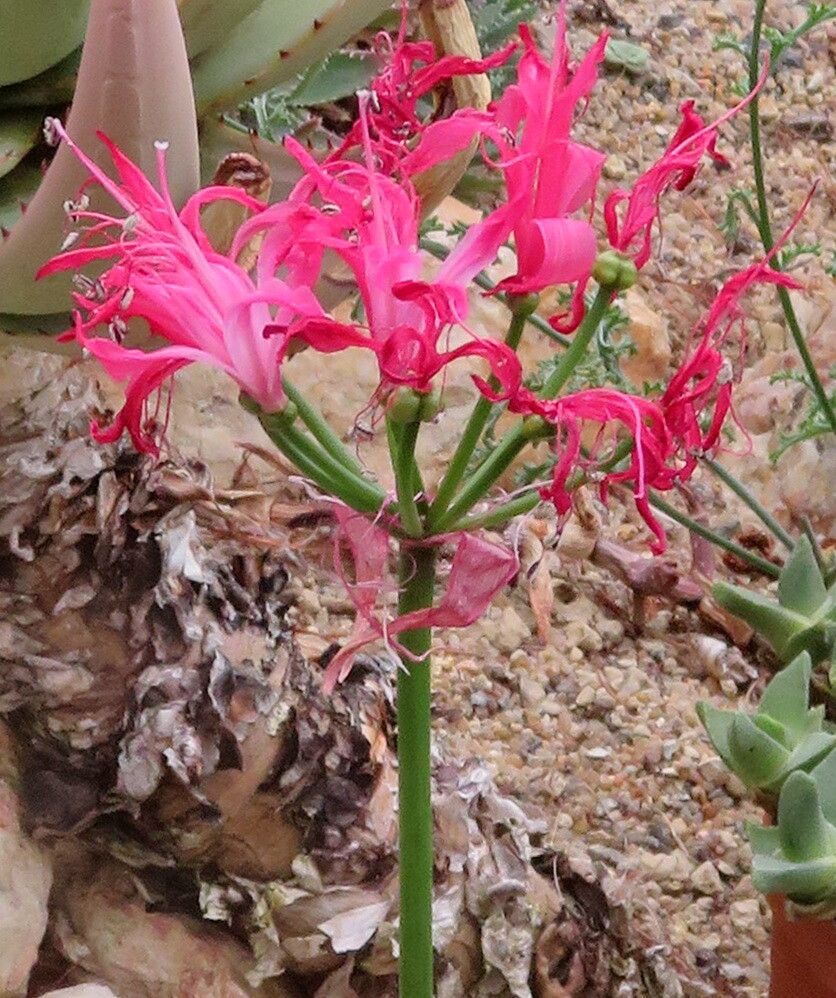
Oh, hello there, fellow plant lover! Pull up a chair, I’ve got a fresh cup of coffee brewing. Today, we’re diving into the magical world of Nerine sarniensis, those stunning, fiery lilies that just bring a smile to your face. Their delicate, almost otherworldly blooms are a true garden gem, and I find there’s nothing quite as satisfying as coaxing new life from an existing plant. If you’re wondering if this lily is beginner-friendly, I’d say it’s moderately challenging, but with a little patience and these tips, you’ll be well on your way.
The Best Time to Start
For Nerines, the real sweet spot for propagation is late spring or early summer, right after they’ve finished blooming and are entering their active growth phase. You’ll often see their leaves unfurling then. This is when they have the most energy stored up, making them more receptive to division or other methods. Trying to divide them when they’re dormant in winter can be a bit harder, and you might run into more setbacks.
Supplies You’ll Need
Here’s a little mental checklist for you, so you’re ready to go:
- A sharp, clean trowel or a sturdy dibber.
- A good quality, free-draining potting mix. I often use a blend with plenty of perlite or grit for my bulbs.
- Gardening gloves are always a good idea, especially if you have sensitive skin.
- A small watering can with a fine rose to mist gently.
- If you’re feeling adventurous and can source them, rooting hormone powder can sometimes give an extra boost, though Nerines are often quite happy without it.
Propagation Methods
For Nerine sarniensis, the most successful and easiest method by far is division. These beauties tend to clump over time, and separating those clumps is like giving them a spa day!
Division Method:
- Gentle Excavation: First things first, carefully dig up the entire Nerine plant. I like to do this in the morning when the soil is a little moist, as it helps prevent the roots from drying out too quickly. Loosen the soil around the edges and gently lift the bulb clump out of the ground.
- Clean and Separate: Once it’s out, gently shake off as much of the excess soil as you can. You’ll start to see offsets or smaller bulbs attached to the main bulb. Look for natural breaks. Using your fingers or that clean trowel, carefully tease apart the individual bulbs or small clumps. Avoid forcing them if they seem really stuck; try to find the natural separation point.
- Inspect and Trim: While you’re at it, take a moment to inspect the bulbs. Nip off any old, papery leaves that are falling off or any damaged roots.
- Replant Immediately: This is crucial! Don’t let those separated bulbs sit around drying out. Replant them into your prepared, free-draining soil in pots or directly into well-prepared garden beds. Make sure the top of the bulb is just at or slightly above the soil surface. Water them in gently.
The “Secret Sauce” (Pro Tips)
Now, for those little bits of wisdom I’ve picked up over the years.
- Don’t Overcrowd: When replanting divisions, give each new bulb or small clump plenty of space to grow. Overcrowding leads to competition for resources and can hinder flowering. They like a bit of room to breathe and clump up naturally over time.
- Patience with Leaves: Nerine sarniensis often goes dormant and loses its leaves in summer. Don’t panic if you see this! Allow the leaves to die back naturally; they’re feeding the bulb for the next blooming season. Resist the urge to water them heavily until you see new growth appear, usually in autumn.
- A Warm Welcome: If you’re planting divisions indoors in pots, giving them a spot that receives warmth without harsh direct sun can encourage them to settle in more quickly. Think a sunny windowsill in a slightly cooler room.
Aftercare & Troubleshooting
Once your newly divided Nerines are nestled into their new homes, keep them gently moist but not waterlogged. You can start feeding them with a balanced liquid fertilizer once you see consistent new leaf growth. As for troubleshooting, the biggest culprit for Nerines is rot, which usually comes from too much moisture, especially when the bulbs are dormant. If you notice a bulb turning mushy or developing black spots, it’s often a sign of overwatering or poor drainage. Sadly, a rotted bulb is usually a goner.
A Gentle Encouraging Closing
Propagating Nerine sarniensis is a journey, not a race. Enjoy the process of nurturing these beautiful plants, and don’t be discouraged if your first few attempts aren’t perfect. With a little observation and care, you’ll soon be rewarded with even more of these spectacular blooms gracing your garden. Happy planting!
Resource:
https://identify.plantnet.org/k-world-flora/species/Nerine%20sarniensis%20(L.)%20Herb./data