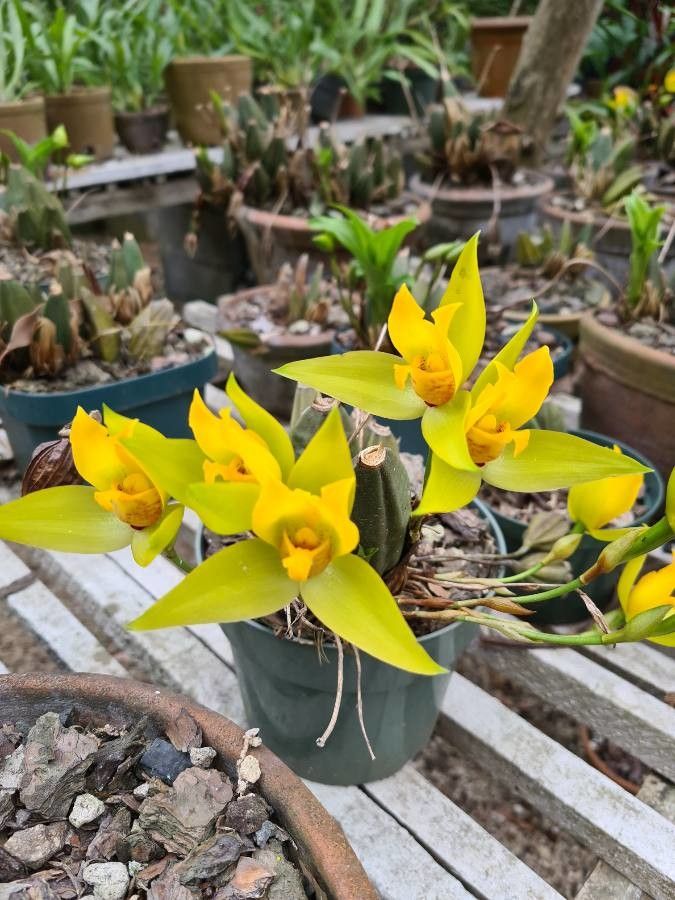
Oh, hello there! So you’ve fallen in love with the Lycaste cruenta, haven’t you? I don’t blame you one bit. Its vibrant blooms, often a cheerful blend of yellow and red, have such a unique charm. And the scent? Absolutely delightful! If you’ve been dreaming of having more of these beauties gracing your space, propagating them yourself is a wonderfully rewarding journey. Now, while Lycaste cruenta isn’t the absolute easiest orchid for a complete novice, it’s certainly manageable with a little care and attention. Don’t let that scare you off; this guide will walk you through it all.
The Best Time to Start
Timing is everything in the plant world, and for Lycaste cruenta, the sweet spot is usually after the plant has finished flowering and is entering a period of active growth. This typically happens in late spring or early summer. You’ll notice new shoots or “pups” starting to emerge from the base of the plant. This is your signal that the parent plant has the energy resources to share and the baby plant is ready to begin its independent life.
Supplies You’ll Need
Here’s what you’ll want to have on hand before you get started:
- Sharp, sterile pruning shears or a clean knife. Disinfect them with rubbing alcohol to prevent spreading any nasties.
- Good quality orchid potting mix. A mix designed for Phalaenopsis or a general orchid blend usually works well. You want something that drains freely but also retains some moisture.
- Small pots or containers. Clean, with drainage holes, of course!
- Optional: Rooting hormone. This can give your cuttings a little boost, but it’s not strictly essential for Lycaste if you get the conditions right.
- Watering can or spray bottle. For gentle watering.
- Patience! This is perhaps the most important supply of all.
Propagation Methods
For Lycaste cruenta, the most successful and common method is division. This is because these orchids tend to grow in clumps, and you’re essentially separating those natural offshoots.
Here’s how we’ll do it:
- Gently remove the Lycaste from its pot. You might need to coax it out a bit. If it’s really stuck, a little tap on the sides of the pot can help.
- Inspect the root ball. You’re looking for healthy pseudobulbs that have their own roots attached. Usually, you’ll see newer growths, or “pups,” emerging from the base.
- Carefully separate the divisions. Using your sterile shears or knife, cut between the pseudobulbs. Make sure each division has at least two or three pseudobulbs and a good cluster of healthy roots. Don’t try to take tiny one-leaf divisions; they’ll have a tougher time getting established. If the roots are tangled, you can gently untangle them.
- Pot up your new divisions. Place each division into its own clean pot filled with your fresh orchid mix. Position the pseudobulbs so that the base is at or just slightly below the surface of the mix. Firm the mix gently around the roots.
The “Secret Sauce” (Pro Tips)
- Don’t overwater initially. After division, your new plants are a bit vulnerable. Water them lightly, just enough to settle the potting mix, and then wait. Let them dry out a bit between waterings. They need to be encouraged to seek out moisture with their new roots.
- Think about humidity. Lycaste orchids love a good dose of humidity. Once your divisions are potted, misting them lightly every so often or placing the pots on a tray filled with pebbles and water (but ensure the pots aren’t sitting in the water) can make a big difference in encouraging root development.
- Consider bottom heat. If you have a seedling heat mat, placing your potted divisions on it can really speed up the rooting process. A consistent warm temperature from below encourages those roots to grow downwards.
Aftercare & Troubleshooting
Once your divisions are potted, you want to provide them with bright, indirect light and keep them slightly on the drier side for the first few weeks. You’ll know they’re settling in when you start to see new leaf growth or, even better, new root tips emerging.
The most common problem you might encounter is rot. This usually happens if the potting mix stays too wet for too long, especially before new roots are established. If you see a pseudobulb turning mushy and brown, unfortunately, that section is likely lost. The best thing to do is to ensure your potting mix is airy and well-draining, and adjust your watering schedule accordingly. Good air circulation is also key to preventing rot.
A Encouraging Closing
Don’t be discouraged if your first few attempts aren’t perfect. Propagation is a skill that develops with practice and observation. The joy of watching a new Lycaste cruenta bloom from a division you nurtured yourself is truly something special. Just be patient, pay attention to your plant’s needs, and enjoy the fascinating process of bringing more orchid beauty into your life. Happy growing!
Resource:
https://identify.plantnet.org/k-world-flora/species/Lycaste%20cruenta%20(Lindl.)%20Lindl./data