Hello fellow garden lovers!
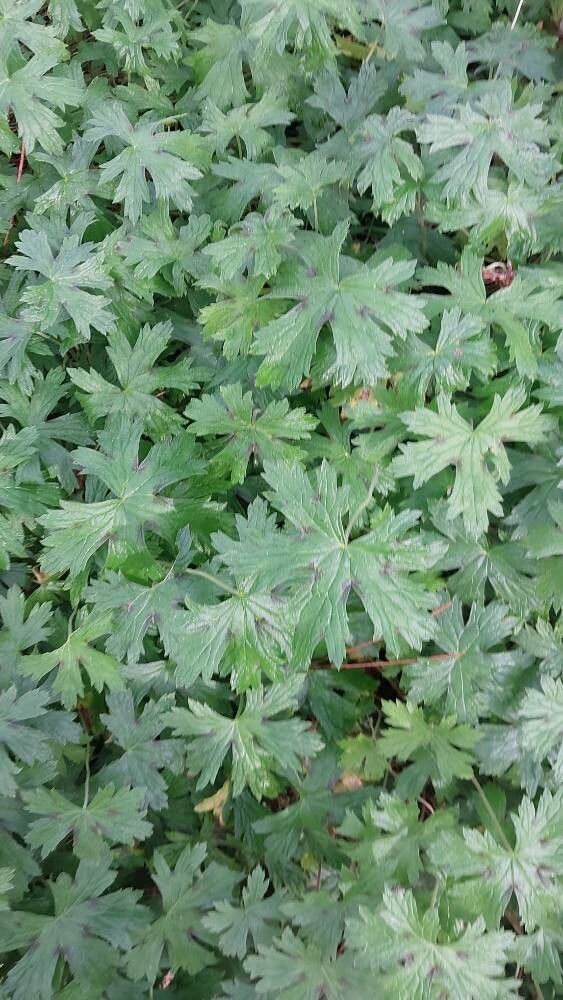
You know those plants that just bring a smile to your face? For me, Geranium affine is one of them. Its gorgeous, slightly fuzzy leaves and delicate, often pink or purple flowers add such a lovely charm to any garden bed or pot. Beyond its beauty, there’s a special kind of joy in creating more of something you love from a single plant you already have. It’s like magic, but it’s really just good gardening! And the best part? Geranium affine is wonderfully easy to propagate, making it a fantastic project for even the newest of gardeners. So, let’s get our hands a little dirty together!
The Best Time to Start
My favorite time to get propagating Geranium affine is in the late spring or early summer, right when it’s really putting on a growth spurt. The plant is full of energy then, and the cuttings tend to take root with enthusiasm. If you miss that window, a second good time is in late summer or early fall, before things start to cool down too much.
Supplies You’ll Need
Here’s what you’ll want to have on hand:
- Sharp pruning shears or a clean knife: Make sure they’re clean to prevent disease.
- Small pots or trays: About 4-6 inches deep work well.
- Well-draining potting mix: A mix of peat moss, perlite, and a little compost is ideal. You can also find specific seedling or cutting mixes.
- Rooting hormone (optional but helpful): This encourages faster root development.
- Plastic bags or a propagation dome: To create a humid environment.
- Watering can with a fine rose: For gentle watering.
- Labels and a marker: To keep track of your new babies!
Propagation Methods
Geranium affine is a trooper and can be propagated in a few ways, but I find stem cuttings to be the most reliable and rewarding.
Stem Cuttings
- First, grab your clean shears. Look for healthy, non-flowering stems. You want to take cuttings that are about 4-6 inches long.
- Make a clean cut just below a leaf node (that’s the little bump where a leaf grows from the stem).
- Gently remove the lower leaves from the cutting. You want to leave just a few at the top, usually two to four. This prevents them from rotting.
- If you’re using rooting hormone, dip the cut end into the powder. Tap off any excess.
- Fill your small pots with your well-draining potting mix. Moisten it slightly.
- Make a small hole in the center of the soil with your finger or a pencil.
- Insert the cutting into the hole, making sure the leaf nodes are buried in the soil. Gently firm the soil around the stem.
- Water gently to settle the soil.
- Now, we want to create a mini greenhouse. Cover the pot with a clear plastic bag, propping it up with a stick or two so it doesn’t touch the leaves. Alternatively, use a propagation dome.
- Place the pots in a bright spot with indirect sunlight. Avoid direct sun, as it can scorch the delicate cuttings.
The “Secret Sauce” (Pro Tips)
Here are a couple of things I’ve learned over the years that really make a difference with geraniums:
- Don’t let the leaves touch the water: If you choose to try water propagation (which can work, but I find cuttings in soil more robust), make absolutely sure the leaves stay above the water line. Any submerged leaf is a prime candidate for rot.
- A little warmth goes a long way: Geraniums love a bit of warmth to get their roots going. If your space is on the cooler side, consider placing your pots on a heat mat designed for seedlings. It’s like a cozy little spa day for your cuttings!
- Patience with the peat: When using a potting mix, especially if it leans towards peat, make sure it’s thoroughly moistened before planting your cuttings. Dry peat can be tough to rehydrate, and your cuttings need consistent moisture.
Aftercare & Troubleshooting
Once your cuttings are in their new homes, keep the soil consistently moist but not waterlogged. The humidity created by the plastic bag or dome is key. You’ll know they’re starting to root when you see new leaf growth appearing, usually within 3-6 weeks. Gently tug on a cutting – if there’s resistance, congratulations, roots have formed!
If you notice your cuttings wilting and staying wilted, even with moist soil, they might not have taken. The most common cause of failure is rot. This often happens if the soil is too wet, or if air circulation is poor. If you see any signs of mushy stems or blackening at the soil line, sadly, that cutting is likely lost. Don’t get discouraged, though! Just remove it and try again.
A Encouraging Closing
Watching those tiny roots emerge and grow into a new plant is such a deeply satisfying experience. Remember, gardening is all about learning and experimenting. Be patient with your efforts, celebrate every little success, and most importantly, enjoy the wonderful process of growing. Happy propagating!
Resource:
https://identify.plantnet.org/k-world-flora/species/Geranium%20affine%20Ledeb./data