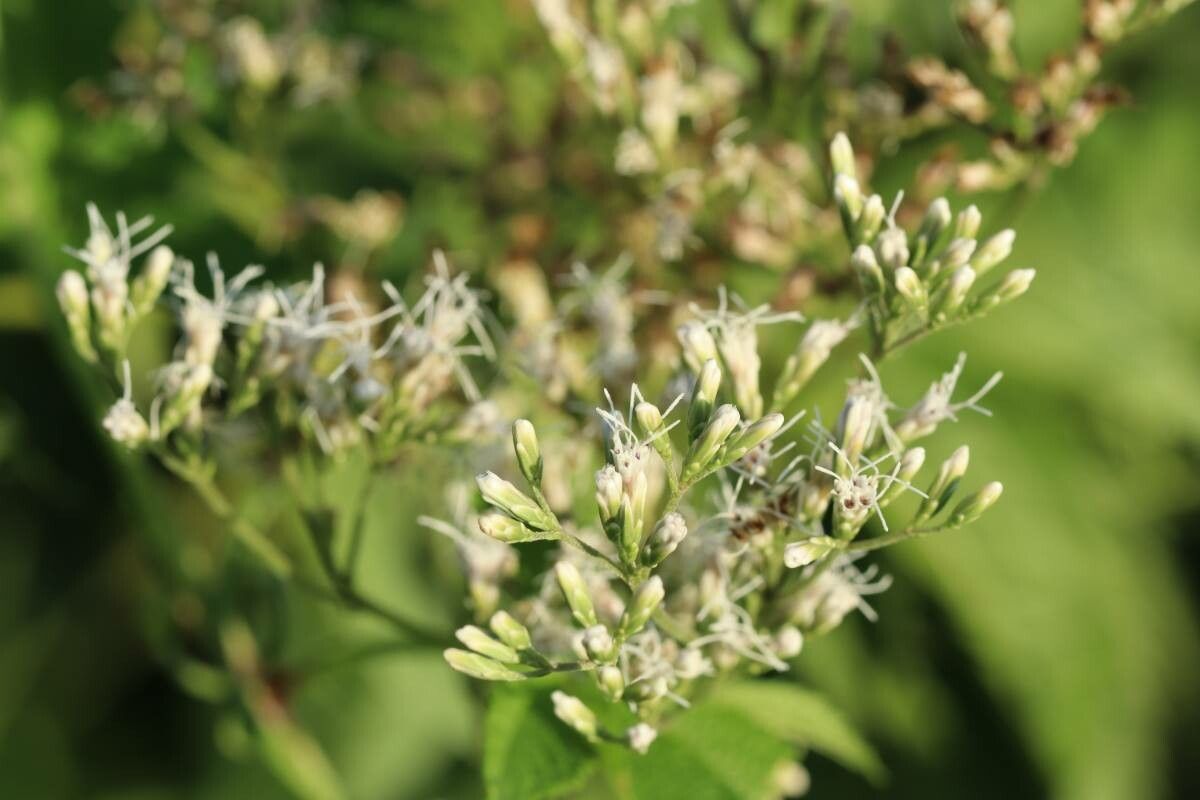
Hey there, fellow garden enthusiasts! I’m so thrilled you’re thinking about propagating Eupatorium japonicum, or as many of us affectionately call it, Japanese thoroughwort. This plant truly is a gem. Its delicate, airy blooms create such a beautiful, almost ethereal display in late summer and fall, attracting tons of beneficial pollinators. Plus, the satisfaction of taking a piece of your existing plant and nurturing it into a brand new one? Pure gardening gold!
Now, I know what you might be thinking – is this a task for the seasoned pro or can us beginners jump in? Honestly, Eupatorium japonicum is remarkably forgiving, making it an excellent choice for those dipping their toes into propagation for the first time. You’ve got this!
The Best Time to Start
For the happiest, most successful starts, I find late spring to early summer is your sweet spot. This is when the plant is actively growing and has plenty of energy to push out new roots. You’re looking for soft, new growth – not the woody, older stems. Think of them as young, eager sprouts ready to explore.
Supplies You’ll Need
To get your propagation station ready, here’s what I usually have on hand:
- Sharp Pruning Shears or a Clean Knife: Essential for making precise cuts.
- Rooting Hormone (Optional but Recommended): A little boost can make a big difference for some plants.
- Well-Draining Potting Mix: A good seed-starting mix or a blend of peat moss, perlite, and vermiculite works wonders.
- Small Pots or Propagation Trays: Clean containers are key to preventing disease.
- Plastic Bags or a Clear Lid: To create a humid environment.
- Watering Can with a Fine Rose: For gentle watering.
Propagation Methods
There are a couple of ways to go about this, and I’ll walk you through the ones I’ve found most successful.
Stem Cuttings
This is my go-to method for Eupatorium japonicum.
- Take Cuttings: Select healthy, non-flowering stems from your established plant. Using your clean shears, cut stems that are about 4-6 inches long. Make the cut just below a leaf node (where the leaves attach to the stem).
- Prepare the Cuttings: Gently remove the lower leaves from each cutting, leaving just a couple of leaves at the top. This prevents them from rotting in the soil. If you’re using rooting hormone, dip the cut end into the powder.
- Plant Them Up: Fill your small pots or trays with your well-draining mix. Make a small hole in the center of each pot with your finger or a pencil.
- Insert Cuttings: Place the cut end of each Eupatorium cutting into the hole and firm the soil gently around it.
- Water and Cover: Water the cuttings thoroughly but gently. Then, cover the pots with a plastic bag or place them in a propagation tray with a lid. This keeps the humidity high, which is crucial for root development.
Division
If your Eupatorium is a larger clump, division is a fantastic way to get more plants and also rejuvenate your existing one.
- Dig Up the Plant: In early spring, before new growth really takes off, carefully dig up the entire clump. You want to get as much of the root ball as possible.
- Separate the Roots: Gently shake off excess soil. You can often pull the clump apart by hand if the roots aren’t too tangled. If they are stubborn, use a clean spade or knife to split the root ball into sections. Make sure each section has plenty of healthy roots and at least a few growing points.
- Replant and Water: Replant the divisions in your garden, spacing them appropriately, or pot them up individually. Water them in well.
The “Secret Sauce” (Pro Tips)
Here are a few little tricks I’ve learned over the years that can really boost your success rates:
- Bottom Heat is Your Friend: For stem cuttings, placing your pots on a heat mat can significantly speed up root formation. It mimics the warmth of spring soil and encourages those roots to start exploring.
- Humidity is Key, But Not Soggy: While the plastic bag or lid is vital for humidity, don’t let water collect on the leaves for extended periods. If you see condensation building up heavily, open the bag for a few hours to allow for some air circulation. This helps prevent fungal issues.
- Patience with the Pull Test: When you want to check if your cuttings have rooted, resist the urge to yank them out! Instead, give a very gentle tug. If you feel resistance, congratulations, roots are forming!
Aftercare & Troubleshooting
Once you see signs of new growth – tiny leaves unfurling or a bit of height – it’s a good sign your cuttings are rooting.
- Start Acclimating: Gradually remove the plastic bag or lid over a few days, allowing the new plants to get used to the drier air.
- Watering: Continue to water them regularly, keeping the soil consistently moist but not waterlogged. Overwatering is the most common culprit for failure.
- Transplanting: When your new Eupatoriums have developed a good root system (you’ll see roots coming out the drainage holes), you can transplant them into larger pots or their permanent garden spots.
The biggest things to watch out for are rot and wilting. If your cuttings turn black and mushy, it’s usually a sign of too much moisture and poor air circulation. If they wilt and dry out, it means they aren’t taking up water, usually because they haven’t rooted yet or the environment is too dry. Don’t be discouraged though; gardening is all about learning and adapting!
A Little Patience Goes a Long Way
Propagating Eupatorium japonicum is such a rewarding experience. It’s a wonderful way to expand your garden, share with friends, and connect even more deeply with your plants. Just remember to be patient through the process. Some cuttings might take a little longer than others, and that’s perfectly okay. Enjoy the journey of nurturing these new life forms. Happy propagating!
Resource:
https://identify.plantnet.org/k-world-flora/species/Eupatorium%20japonicum%20Thunb./data