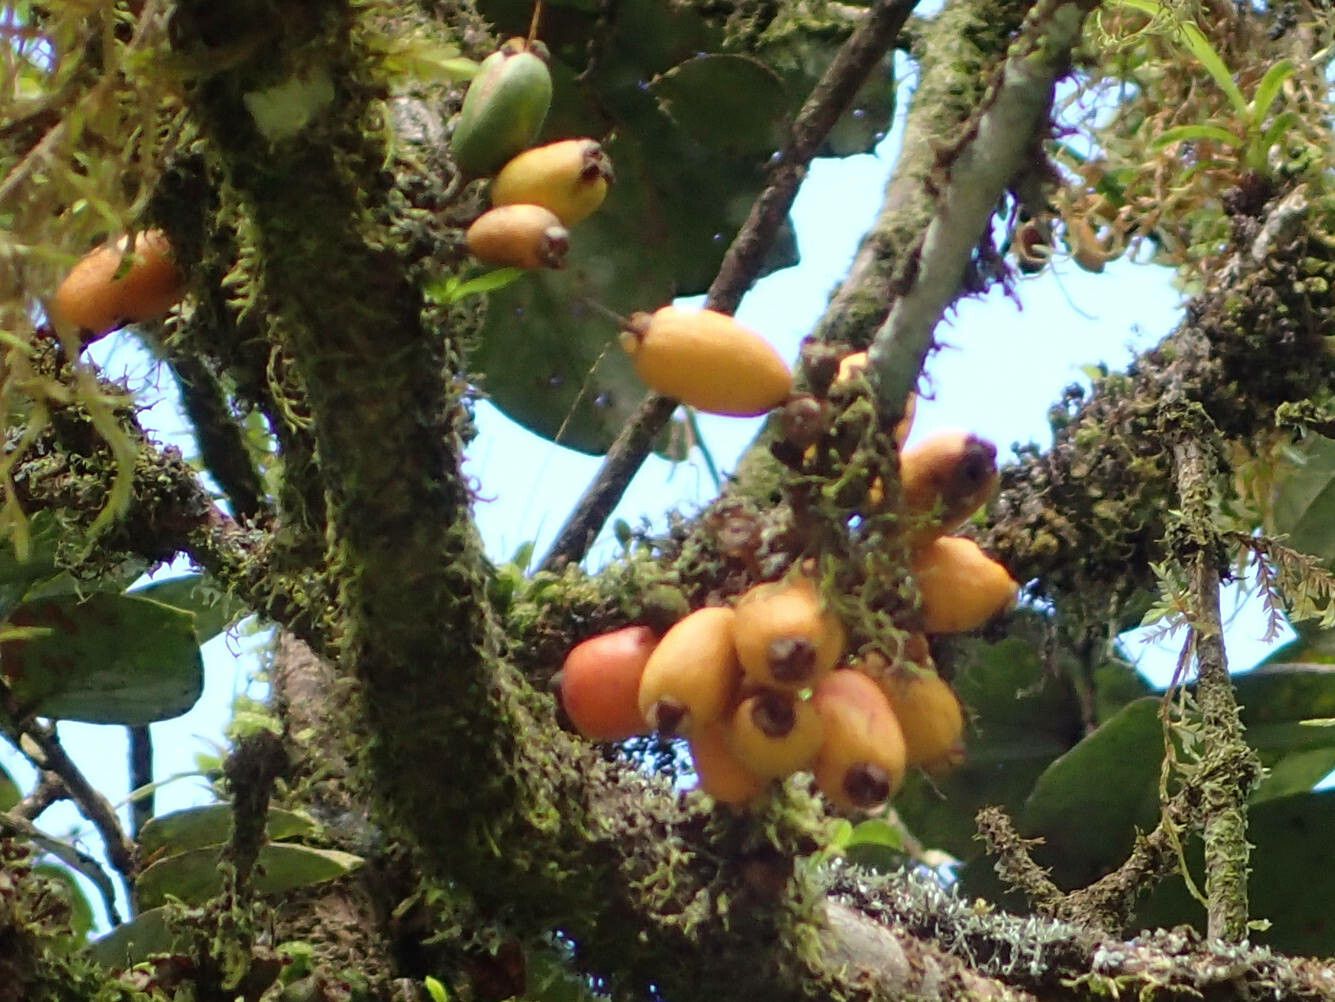
Oh, hello there! So glad you popped by. Today, we’re going to get our hands dirty with a truly delightful plant: Eugenia duchassaingiana. You might know it by its common name, but honestly, its botanical moniker just sounds so lush, doesn’t it? If you’ve ever admired its glossy, dark green foliage, perhaps even its subtle, often overlooked blooms that lead to tiny, edible fruits (depending on the variety!), then you’re in for a treat. Propagating this beauty yourself is surprisingly rewarding, and I’m thrilled to share how I do it. For the beginner gardener, I’d say it leans towards moderately easy, but with a few key pointers, you’ll be a pro in no time.
The Best Time to Start
Timing is everything in the garden, and for Eugenia duchassaingiana, the sweet spot is late spring or early summer. This is when the plant is in its active growth phase. You want to take cuttings from new, but firm, growth. Think of it as taking a snippet from a branch that’s not woody and old, but also not so soft it wilts the moment you look at it. This vigorous energy is exactly what we need to encourage new roots to form!
Supplies You’ll Need
Before we dive in, let’s gather our tools. Think of this as packing a picnic before a lovely day out.
- Sharp Pruning Shears or a Clean Knife: Essential for taking clean cuts, which really helps prevent disease.
- Rooting Hormone (Optional, but Recommended): A little boost can make a big difference. I like the powdered kind.
- Well-Draining Potting Mix: A good starting point is equal parts perlite and peat moss or coco coir. You want something that lets water escape easily.
- Small Pots or Seedling Trays: Clean ones are a must!
- Plastic Bags or a Propagator: To create that humid environment cuttings love.
- Watering Can with a Fine Rose: For gentle watering.
- Labels: To remind yourself what you’ve potted up (trust me, it happens!).
Propagation Methods
Let’s get down to business! My go-to method for Eugenia duchassaingiana is stem cuttings. It’s reliable and gives you a good chance of success.
- Take Your Cuttings: On your chosen plant, locate those new, firm shoots. You’re looking for pieces that are about 4-6 inches long. Make a clean cut just below a leaf node. A leaf node is where a leaf attaches to the stem – this is where the magic of root development often happens.
- Prepare the Cuttings: Gently remove any leaves from the bottom half of the cutting. You want to avoid having leaves submerged in soil or water, as this can lead to rot. If the remaining leaves are very large, I sometimes give them a light trim to reduce water loss.
- Apply Rooting Hormone: Dip the cut end of the stem into your rooting hormone. Tap off any excess. This step is like giving your cutting a little pep talk for root formation!
- Pot Them Up: Fill your clean pots or trays with your well-draining mix. Make a small hole in the center with your finger or a pencil. Gently insert the cutting, ensuring the rooting hormone-coated end is in full contact with the soil. Firm the soil gently around the base.
- Create a Humid Environment: Water the soil lightly until it’s moist but not soggy. Then, cover the pots with a clear plastic bag, securing it around the pot with a rubber band. You can also place them in a propagator. This creates a mini-greenhouse effect.
The “Secret Sauce” (Pro Tips)
Now for a few little tricks that have saved the day for me on many occasions:
- Bottom Heat is Your Friend: If you can manage it, placing your pots on a propagation mat or near a gentle, indirect heat source can really speed up root formation. Cuttings don’t just like warmth; they like it from below.
- Don’t Disturb Too Soon: Resist the urge to yank on your cuttings to check for roots. You’ll only damage any delicate new growth. Wait at least 4-6 weeks. If you see new leaf growth, that’s a very good sign!
- A Little Shade Goes a Long Way: While your cuttings are rooting, place them in a bright spot, but out of direct, scorching sunlight. Think of it as a gentle dappled light. Too much sun can cook them before they even have a chance to establish themselves.
Aftercare & Troubleshooting
Once you start seeing signs of new growth – tiny leaves unfurling, or if you very gently tug and feel resistance – congratulations! Your cuttings have likely rooted.
Now, it’s time to acclimate them. Gradually remove the plastic bag over a few days, starting with just an hour or two. Keep the soil consistently moist, but again, never waterlogged. As they grow stronger, you can transplant them into slightly larger pots with a good quality potting mix.
The most common issue you might encounter is rot. This usually happens from overwatering or a lack of drainage. If you see your cutting turning black and mushy, or if it smells foul, it’s best to discard it and try again with a fresh cutting, paying close attention to your watering and soil drainage this time. Don’t be discouraged if a few don’t make it – it’s all part of the learning process!
A Little Encouragement
There you have it! Propagating Eugenia duchassaingiana is a journey, and like all journeys in the garden, it’s about patience, observation, and a touch of hopeful anticipation. Don’t be afraid to experiment; there’s so much joy in nurturing new life. Happy propagating, and may your new Eugenia beauties flourish!
Resource:
https://identify.plantnet.org/k-world-flora/species/Eugenia%20duchassaingiana%20O.Berg/data