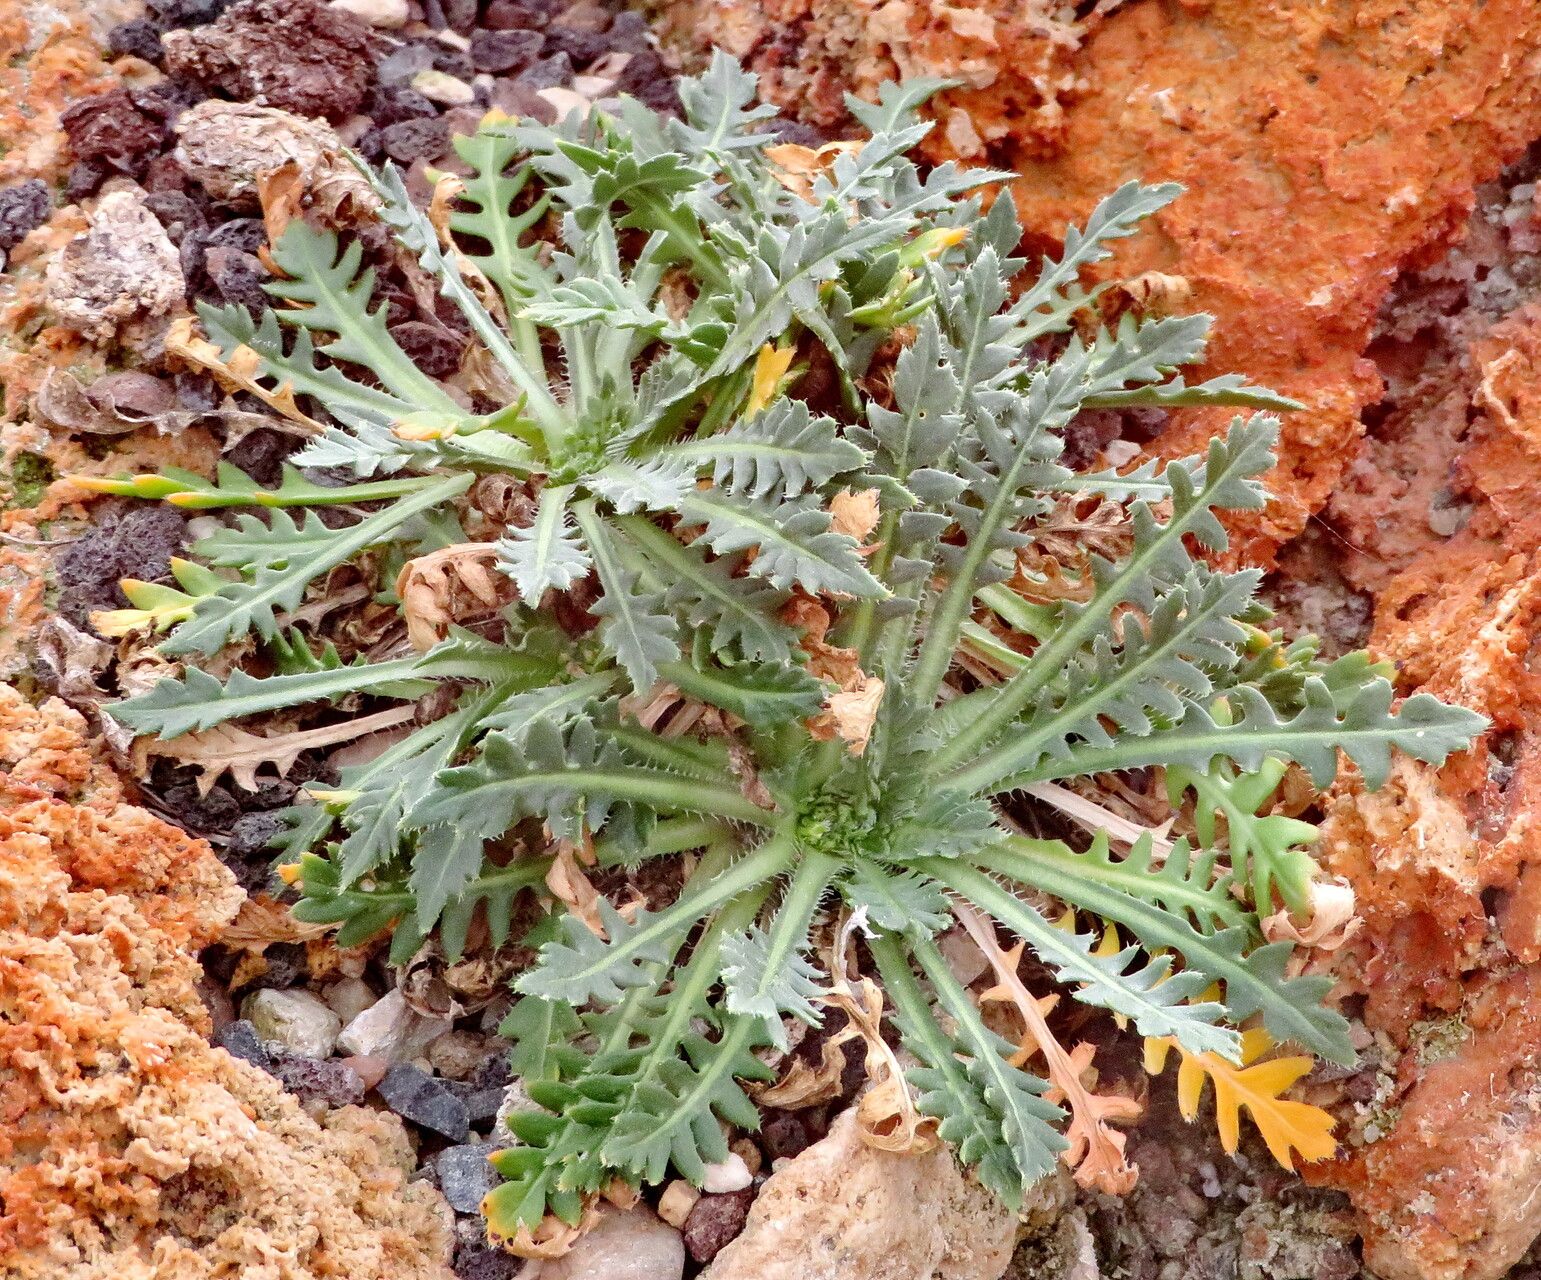
Chorispora macropoda is a true gem for any garden, isn’t it? Those delicate, often fragrant flowers bring such a cheerful splash of color, usually in shades of purple, pink, or white. And the best part? You can easily multiply this beauty yourself! I’ve been growing and propagating Chorispora for years, and I find it incredibly rewarding to see a tiny cutting transform into a blooming plant. For those asking, I’d say it’s a moderately easy plant to propagate, especially if you pay attention to a few key details. Don’t be intimidated; it’s a rewarding journey!
The Best Time to Start
My go-to time for propagating Chorispora macropoda is late spring to early summer. This is when the plant is in its active growth phase, and cuttings taken now tend to root more readily. You want to aim for young, vigorous stems that aren’t flowering heavily. Think about stems that have just finished their main bloom flush, or ones that are developing new shoots.
Supplies You’ll Need
Gathering your tools beforehand makes the whole process so much smoother. Here’s what I always have on hand:
- Sharp pruning shears or a clean craft knife: For making precise cuts.
- Potting mix: A well-draining mix is crucial. I usually use a blend of equal parts peat moss, perlite, and a bit of compost. You can also find specific seed-starting or propagation mixes.
- Small pots or seed trays: Clean ones are a must to prevent disease.
- Rooting hormone (optional but recommended): A powder or gel can significantly boost success rates.
- Plastic bag or humidity dome: To maintain a humid environment for your cuttings.
- Watering can with a fine rose: For gentle watering.
- Labels and a permanent marker: To keep track of what you’ve planted!
Propagation Methods
For Chorispora macropoda, stem cuttings are my absolute favorite and most reliable method. It’s straightforward and yields great results if done correctly.
Propagating by Stem Cuttings:
- Take Your Cuttings: On a healthy Chorispora plant, locate a non-flowering stem that’s about 4-6 inches long. Using your clean shears or knife, make a clean cut just below a leaf node. A leaf node is where a leaf attaches to the stem.
- Prepare the Cuttings: Gently remove the lower leaves from the bottom half of the stem. You want to leave just a few leaves at the top. This reduces water loss and prevents leaves from rotting in the soil.
- Apply Rooting Hormone (Optional): If you’re using rooting hormone, dip the cut end of the stem into the powder or gel. Tap off any excess.
- Plant Your Cuttings: Fill your small pots with the prepared well-draining potting mix. Make a small hole in the center of the soil with your finger or a pencil. Insert the cut end of the Chorispora stem into the hole, ensuring the leaf nodes that were covered by removed leaves are below the soil surface.
- Firm the Soil: Gently firm the soil around the base of the cutting to ensure good contact.
- Water Gently: Water the pot thoroughly with your fine-rose watering can. You want the soil to be moist but not soggy.
- Create a Humid Environment: Cover the pot with a clear plastic bag, tying it loosely around the rim, or place it inside a propagator with a lid. This creates a mini greenhouse.
The “Secret Sauce” (Pro Tips)
Over the years, I’ve learned a few tricks that really make a difference with these little ones:
- Don’t let the leaves touch the water. If you’re doing water propagation (which I find less successful for Chorispora than cuttings, but some people swear by it), ensure only the cut stem is submerged. Any leaves dipping into the water are an invitation for rot. For cuttings in soil, this means removing lower leaves.
- Bottom heat is your friend. If you have a seedling heat mat, placing your pots on it can be a game-changer. This gentle warmth encourages root development from below, speeding up the process considerably. It’s like a cozy spa day for your cuttings!
- Sterilize everything! I can’t stress this enough. A quick rinse in soapy water and then a wipe with rubbing alcohol for your pots, tools, and even the leaves can prevent fungal infections and disease, which are the main culprits for failed propagation.
Aftercare & Troubleshooting
Once your Chorispora macropoda cuttings are potted and happy under their humidity dome, the waiting game begins! Keep the soil consistently moist but not waterlogged. Check it daily. You should start to see signs of new growth, like tiny leaves unfurling at the top, within 2-4 weeks. You’ll know they’ve rooted when you gently tug on the cutting and feel resistance; they won’t wiggle freely anymore.
The most common sign of failure is rot. If your cutting turns black and mushy, it’s usually a sign of too much moisture and poor air circulation. If you see this, don’t despair – just compost the failed one and try again! Sometimes, cuttings simply don’t root. It happens to the best of us! Factors like temperature, humidity, and the health of the parent plant all play a role.
Once your cuttings have a good root system, you can gradually acclimatize them to normal room humidity by opening up the plastic bag or propagator a little more each day before removing it completely. Then, pot them into slightly larger containers with fresh potting mix.
A Encouraging Closing
Propagating plants like Chorispora macropoda is such a fulfilling hobby. It connects you to the rhythm of nature and rewards you with an abundance of beauty. Be patient with yourself and with your cuttings. Not every attempt will be a roaring success, and that’s perfectly okay. Each new batch you try teaches you something new. So, grab your shears, get your hands a little dirty, and enjoy the magic of creating more of these delightful blooms! Happy gardening!
Resource:
https://identify.plantnet.org/k-world-flora/species/Chorispora%20macropoda%20Trautv./data