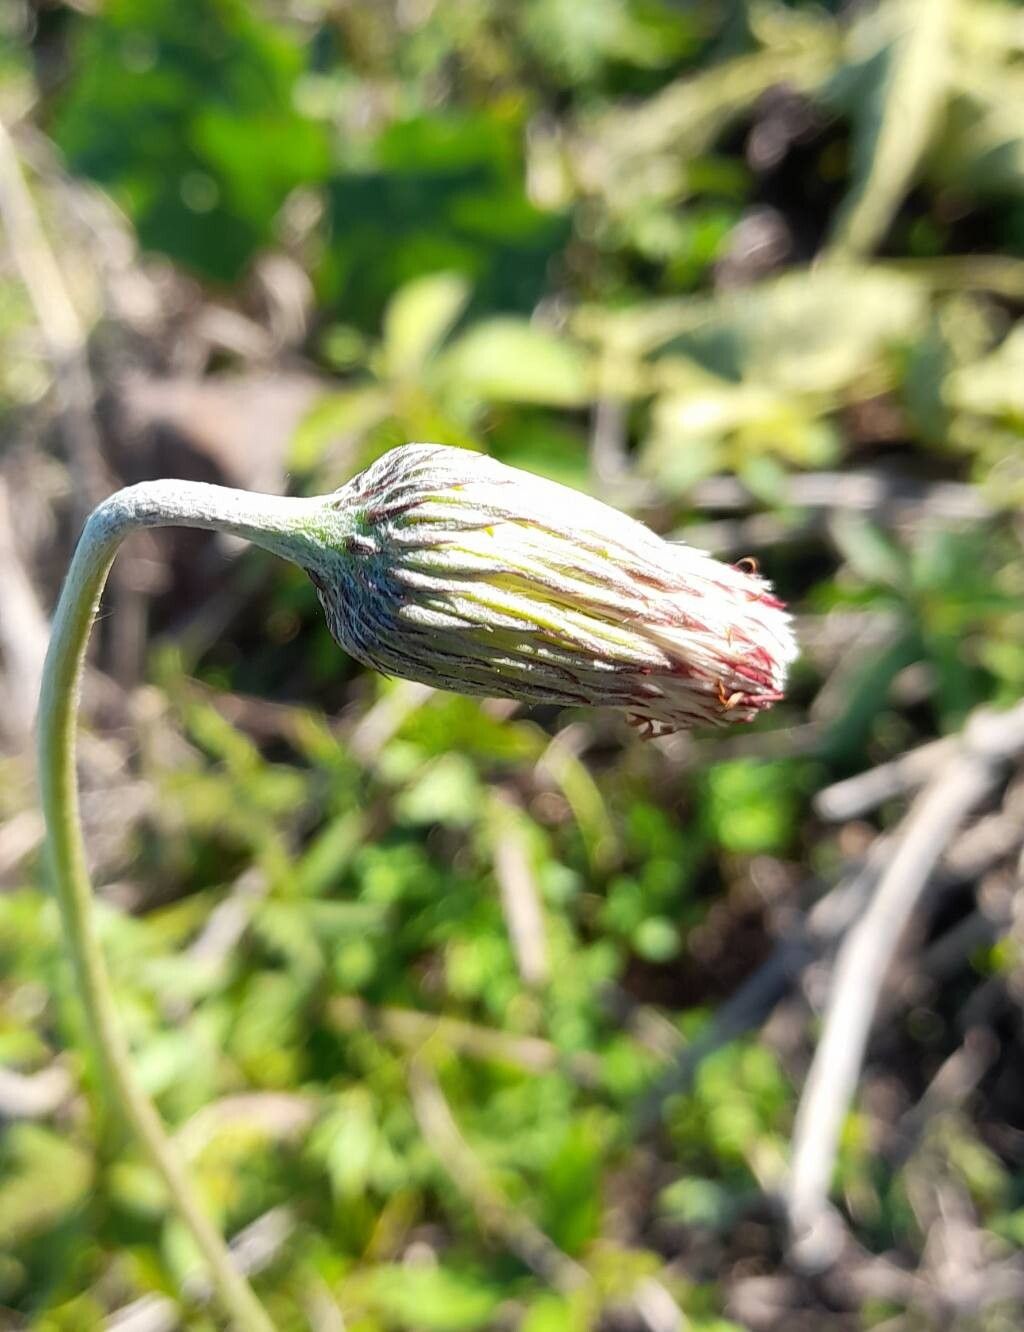
Oh, hello there, fellow plant lover! I’m so glad you stopped by. Today, we’re going to talk about a real charmer: Chaptalia nutans. If you’re looking for a plant that adds a bit of delicate charm to your garden or makes a delightful houseplant, you’re in for a treat. Bringing more of this beauty into your life by propagating it is incredibly rewarding, and honestly, it’s quite manageable. Even if you’re just dipping your toes into the world of plant propagation, you’ll likely find this one a friendly companion.
The Best Time to Start
For Chaptalia nutans, I’ve found the late spring to early summer is your golden window. This is when the plant is actively growing and has plenty of energy to put into developing new roots. Waiting until after your plant has finished its main bloom cycle is also a fantastic time. You want to catch it at its most vigorous, not when it’s winding down for the season.
Supplies You’ll Need
Gathering your tools beforehand makes the whole process smoother. Here’s what I usually have on hand:
- Sharp, clean pruning shears or a sharp knife: Essential for making clean cuts.
- Well-draining potting mix: A good blend of peat moss, perlite, and compost works wonders. You can also buy specific seed-starting or propagation mixes. For Chaptalia, I like a mix that’s a bit lighter, perhaps leaning more towards perlite for aeration.
- Small pots or propagation trays: Clean, with drainage holes, of course!
- Rooting hormone (optional but helpful): A powdered or gel form can give your cuttings an extra boost.
- A spray bottle: For keeping things nice and humid.
- Clear plastic bags or a propagation dome: To create a mini-greenhouse effect.
- Labels and a permanent marker: Don’t skip this! Trust me.
Propagation Methods
Chaptalia nutans is a forgiving plant, and you’ll find propagation to be quite straightforward. The most common and successful methods are division and stem cuttings.
Division
This is often the easiest route, especially if your plant is already a good size.
- Gently unpot your mature Chaptalia. Be careful not to damage the roots too much.
- Inspect the root ball. You’ll likely see clumps of roots that can be gently pulled or teased apart. Sometimes, you might need to use a clean knife to help separate larger sections, but try to keep as many roots attached to each division as possible.
- Each division should have a healthy amount of roots and at least one or two shoots or growing points.
- Pot each division into its own pot filled with your well-draining potting mix.
- Water gently to settle the soil. Keep the newly potted divisions in a bright spot but out of direct, harsh sunlight.
Stem Cuttings
This method is great for increasing your plant collection without disturbing your main specimen too much.
- Select healthy, non-flowering stems. Look for stems that are about 4-6 inches long. You want them to be firm, not woody or spindly.
- Using your clean pruning shears or knife, make a cut just below a leaf node. A leaf node is where a leaf attaches to the stem – that’s where roots will want to emerge.
- Remove the lower leaves. This is important! You only want to leave a few leaves at the very top. This prevents the submerged leaves from rotting and encourages the plant to focus its energy on root development.
- Dip the cut end in rooting hormone (if using). Tap off any excess.
- Make a hole in your potting mix with your finger or a pencil.
- Insert the cutting into the hole, ensuring the node where you removed the leaves is below the soil surface.
- Gently firm the soil around the cutting.
- Water lightly to ensure good contact between the stem and the soil.
- Create a humid environment. You can do this by covering the pot with a clear plastic bag (making sure the leaves don’t touch the plastic) or placing it under a propagation dome.
- Place the pot in a warm location with bright, indirect light.
The “Secret Sauce” (Pro Tips)
Here are a couple of things I’ve learned over the years that really make a difference with Chaptalia propagation:
- Don’t let those lower leaves touch the water or soil! I know I mentioned it, but it bears repeating. Any leaf material submerged when you’re trying to root a cutting is an invitation for rot. Make sure you strip them off with purpose.
- Consider bottom heat, especially for cuttings. Chaptalia appreciates a little warmth from below to encourage those roots to form. A heating mat designed for seedlings can be a game-changer, especially if your propagation area is a bit cool. It mimics that nice, warm ground feel.
Aftercare & Troubleshooting
Once your cuttings have been planted or your divisions are in their new homes, the real waiting game begins.
- Keep the soil consistently moist but not soggy. Think “damp sponge.” Overwatering is the quickest way to invite trouble.
- Maintain that humidity. For cuttings, keep the plastic bag or dome on, misting lightly as needed, until you see definite signs of new growth.
- Be patient! For cuttings, it can take anywhere from 3-6 weeks for roots to form. You can gently tug on a cutting; if there’s resistance, you’ve got roots!
- Watch for signs of rot. This usually looks like mushy, black stems. If you see this, unfortunately, that cutting is a goner. Remove it immediately to prevent it from spreading. Good air circulation can help prevent this.
- Once roots are well-established, you can gradually acclimate your new plants to less humidity and eventually remove the plastic.
A Warm Closing
Propagating Chaptalia nutans is a wonderful way to multiply your greenery and share a bit of plant joy with friends. Don’t get discouraged if your first attempt isn’t perfect. Gardening is a journey of learning and observation, and every plant is a new lesson. Enjoy the process, be patient with your little charges, and soon you’ll have a small forest of your own beautiful Chaptalias! Happy growing!
Resource:
https://identify.plantnet.org/k-world-flora/species/Chaptalia%20nutans%20(L.)%20Pol./data