Oh, hello there, fellow plant lover! It’s so wonderful to have you join me today. I’m buzzing with excitement to chat about a little gem I’ve been quite fond of over the years: Chamaedendron fragilis.
Why Propagate Chamaedendron fragilis? It’s a Green Thumb’s Delight!
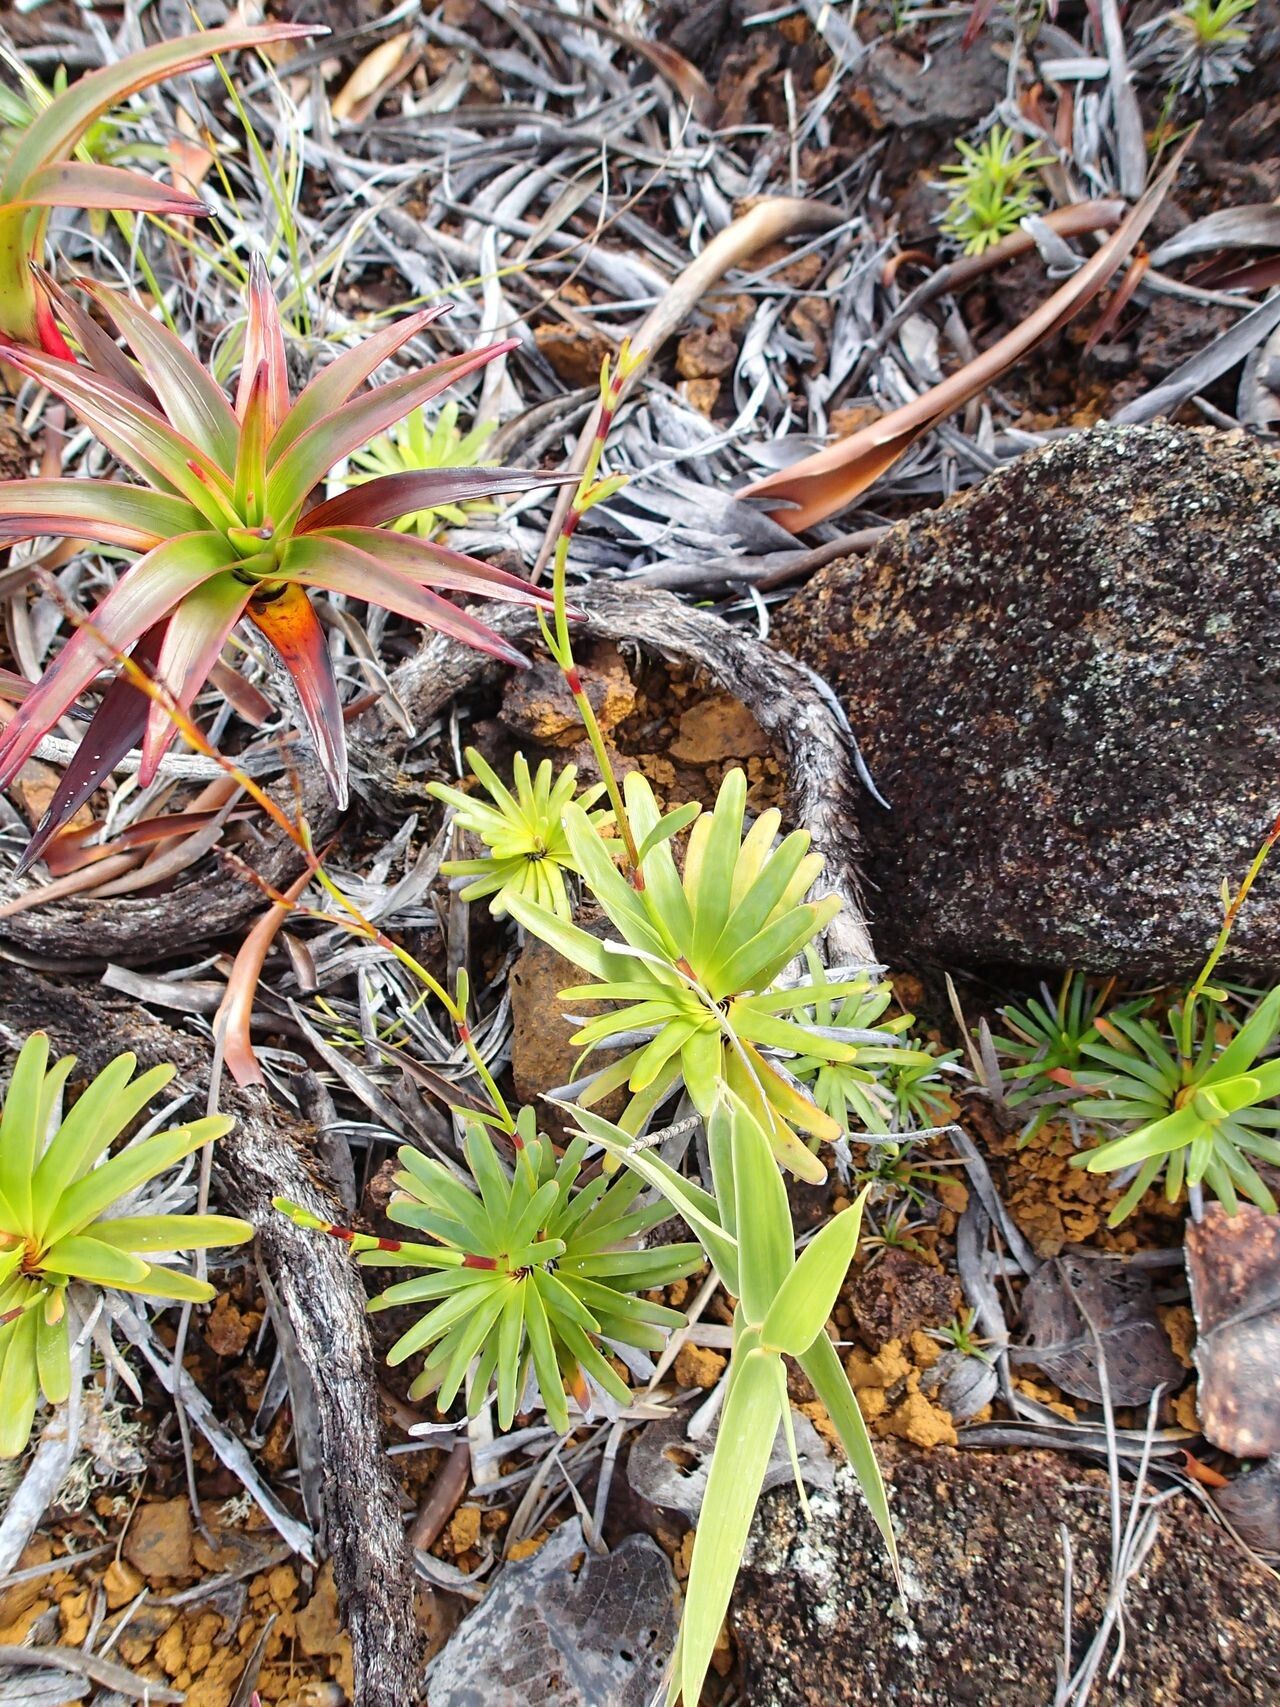
This plant, with its delicate, fern-like foliage and often subtle, charming blooms, brings a whisper of the wild into our homes. It’s not one you see everywhere, and that’s part of its allure, isn’t it? Propagating it is incredibly rewarding because you get to multiply that beauty, share it with friends, or simply build your own fragrant haven. Now, for the good news: while it has its quirks, I find Chamaedendron fragilis to be moderately easy, making it a fantastic project for those of you who have a few successful plant rescues under your belt. Don’t let that deter you if you’re still new to the game; with a little care and these tips, you’ll be a pro in no time!
The Best Time to Start: Sunshine and Growth Spurts
The absolute sweet spot for propagating Chamaedendron fragilis is during its active growing season. Think late spring through early summer. This is when the plant is energized by longer daylight hours and warming temperatures, meaning any cuttings you take will have the best chance of rooting quickly. Starting too late in the season, when growth is slowing down, can lead to a longer wait and a higher risk of failure.
Supplies You’ll Need: Your Propagation Toolkit
Gathering your tools beforehand makes the whole process so much smoother. Here’s what I usually have on hand:
- Sharp, clean pruning shears or a sharp knife: For making clean cuts. Sterilize them with rubbing alcohol!
- Propagation medium: A well-draining mix is crucial. I often use a blend of 50% perlite and 50% peat moss or coco coir. Some people swear by a tiny bit of sand, but I find perlite gives excellent aeration.
- Small pots or cell trays: Clean ones, please! Yogurt cups with drainage holes work too.
- Rooting hormone (optional but recommended): A good quality rooting hormone powder can give your cuttings a real boost.
- Plastic bags or a clear plastic dome: To create a humid microclimate.
- Watering can with a fine rose or a mister: For gentle watering.
- Labels and a marker: To keep track of your precious babies!
Propagation Methods: Turning One Into Many
Chamaedendron fragilis is quite amenable to a couple of popular propagation methods. I’ve had the most success with stem cuttings and division.
Stem Cuttings: The Classic Approach
This is my go-to for Chamaedendron fragilis.
- Select your parent plant: Choose a healthy, vigorous Chamaedendron fragilis. Look for stems that aren’t flowering – you want the plant to focus its energy on rooting, not on producing a bloom.
- Make the cut: Using your sterilized shears, take a cutting about 4-6 inches long. Make the cut just below a leaf node (the point where a leaf attaches to the stem). This is where the magic happens in terms of root development.
- Prepare the cutting: Gently remove the lower leaves from the cutting, leaving maybe two to four sets of leaves at the top. This prevents them from rotting in the soil and reduces moisture loss.
- Apply rooting hormone: If you’re using it, dip the cut end of the stem into the rooting hormone, tapping off any excess.
- Plant your cutting: Create a small hole in your prepared propagation mix with a pencil or your finger. Gently insert the cutting into the hole, ensuring the nodes where you removed leaves are below the soil surface. Firm the soil gently around the stem.
- Water and cover: Water the potting mix thoroughly but gently. Then, cover the pot with a plastic bag or a clear dome. This creates the humid environment that cuttings crave. Poke a few small holes in the bag for ventilation.
Division: For the More Mature Plants
If you have a larger, established Chamaedendron fragilis, division can be a quick way to get more plants.
- Gently remove from pot: Carefully take your plant out of its pot.
- Inspect the root ball: Gently shake off excess soil to expose the roots and crowns.
- Find natural divisions: Look for areas where the plant naturally splits, with its own set of roots and stems.
- Make the cut (or pull apart): Using your clean knife or even your hands, carefully separate the clump into smaller sections. Each section should have a good amount of healthy roots and at least a couple of stems.
- Pot them up: Pot each division into its own container with fresh, well-draining potting mix. Water gently.
The “Secret Sauce”: My Insider Tips
Over the years, I’ve learned a few tricks that really make a difference.
- Don’t overcrowd the humidity tent: While humidity is vital, stagnant air can lead to fungal issues. Open the bag or dome for a few minutes each day to allow for air circulation. Think of it as a little fresh air break for your new plant.
- Bottom heat is your friend: Chamaedendron fragilis really perks up with a little warmth from below. Placing your pots on a gentle heating mat designed for seedlings can significantly speed up root formation. You don’t want it too hot, just a gentle warmth.
- Patience is a virtue (and it pays off!): When taking stem cuttings, I like to give them a gentle tug after about 3-4 weeks. If you feel resistance, it means roots are forming! Don’t be discouraged if it takes longer. Some plants are just slower growers.
Aftercare & Troubleshooting: Nurturing Your New Sprouts
Once you see new growth appearing on your cuttings – that’s your sign! It usually means roots are developing quite happily.
- Gradual acclimatization: As your cuttings show signs of new life, gradually remove the humidity cover over a week or so. This helps them adjust to normal room humidity.
- Light and water: Move them to a spot with bright, indirect light. Water them when the top inch of soil feels dry. Overwatering is the most common culprit for failure, so err on the side of caution.
- Signs of trouble: The most common issue you might face is rot. If a cutting turns mushy or black and falls apart, it’s a sign of too much moisture and not enough air, or possibly a fungal infection. If this happens, discard the failed cutting and reassess your watering and ventilation. Yellowing leaves can sometimes mean too much direct sun, or even just a natural shedding of older foliage as the plant puts energy into new growth.
A Little Encouragement to Finish
Propagating plants is a journey, and like any good journey, it’s filled with learning and discovery. Don’t get discouraged if every single cutting doesn’t make it. Instead, celebrate the ones that do! Be patient, enjoy the process of nurturing these tiny miracles, and you’ll soon be surrounded by even more beautiful Chamaedendron fragilis. Happy growing!
Resource: