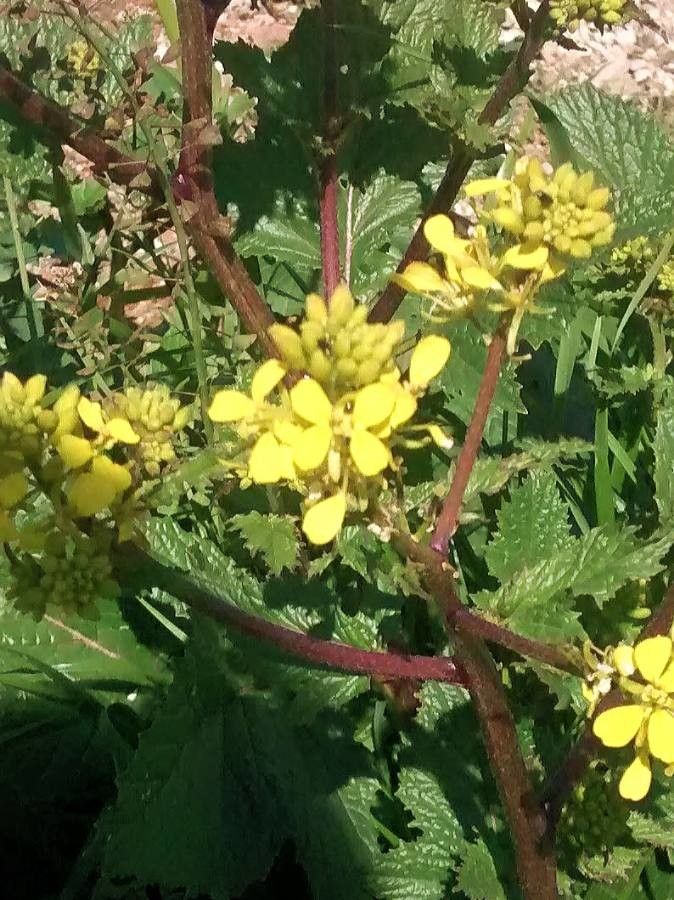
Oh, hello there! Grab a mug of your favorite beverage, and let’s chat about one of my absolute favorite garden crops: Brassica rapa! You know, those wonderful, fast-growing members of the cabbage family that give us everything from crisp bok choy and tender turnips to vibrant mizuna and delightful napa cabbage. There’s something truly magical about coaxing new life from a plant you already love. Propagating Brassica rapa is a fantastic way to keep your garden bountiful without having to buy new plants every time, and I think you’ll find it surprisingly rewarding. For beginners, it’s quite forgiving, which is always a plus!
When Should You Get Started?
The absolute best time to think about propagating Brassica rapa is usually late spring through early summer. This is when the plants are in their most vigorous growth phase, meaning they have plenty of energy to spare for making new roots. If you’re starting from seed, this is your cue to get sowing indoors a few weeks before your last frost date. If you’re looking to propagate from cuttings, you’ll want to take them from healthy, established plants during this active growing period.
What You’ll Need for the Journey
Gathering your supplies beforehand makes the whole process smoother, just like having your ingredients ready before you start cooking!
- A sharp pair of pruners or a clean knife.
- Seed-starting mix or a well-draining potting mix. Perlite is your friend here for aeration!
- Small pots or trays with drainage holes.
- Watering can with a fine rose or a spray bottle.
- Optional: Rooting hormone powder (though often not strictly necessary for Brassica rapa, it can give an extra boost).
- Optional: A heating mat for bottom warmth.
- A labels so you don’t mix up your precious babies!
Let’s Get Propagating!
Brassica rapa is pretty adaptable, but I find the easiest and most successful methods for home gardeners are stem cuttings and, for some varieties like those grown for their greens, even water propagation.
Method 1: Stem Cuttings (Best for Greens)
- Find a healthy parent plant. Look for a vigorous stem, ideally one that hasn’t flowered yet.
- Take your cutting. Using your clean pruners or knife, cut a stem that’s about 4-6 inches long. Make sure it has at least two sets of leaves. Cut just below a leaf node (where a leaf attaches to the stem).
- Prepare the cutting. Gently remove the lower leaves, leaving just the top two or three. This helps the plant focus its energy on rooting rather than supporting unnecessary foliage.
- Dip and plant. If you’re using rooting hormone, dip the cut end into it, tapping off any excess. Then, gently insert the cutting into a pot filled with your prepared seed-starting mix. Make sure the node where you removed the leaves is buried in the soil.
- Water and cover. Water the soil thoroughly until it’s evenly moist but not waterlogged. You can place a clear plastic bag or a cloche over the pot to create a humid environment. This is crucial for cuttings.
Method 2: Water Propagation (Simple & Satisfying)
This works beautifully for leafy Brassica rapa like bok choy or mizuna.
- Take your cutting. Follow the same steps as above to get a 4-6 inch stem with a few leaves.
- Remove lower leaves. Just like with soil propagation, get rid of those bottom leaves.
- Place in water. Put the cutting in a clear jar or glass of fresh, clean water. Make sure the cut end is submerged, but critically, don’t let the leaves touch the water. If they do, they’ll rot quickly.
- Find a bright spot. Place the jar in a bright location, but out of direct, scorching sunlight. Change the water every few days to keep it fresh. You should see tiny roots appear within a week or two.
- Pot up when ready. Once the roots are about an inch long, you can carefully pot them into soil as you would a seedling.
The “Secret Sauce” for Success
You know, after years of this, a few little tricks really do make a difference.
- Bottom Heat is Your Friend: For stem cuttings, placing your pots on a heating mat can significantly speed up root development. These plants love warmth, and a little boost from below encourages those roots to form faster.
- Humidity, Humidity, Humidity! I can’t stress this enough, especially for cuttings. That plastic bag or cloche creates a mini-greenhouse. Check for condensation – if there’s a lot, you might need to ventilate it for a bit.
- Patience is Key (and Observation): When you’re starting from cuttings, resist the urge to tug on them to see if they’re rooted. Instead, watch for new leaf growth. That’s your best indicator that roots are forming.
Aftercare and What to Watch For
Once you see those little roots forming, whether in water or soil, it’s time for them to become independent!
- For Water Cuttings: When the roots are about an inch long, carefully transplant them into pots filled with your well-draining potting mix. Water them in gently and keep them in a slightly shaded spot for a few days as they adjust.
- For Soil Cuttings: Once you see new growth and the cutting feels firm when gently tugged, it’s established. Continue to water consistently, keeping the soil evenly moist.
- Troubleshooting: The most common issue you’ll face is rot. This usually happens when there’s too much moisture and not enough air circulation. If a cutting turns black and mushy, it’s best to discard it and try again. Yellowing leaves can sometimes indicate overwatering or a lack of nutrients, so check your watering schedule.
Don’t be discouraged if your first attempt isn’t picture-perfect. Gardening is a journey of learning, and every plant is a new lesson. The satisfaction of watching those tiny cuttings transform into healthy, productive plants is truly a delight. So go ahead, grab some cuttings, get your hands dirty, and enjoy the process. Happy propagating, my friend!
Resource:
https://identify.plantnet.org/k-world-flora/species/Brassica%20rapa%20L./data