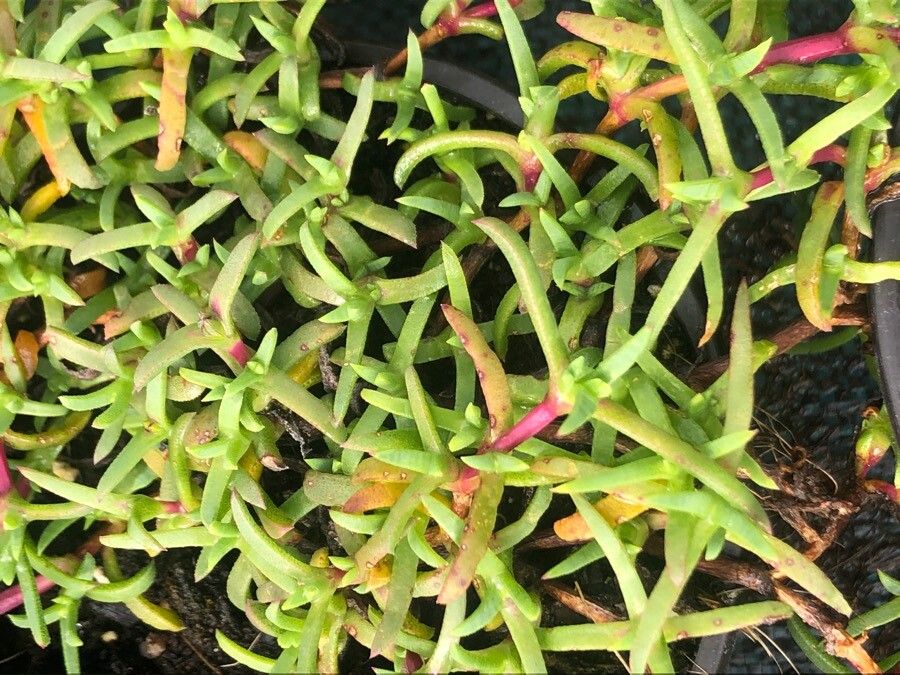
Oh, hello there! I’m so glad you’ve found your way to my little corner of the garden. Today, we’re diving into the wonderful world of propagating Antimima prostrata, a truly delightful succulent that often flies under the radar. If you’re looking for a plant that rewards you with its charming, trailing habit and delicate flowers without demanding too much fuss, then this is it! Propagating it is incredibly satisfying, and honestly, I find it to be a pretty straightforward process, even for those just dipping their toes into the propagation pond. You’ll have a whole new family of these beauties in no time!
The Best Time to Start
My favorite time to take cuttings and start new plants is generally during the active growing season. For Antimima prostrata, this usually means spring and early summer. The plant is bursting with energy then, and cuttings taken during this time have the best chance of establishing roots quickly. You’ll want to look for healthy, mature stems that aren’t flowering if possible, as that’s where the plant is focusing its energy.
Supplies You’ll Need
Gathering your supplies upfront makes the whole operation run so much smoother. Here’s what I keep on hand:
- Sharp, clean pruning shears or a sharp knife: The cleaner your cut, the better.
- Rooting hormone (optional but recommended): A little boost can speed things up.
- Well-draining potting mix: I like a mix of succulent/cactus soil with added perlite or pumice for extra aeration.
- Small pots or trays: Whatever you have available for baby plants.
- Watering can or spray bottle: For gentle watering.
- A sunny windowsill or bright location with indirect light: For your new plant babies.
- Labels (optional): To keep track of what you’ve propagated and when.
Propagation Methods
Antimima prostrata is a champ at propagating from stem cuttings. It’s my go-to method, and it’s incredibly reliable.
Stem Cuttings
- Take Your Cuttings: Using your sharp shears, select a healthy, mature stem. Cut a section that is about 3-4 inches long. Try to get a cut just below a leaf node (where the leaves attach to the stem).
- Prepare the Cuttings: Gently remove any leaves from the bottom inch or so of the cutting. This prevents them from rotting when placed in the soil.
- Let Them Callus: This is a crucial step for succulents! Lay your cuttings out on a clean surface, away from direct sunlight, for 2-3 days. You want the cut end to dry out and form a callus. This helps prevent rot when you plant them.
- Apply Rooting Hormone (Optional): If you’re using rooting hormone, dip the callused end of each cutting into the powder. Tap off any excess.
- Plant Your Cuttings: Fill your small pots or trays with your well-draining potting mix. Gently insert the callused ends of the cuttings into the soil. Make sure at least one leaf node is buried.
- Water Sparingly: Give the soil a very light watering. You don’t want it soggy, just slightly moist.
The “Secret Sauce” (Pro Tips)
Over the years, I’ve picked up a few little tricks that seem to make a big difference, and I’m happy to share them with you!
- Don’t Drown Your Cuttings: This is probably the most common mistake with succulents. Allow the soil to almost dry out between waterings. Overwatering is the quickest way to a soggy, rotted end. A light misting is often enough in the initial stages.
- Warmth is Your Friend: Antimima prostrata loves a bit of warmth to encourage rooting. If you have a heat mat, placing your pots on it can significantly speed up root development. It’s like giving your cuttings a little spa day!
- Patience, Dear Gardener: Seriously, I cannot stress this enough. Succulents can sometimes take their sweet time. Don’t be tempted to pull them up to check for roots too early. Give it at least 3-4 weeks, and often longer, before you gently tug to see if there’s resistance.
Aftercare & Troubleshooting
Once you see signs of new growth or feel that gentle tug indicating roots, you’re in the clear!
Caring for Your New Plants:
- Gradually Increase Watering: As roots establish, you can start watering a bit more regularly, but always let the soil dry out between waterings.
- Move to Brighter Light: Slowly acclimate your new little ones to brighter, indirect light. A sunny windowsill is usually perfect.
- Transplant When Ready: When your cuttings have formed a good root system and are showing substantial growth, you can transplant them into slightly larger pots with fresh, well-draining soil.
Troubleshooting:
- Rotting: If cuttings turn mushy, black, or yellow and fall apart, it’s usually a sign of overwatering or insufficient callous time. This is why the drying period and careful watering are so important.
- No Growth: If you see no signs of rooting or growth after several weeks (and you’ve been patient!), it might be that the cutting wasn’t healthy to begin with, the conditions weren’t quite right (too cold, too dark), or it just wasn’t meant to be. Don’t be discouraged; try again with fresh material!
A Few More Encouraging Words
Propagating plants is such a wonderful way to connect with nature and multiply the beauty in your home and garden. Be patient, trust the process, and celebrate every little success. Watching those tiny roots emerge and new growth appear is incredibly rewarding. Before you know it, you’ll have a whole collection of Antimima prostrata to share with friends or to fill every sunny spot you have! Happy propagating!
Resource: