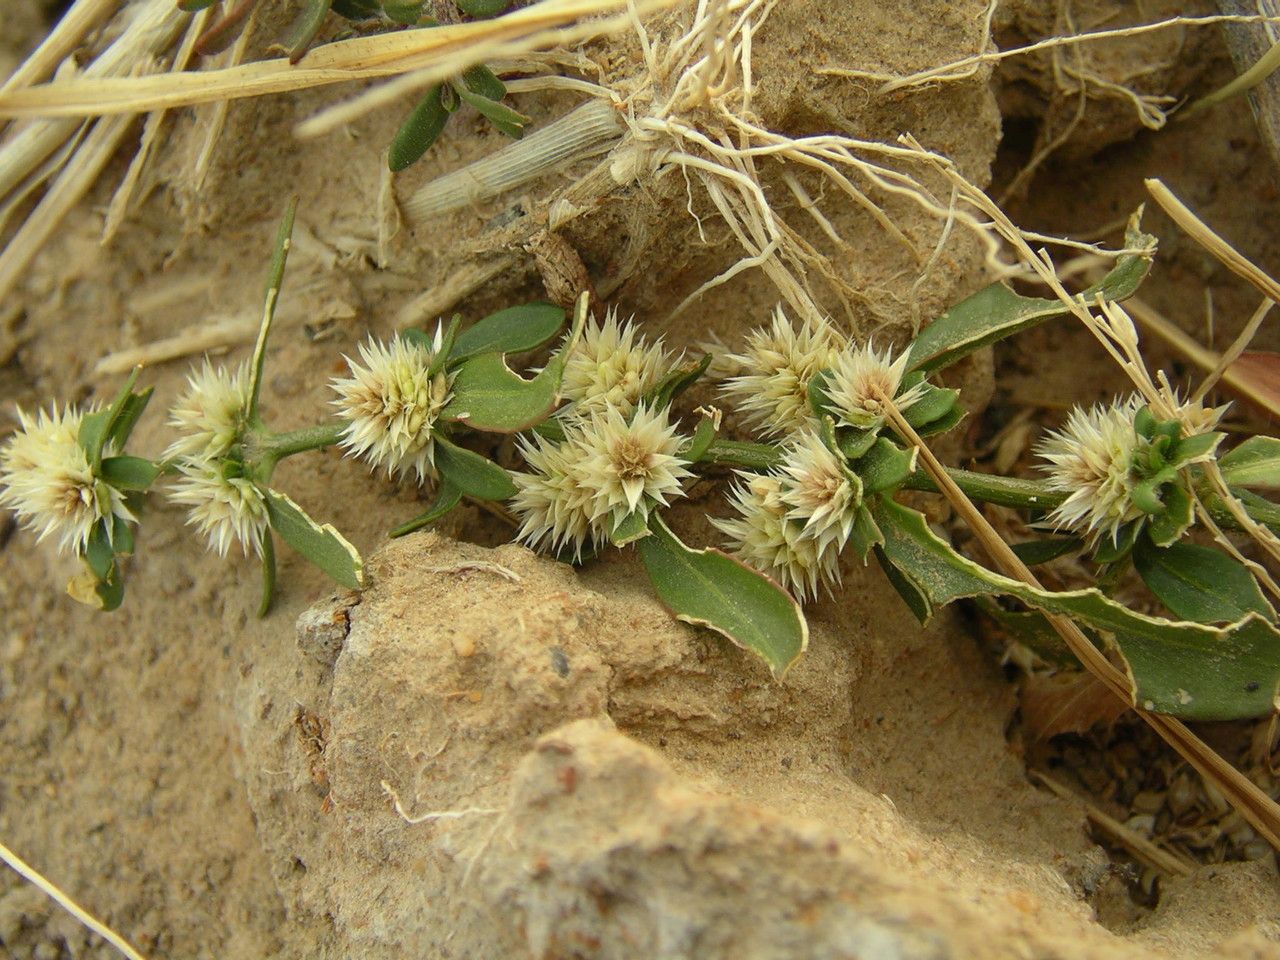
Hello fellow garden enthusiasts! Today, I want to chat about a plant that’s been a delightful discovery for me over the years: Alternanthera nodiflora. You know, those vibrant little plants that bring such fantastic pops of color to borders and containers. Whether you love the fiery reds, sunny yellows, or striking purples, there’s an Alternanthera variety that can brighten any corner. And the best part? They’re surprisingly easy to propagate, which means you can fill your entire garden with these beauties without breaking the bank! For beginners, this is definitely a plant you can tackle with confidence.
The Best Time to Start
My experience tells me that spring and early summer are your prime windows for propagating Alternanthera nodiflora. This is when the plant is actively growing, meaning it has the energy to put out roots and establish itself much more readily than in its dormant phases. Aim for those lovely, mild days with plenty of bright, indirect light.
Supplies You’ll Need
Before we get our hands dirty, let’s gather our tools:
- Sharp pruning shears or a clean, sharp knife: For taking nice, clean cuttings.
- Small pots or seed trays: Clean ones are a must to prevent disease.
- A good quality potting mix or propagation mix: I like a blend that’s well-draining. A mix of peat moss, perlite, and a little compost usually does the trick.
- Rooting hormone (optional but recommended): This little helper can really speed things up.
- A clear plastic bag or a propagator lid: To create a humid environment for your cuttings.
- Watering can or spray bottle: For gentle watering.
- Patience!
Propagation Methods
I find stem cuttings to be the most foolproof method for Alternanthera nodiflora. Here’s how we do it:
- Take Your Cuttings: Select healthy, non-flowering stems from your established plant. Using your sharp shears, take cuttings that are about 4-6 inches long. Make sure to cut just below a leaf node. This is where the magic happens for rooting.
- Prepare the Cuttings: Gently remove the leaves from the bottom half of each cutting. This prevents them from rotting in the soil. If the remaining leaves are very large, you can even snip them in half to reduce water loss through transpiration.
- Apply Rooting Hormone (Optional): Dip the bottom inch of each cutting into your rooting hormone powder or gel. Tap off any excess.
- Plant Them Up: Fill your pots or trays with your well-draining mix. Moisten it thoroughly. Then, insert the cuttings about 1-2 inches deep into the soil, making sure the leaf nodes are covered. You can fit quite a few into a small pot – they don’t need a lot of space initially.
- Create Humidity: Water gently again. Then, cover the pots with a clear plastic bag or place them in a propagator. This will create a mini-greenhouse effect, keeping humidity high, which is crucial for cuttings to root.
Another simple method is water propagation, which is wonderfully visual:
- Prepare Cuttings: Follow steps 1 and 2 from the stem cutting method.
- Submerge: Place the cuttings in a jar or glass of clean water. Ensure the leaf nodes are submerged, but the remaining leaves stay above the water line.
- Change Water Regularly: Refresh the water every few days to keep it clean and prevent any bacterial growth. Place the jar in a bright spot out of direct sunlight. You’ll be able to watch as those little white roots emerge!
The “Secret Sauce” (Pro Tips)
Here are a few things I’ve learned that make a real difference:
- Don’t let those lower leaves touch the water in water propagation! I know it can be tempting to just shove them in, but those submerged leaves are a direct invitation for rot to set in. Keep them airy.
- Bottom heat is your friend. If you’re using stem cuttings and want to speed things up, placing your pots on a heated propagator mat can really encourage root development. It mimics the warmth of summer soil.
- When in doubt, take more cuttings than you think you need. Not every single one will make it, and that’s perfectly normal. It’s better to have a generous selection to choose from later.
Aftercare & Troubleshooting
Once you see new leafy growth appearing on your cuttings, that’s a great sign that roots have formed! You can gently check by giving a cutting a very light tug. If there’s resistance, you’re in business.
- Acclimatize Gradually: If you’ve been using a plastic bag or propagator, start by lifting the lid or opening the bag for an hour or two each day to let the cuttings get used to normal humidity.
- Potting Up: Once they have a decent root system (you might see roots emerging from drainage holes), it’s time to carefully transplant them into individual pots with fresh potting mix. Keep them well-watered but not soggy.
- Troubleshooting is part of the fun! The most common issue you’ll run into is rot. This usually happens if the cuttings are sitting in waterlogged soil or if humidity is too high for too long without air circulation. Yellowing leaves can indicate too much or too little water. Blackened, mushy stems are a definite sign of rot, and sadly, those are usually beyond saving. Don’t get discouraged if you lose a few – compost them and try again!
A Encouraging Closing
And there you have it! Propagating Alternanthera nodiflora is a truly satisfying process. It’s a wonderful way to connect with your plants and to simply enjoy the magic of new life. Be patient with yourself and your new greenery. Watch them grow, celebrate every little leaf, and soon you’ll have an abundance of color to share. Happy propagating!
Resource:
https://identify.plantnet.org/k-world-flora/species/Alternanthera%20nodiflora%20R.Br./data