Hello there, fellow plant enthusiasts! Today, I want to chat about a real treasure in the garden: Zanthoxylum lemairei. If you’re drawn to plants with a bit of architectural flair and the promise of unique, aromatic foliage and maybe even those intriguing prickly stems, then you’re in for a treat. Propagating these beauties is a wonderfully rewarding way to expand your collection, and I’m here to guide you through it. While Zanthoxylum lemairei isn’t the absolute easiest plant for a complete beginner, with a little care and these tips, you’ll be well on your way to success!
The Best Time to Start
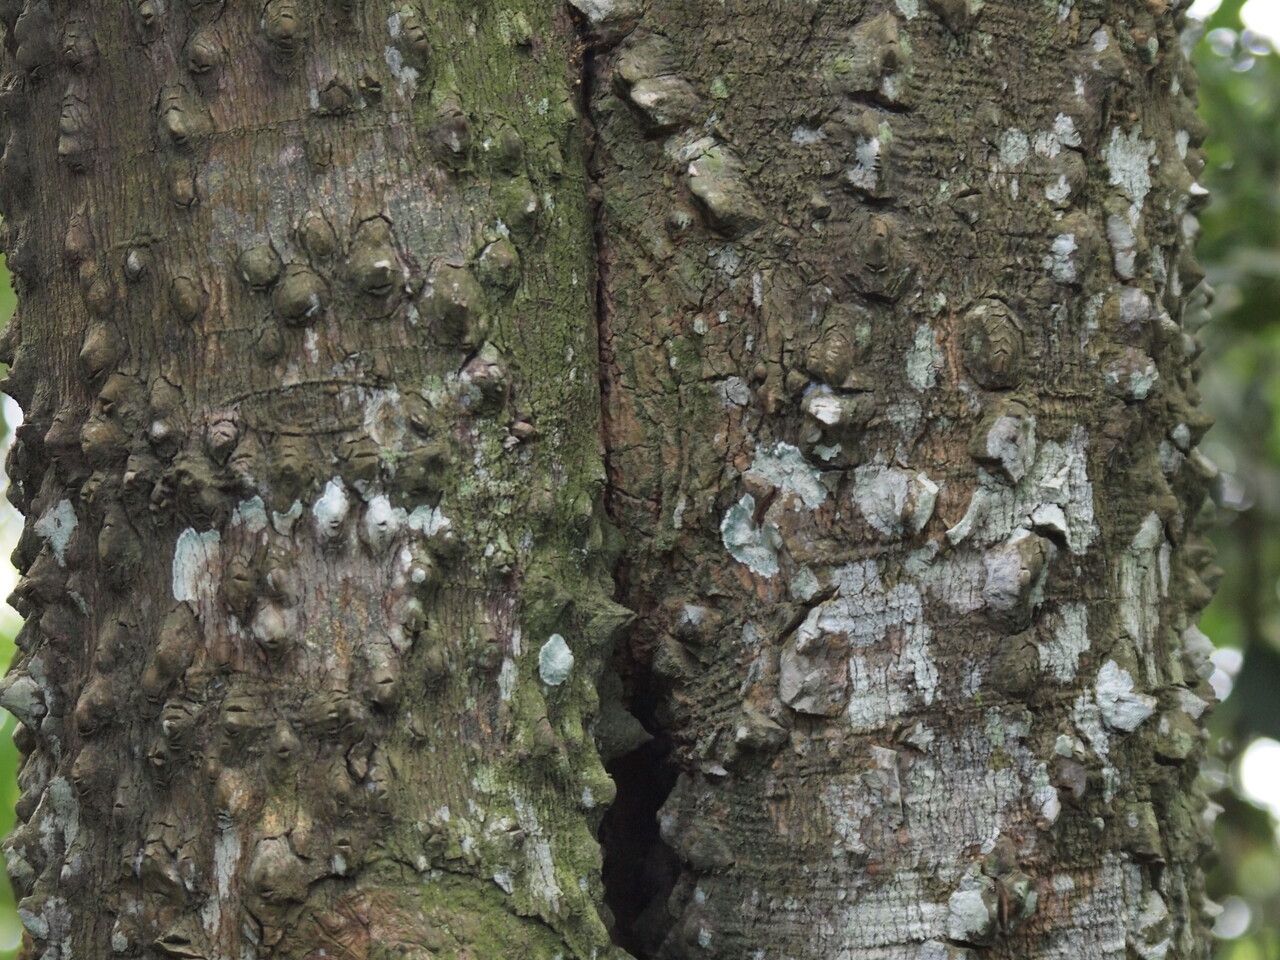
For most woody plants like Zanthoxylum lemairei, the ideal time to take cuttings is when they are actively growing but not stressed. Think late spring or early summer. The stems should be flexible but not brand new and flimsy. This is when they have plenty of stored energy to put into forming new roots. Waiting until the plant has finished its initial flush of vigorous spring growth is usually a good bet.
Supplies You’ll Need
Here’s what you’ll want to have on hand before you get started:
- Sharp, clean pruning shears or a sharp knife: Sterilize them with rubbing alcohol to prevent disease.
- Rooting hormone: This isn’t strictly mandatory, but it definitely gives your cuttings a nice boost and increases your success rate. Look for one formulated for woody plants.
- Well-draining potting mix: A good blend of peat moss or coir, perlite, and a bit of sand works beautifully. You want it to hold moisture but drain freely. Some people also swear by a mix specifically for cacti and succulents for excellent drainage.
- Small pots or propagation trays: Make sure they have drainage holes.
- Plastic bags or a propagator lid: To create a humid environment around your cuttings.
- A watering can with a fine rose: For gentle watering.
- Labels and a marker: To keep track of what you’ve planted and when.
Propagation Methods
Let’s dive into how we can coax new life from our Zanthoxylum lemairei. I find stem cuttings to be the most reliable method for this plant.
Stem Cuttings:
- Select healthy stems: Choose stems that are about pencil-thick and have finished their rapid spring growth. You’ll want pieces that are roughly 6-8 inches long. Look for sections with some current season’s growth, but also a bit of older, slightly woody material at the base.
- Make your cut: Using your sharp shears or knife, make a clean cut just below a leaf node (where a leaf attaches to the stem). This is where the magic of root formation often begins.
- Prepare the cutting: Remove the leaves from the bottom half of the cutting. If your remaining leaves are very large, you can cut them in half horizontally to reduce water loss through transpiration.
- Apply rooting hormone: Dip the cut end of the stem into the rooting hormone powder, ensuring it’s coated up to the point where you removed the lower leaves. Gently tap off any excess.
- Plant the cuttings: Make a hole in your prepared potting mix with a pencil or your finger. Insert the cutting, firming the soil gently around it. Make sure at least one or two leaf nodes are buried in the soil.
- Water gently: Water the potting mix thoroughly but carefully. Avoid disturbing the cuttings.
- Create humidity: Cover the pot or tray with a plastic bag or propagator lid. You can use stakes to keep the plastic from touching the leaves. Place in a bright spot, but out of direct sunlight.
The “Secret Sauce” (Pro Tips)
Here are a couple of things I’ve learned over the years that can really make a difference:
- Bottom Heat is Your Friend: If you have a heating mat designed for propagation, placing your pots on it can be a game-changer. This gentle warmth encourages root development from below without drying out the top of the soil.
- Don’t Let the Leaves Touch the Water: If you ever venture into water propagation (though I tend to stick with soil for woody stems), it’s crucial that no leaves are submerged. Any submerged foliage will quickly rot and can infect the entire cutting. This also applies to your soil cuttings – ensure the leaves aren’t constantly wilting against damp plastic.
- The Sniff Test: Sometimes, if I’m unsure about a cutting, I’ll gently tug on it. If there’s resistance, you’ve got roots! If it pulls out with no effort, it’s time to reassess.
Aftercare & Troubleshooting
Once you see new growth emerging, that’s a good sign that roots are forming! This usually takes anywhere from 4-8 weeks, but sometimes longer.
- Gradual Acclimation: Slowly remove the plastic cover over a few days to allow the new plant to adjust to the ambient humidity.
- Continue Watering: Keep the soil consistently moist but not waterlogged.
- Transplanting: Once your cutting has a good root system (you might see roots emerging from the drainage holes, or when you gently check for resistance), it’s time to transplant it into its own small pot. Use a good quality potting mix.
The most common culprit for failure is rot. If your cuttings turn black and mushy, it’s usually due to too much moisture and not enough air circulation. Ensure your potting mix is free-draining and that you’re not overwatering. Sometimes, cuttings simply fail to root, and that’s okay too! Gardening is a journey of experimentation.
A Word of Encouragement
Propagating Zanthoxylum lemairei is a process that requires a bit of patience, but the reward of seeing a new plant unfurl from what was once just a stem is truly special. Don’t be discouraged if your first attempts aren’t perfect. Each cutting, successful or not, teaches you something new. So grab your tools, enjoy the process, and happy propagating!
Resource: