Hello fellow plant lovers! Today, we’re diving into something truly special: propagating Werauhia viridiflora. I’ve had the pleasure of growing this beauty for years, and let me tell you, it’s a real stunner. Its vibrant, architectural green leaves bring a touch of the tropics right into your home, and the way it unfurls is just… mesmerizing.
The real joy of propagation, especially with something as delightful as Werauhia viridiflora, is the satisfaction of nurturing a brand new life from an existing plant. It’s incredibly rewarding, and honestly, not as daunting as it might seem. While some bromeliads can be a bit finicky, I’ve found Werauhia viridiflora to be quite forgiving, making it a great plant for those dipping their toes into propagation for the first time.
The Best Time to Start
For the highest chance of success, I always recommend propagating Werauhia viridiflora during its active growth period. That’s typically late spring through summer. You’ll know it’s ready when you see new pups (those adorable baby plants) starting to emerge from the base of the mother plant. Trying to propagate when the plant is dormant is like trying to bake a cake with no oven – it’s just not going to work out the way you hope!
Supplies You’ll Need
Gathering your supplies beforehand makes the whole process so much smoother. Here’s what I usually have on hand:
- Sharp, sterile pruning shears or a clean knife: For making clean cuts.
- Well-draining potting mix: A mix designed for bromeliads or orchids works brilliantly. You can also create your own with equal parts perlite, peat moss, and bark chips.
- Small pots or propagation trays: Terracotta pots are great because they allow for good airflow.
- Rooting hormone (optional but recommended): For an extra boost. A powder or liquid form is fine.
- Misting bottle: For keeping things humid.
- Gravel or perlite (for watering tray): To help maintain humidity without waterlogging.
- Enthusiasm! This is the most important ingredient.
Propagation Methods
Werauhia viridiflora is primarily propagated through offsets, also known as pups. This is by far the easiest and most effective method.
-
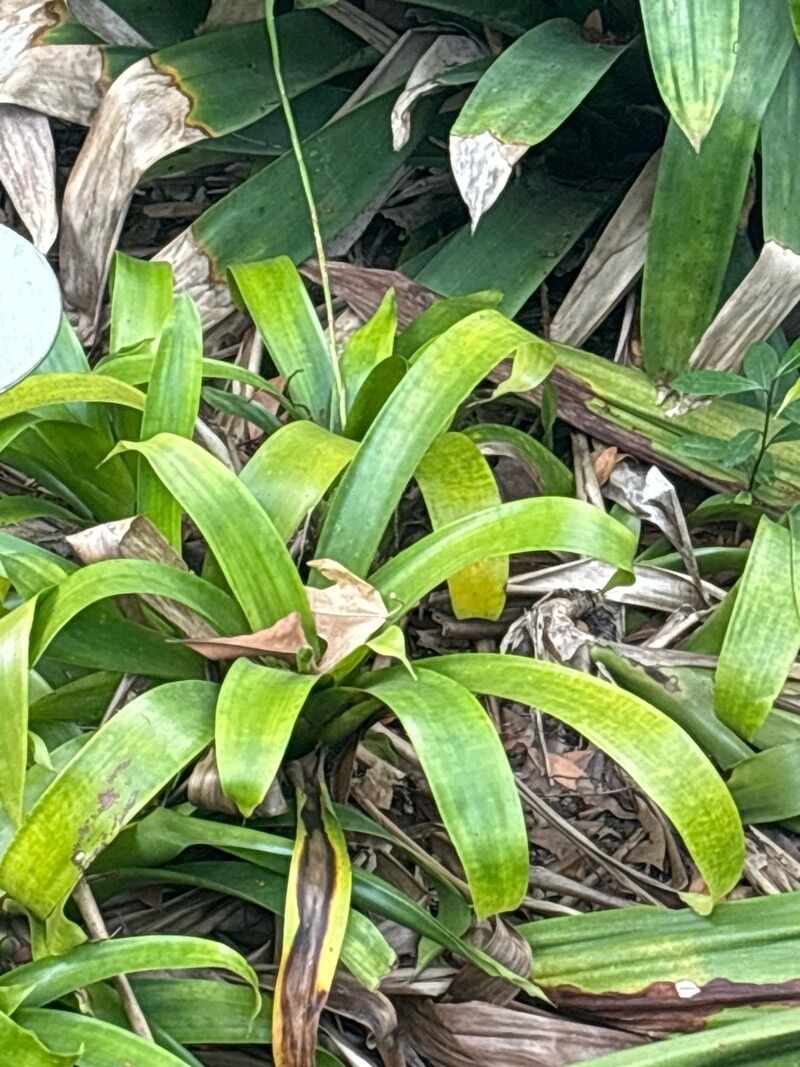
Locate the Pups: Gently examine the base of your mature Werauhia viridiflora. You’ll see smaller plants (pups) emerging from the mother plant, often nestled at the soil line or slightly below. Look for pups that are a decent size – at least a third to half the size of the mother plant is a good indicator they’re ready.
-
Carefully Remove the Pup: Using your sharp, sterile pruning shears or knife, gently cut the pup away from the mother plant. Try to get as close to the base of the pup as possible, ensuring you sever the connection cleanly. If a pup has a few roots already attached, that’s a bonus!
-
Allow to Callus: This is a crucial step many people overlook. Once you’ve removed the pup, let it sit for a day or two in a dry, airy spot. This allows the cut end to dry out and form a protective callus. This step significantly reduces the risk of rot when you plant it.
-
Potting Up: Fill your small pot with your well-draining potting mix. If you’re using rooting hormone, dip the callused end of the pup into it now. Create a small hole in the soil and gently place the pup in. Firm the soil around the base so it stands upright.
The “Secret Sauce” (Pro Tips)
Here are a few little tricks I’ve picked up over the years that really make a difference:
-
Embrace the Humidity: Bromeliads, especially when young, adore humidity. Once you’ve potted your pup, water the soil lightly. Then, place the pot into a larger tray filled with a layer of gravel or perlite and a little bit of water. The evaporation will create a wonderful humid microclimate around your new plant. Just make sure the bottom of the pot isn’t sitting directly in the water – we want moisture, not soggy feet!
-
Patience is Key with Roots: Don’t be tempted to yank your pup out to check for roots after just a week! It can take several weeks, sometimes a couple of months, for new roots to establish. Trust the process. You’ll know roots are developing when you see a bit of new leaf growth or resistance when you gently tug on the plant.
-
Give Them Space to Breathe: While humidity is good, stagnant air can lead to problems. Ensure your propagated pups have good air circulation. This helps prevent fungal diseases and encourages healthy growth. Don’t crowd them too much, especially if you have several propagating at once.
Aftercare & Troubleshooting
Once your Werauhia viridiflora pup has rooted and you see signs of new growth, you can treat it much like a mature plant, albeit on a smaller scale. Continue to water when the top inch of soil feels dry. Keep it in bright, indirect light.
The most common sign of failure is rot. If your pup turns mushy, black, or starts to fall apart, it’s a strong indicator of too much moisture and not enough air circulation. If you spot this early enough, you might be able to salvage a healthy part, but sadly, often it’s too late. Overwatering is the main culprit, so always err on the side of caution and allow the soil to dry slightly between waterings. Yellowing leaves that aren’t accompanied by new growth can sometimes indicate a lack of light or insufficient watering.
So there you have it! Propagating Werauhia viridiflora is a truly rewarding journey. It takes a bit of patience, a gentle touch, and a sprinkle of that gardener’s intuition. Don’t be discouraged if your first attempt isn’t perfect; gardening is all about learning and experimenting. Enjoy the process of watching these new little wonders grow into magnificent plants. Happy propagating!
Resource: