Oh, hello there! Pull up a chair, let’s chat plants. Today, we’re diving into something truly special: Schlagintweitia huteri. If you’ve ever admired its delicate charm and wondered how to get more of these beauties gracing your garden or windowsill, you’re in the right place.
Why Propagate Schlagintweitia Huteri?
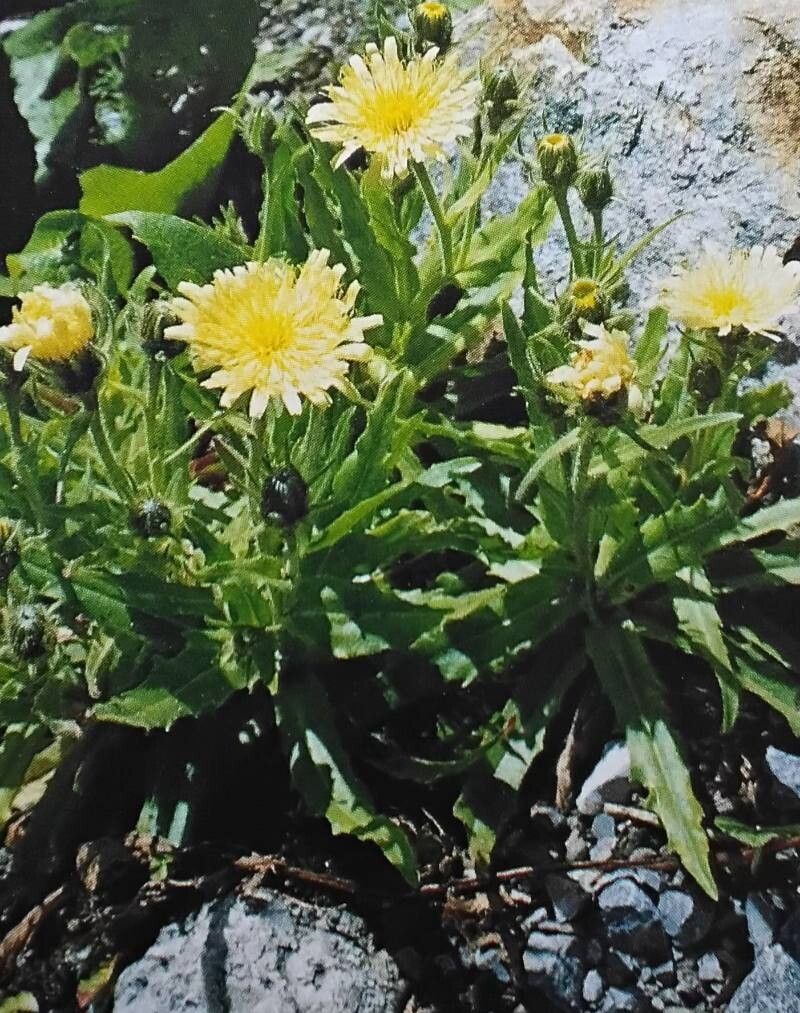
Schlagintweitia huteri, with its intricate foliage and subtle beauty, is a real gem. Propagating it is incredibly rewarding. It’s a wonderful way to fill your space with these lovely plants without breaking the bank, and there’s a special kind of magic in nurturing a new life from a tiny piece. For beginners, I’d say Schlagintweitia huteri is moderately easy to propagate. It requires a little attention to detail, but the rewards are well worth the effort.
The Best Time to Start
Timing is everything in the garden, isn’t it? For Schlagintweitia huteri, the late spring or early summer is usually your best bet. This is when the plant is actively growing and has plenty of energy to put into developing new roots. Look for healthy, vigorous stems that haven’t flowered yet.
Supplies You’ll Need
Gathering your supplies ahead of time makes the whole process smoother. Here’s what I usually have on hand:
- Sharp Pruning Shears or a Clean Knife: For making clean cuts.
- Rooting Hormone (Optional but Recommended): A little boost can speed things up.
- Well-Draining Potting Mix: A good blend of peat moss, perlite, and a bit of compost works wonders. Or, a specially formulated succulent/cactus mix is excellent.
- Small Pots or Seedling Trays: Clean and with drainage holes, of course!
- Plastic Bags or a Propagation Dome: To create a humid environment.
- Watering Can with a Fine Rose or a Spray Bottle: For gentle watering.
Propagation Methods
Schlagintweitia huteri can be propagated in a couple of reliable ways. I find stem cuttings to be my go-to method for this plant.
Stem Cuttings: My Favorite Method
- Take the Cuttings: Using your clean shears or knife, take stem cuttings that are about 3-4 inches long. Make the cut just below a leaf node (where a leaf meets the stem).
- Prepare the Cuttings: Gently remove the lower leaves from the bottom 1-2 inches of the stem. This prevents them from rotting when you place them in the soil.
- Apply Rooting Hormone (Optional): If you’re using rooting hormone, lightly dip the cut end into the powder or gel. Tap off any excess.
- Plant the Cuttings: Make a small hole in your prepared potting mix with a pencil or your finger. Insert the cut end of the stem into the hole and gently firm the soil around it.
- Water Gently: Water the soil lightly until it’s evenly moist.
- Create Humidity: Place the pots inside a plastic bag or cover them with a propagation dome. This traps humidity, which is crucial for cuttings to root. Make sure the leaves aren’t touching the plastic if possible.
- Place in Bright, Indirect Light: Find a warm spot that receives bright, indirect sunlight. Avoid direct sun, as it can scorch the delicate cuttings.
Water Propagation (Another Option)
Some find success with water propagation, though I find stem cuttings into soil tend to be more robust.
- Prepare Cuttings: Follow steps 1 and 2 above.
- Place in Water: Put the cuttings in a jar or glass of clean water. Ensure that no leaves are submerged; they will rot.
- Change Water Regularly: Change the water every few days to keep it fresh and prevent bacterial growth.
- Watch for Roots: Once you see small roots forming (this can take a few weeks), you can then carefully plant them in well-draining soil.
The “Secret Sauce” (Pro Tips)
I’ve learned a few tricks over the years that can really give your propagation efforts a boost.
- The “Heal” Time: After taking your cuttings, I often let them sit out for a day or two before planting. This allows the cut end to callus over, which can significantly reduce the risk of rot. You’ll see a dry, protective layer form.
- Bottom Heat is Your Friend: If you can, placing your pots on a gentle heat mat designed for seedlings can make a huge difference. It encourages root development from below, speeding up the process and increasing your success rate.
- Don’t Rush Them: Patience is truly a virtue in gardening, especially with propagation. Resist the urge to constantly pull them out to check for roots. Wait until you see clear signs of new leafy growth before gently tugging to feel for resistance.
Aftercare & Troubleshooting
Once your cuttings have developed a good root system and you see new growth appearing, it’s time to move them into slightly larger pots. Continue to water them when the top inch of soil feels dry. Gradually acclimate them to conditions outside their humid environment – this means removing the plastic bag for longer periods over a week or two.
The most common issue you might encounter is rot. If your cuttings turn mushy or black, it’s a sign of too much moisture and not enough air circulation. If this happens, try to salvage any healthy parts, allow them to callus, and start again, paying close attention to your watering and humidity levels.
Happy Propagating!
So there you have it! Propagating Schlagintweitia huteri is a delightful journey. Be patient, enjoy the process, and celebrate each tiny new leaf and emerging root. You’ve got this! Happy gardening!
Resource: