Hey there, fellow plant lovers!
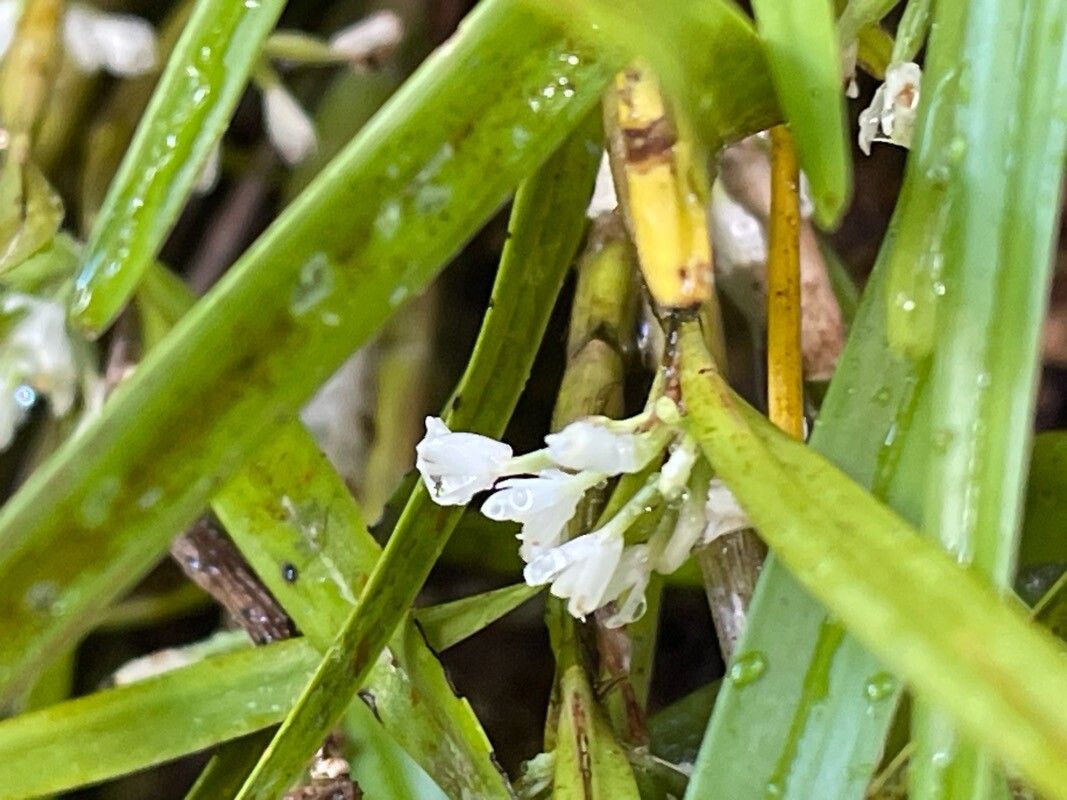
Let’s chat about a little gem that’s been capturing my heart for years: Scaphyglottis crurigera. If you’re looking for a unique orchid that brings a touch of the tropics to your space with its charming, often upright growth habit and delicate blooms, this might be just the ticket. And the best part? Propagating them is surprisingly rewarding! Now, I wouldn’t call Scaphyglottis crurigera an absolute beginner plant, but with a little patience and the right approach, it’s definitely achievable. Think of this as your friendly guide to making more of these beauties.
The Best Time to Start
For Scaphyglottis crurigera, the sweet spot for propagation is really between late spring and early summer. This is when the plant is actively growing and has plenty of energy stored up. You’ll see new shoots emerging and growth really taking off. Attempting it during active growth ensures the plant is in the best condition to bounce back and the new divisions or cuttings have a good chance of rooting.
Supplies You’ll Need
Gathering your supplies beforehand makes the whole process smoother. Here’s what I typically have on hand:
- Sharp, sterile pruning shears or a clean knife: For making clean cuts. Sterilize with rubbing alcohol between each cut!
- Orchid potting mix: A chunky, well-draining mix is crucial. I often use a blend of bark, perlite, and a bit of sphagnum moss.
- Small pots or community trays: For your new divisions or cuttings. Make sure they have drainage holes.
- Rooting hormone (optional but recommended): This can give your cuttings a helpful boost. Look for a product formulated for orchids or herbaceous cuttings.
- Spray bottle: For misting.
- Small plastic bags or humidity dome: To create a humid environment for cuttings if needed.
- Labeling tags: Trust me, you’ll thank yourself later for labeling what you propagated and when!
Propagation Methods
Scaphyglottis crurigera is best propagated through division. This plant naturally forms clumps, which makes it quite straightforward.
Division Method:
- Inspect your plant: Look for a mature specimen with multiple pseudobulbs (the swollen stem bases) and healthy new growth. The best time to do this is just as you see new roots starting to emerge from the base of the older pseudobulbs.
- Gently remove from pot: Carefully take the plant out of its current container. You might need to loosen the edges of the pot or even gently break it if the roots are really bound.
- Clean the roots: Gently shake off as much of the old potting mix as you can. You want to get a clear view of where the pseudobulbs and roots connect.
- Identify natural divisions: Look for sections of the plant that have at least two to three healthy pseudobulbs and a good set of roots. They usually separate fairly easily from the main plant.
- Make the cut (if necessary): If the divisions are stuck together, use your sharp, sterile shears or knife to carefully cut them apart, making sure each piece has roots. This is where sterilizing your tool is super important to prevent disease.
- Prepare the new divisions: You can treat the cut surface with a fungicide if you’re particularly concerned about rot, but often, letting it air dry is sufficient.
- Pot them up: Place each division into its own small pot filled with your fresh, well-draining orchid mix. Position them so the newest growth is at the surface.
- Water lightly: Water gently, just enough to settle the potting mix around the roots.
The “Secret Sauce” (Pro Tips)
Here are a couple of things I’ve learned over the years that really help:
- Don’t drown them after division: It’s tempting to soak them, but too much water right away can lead to rot. Water sparingly for the first week or two, allowing the potting mix to dry out slightly between waterings.
- Give them a warm embrace: Scaphyglottis crurigera loves warmth. Placing your newly potted divisions in a warm spot (think 70-80°F or 21-27°C) can significantly speed up root development. A heat mat designed for seedlings can be a game-changer.
Aftercare & Troubleshooting
Once your divisions are potted up, keep them in a location with bright, indirect light and good air circulation. Water when the potting mix is starting to feel dry to the touch, typically every 7-10 days, but adjust based on your environment.
The biggest challenge you might face is rot. If the pseudobulbs start to turn mushy or black, it’s a sign of too much moisture. In this case, you might need to repot, remove the rotted parts, and allow the division to dry out more thoroughly before replanting in fresh, dry mix. If you see the leaves wilting and the pseudobulbs shrinking but no new root growth after a few weeks, don’t despair! Sometimes it just takes time for them to settle in and start developing roots. Keep the humidity up and give them warmth.
Happy Growing!
Propagating any plant is a journey, and for Scaphyglottis crurigera, it’s a wonderfully fulfilling one. Be patient, observe your new plants closely, and celebrate every tiny new leaf or root. Before you know it, you’ll have a little jungle of these delightful orchids! Enjoy the process, and happy gardening!
Resource: