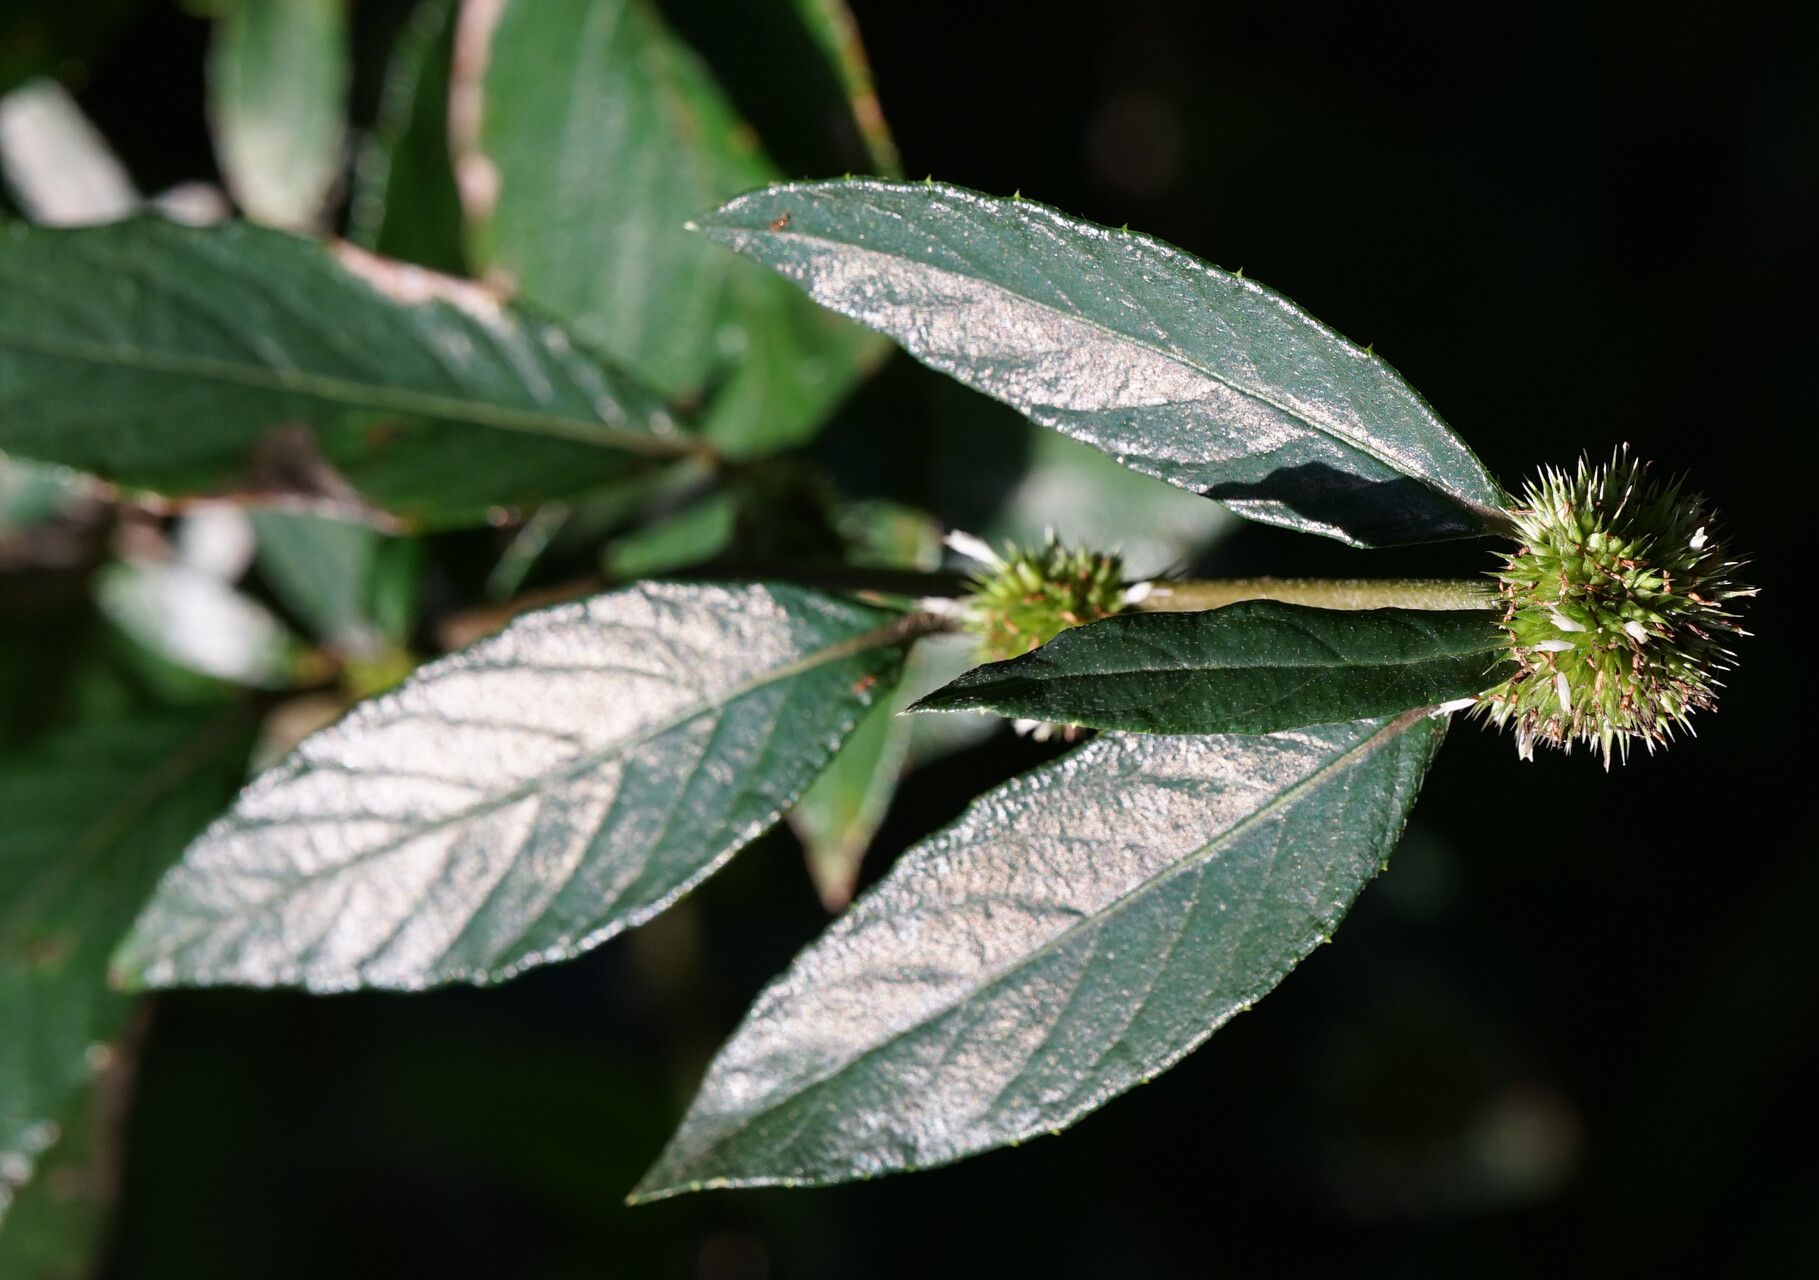
Hello, fellow plant lovers! Today, we’re diving into the wonderful world of propagating Rolandra fruticosa. If you haven’t met this beauty yet, let me tell you, it’s a real charmer. Its delicate, fern-like foliage brings a touch of lushness to any shady corner, and honestly, it just makes a space feel instantly more serene. And the best part? Growing more of these lovelies from your existing plants is incredibly rewarding. Don’t be intimidated; while it’s not a “set it and forget it” situation, propagating Rolandra is definitely something even a beginner can tackle with a little care and patience. I’m excited to share my secrets with you!
The Best Time to Start
For the highest chances of success with Rolandra fruticosa, late spring to early summer is your sweet spot. This is when the plant is enthusiastically growing, meaning it has plenty of energy to put into developing new roots. You’re looking for new, healthy growth – think soft, pliable stems rather than anything woody.
Supplies You’ll Need
Gathering your tools beforehand makes the whole process smoother. Here’s what I always have on hand:
- Sharp pruning shears or a clean craft knife
- Potting mix: A well-draining blend is crucial. I often use a mix of peat moss, perlite, and a bit of coco coir.
- Small pots or seed trays
- Propagation mat (optional, but highly recommended!)
- Rooting hormone (powder or gel)
- Watering can with a fine rose or a spray bottle
Propagation Methods
Let’s get our hands dirty with the two easiest ways to multiply your Rolandra.
Stem Cuttings
This is my go-to method for Rolandra.
- Select a healthy stem from your established plant. Look for a piece that’s about 4-6 inches long and has at least a couple of leaf nodes (where the leaves attach to the stem).
- Using your clean shears, make a clean cut just below a leaf node. This is where the roots will form.
- Remove the lower leaves. You want to strip off any leaves that would end up below the soil line. This prevents them from rotting.
- Apply rooting hormone. Dip the cut end of the stem into your rooting hormone, tapping off any excess. This gives your cutting a little boost.
- Plant the cutting. Make a small hole in your prepared potting mix. Gently insert the cut end of the stem into the hole, making sure at least one leaf node is buried. Firm the soil gently around the stem.
- Water lightly. Give the soil a gentle watering to settle it.
- Provide humidity. You can place the pot inside a clear plastic bag (like a mini greenhouse) or cover it with a clear plastic dome to maintain high humidity. Make sure the leaves don’t touch the sides of the bag, or they might rot.
Water Propagation
This method is satisfying to watch.
- Take your cuttings as described above.
- Remove all but the top set of leaves.
- Place the cuttings in a jar or glass of water. Ensure the leaf nodes are submerged, but critically, don’t let any leaves sit in the water. Leaves in water will turn slimy and rot, which is the death knell for your cutting.
- Change the water every few days to keep it fresh.
- Once you see small roots forming, usually after a few weeks, you can transplant them into soil.
The “Secret Sauce” (Pro Tips)
Here’s where those little bits of wisdom come in handy.
- Bottom Heat is Your Best Friend: If you’re using stem cuttings, popping them onto a propagation mat set to a gentle warmth (around 70-75°F or 21-24°C) makes a massive difference. It encourages root formation much faster than ambient room temperature alone.
- Don’t Overwater (Ever!): This is a universal truth in plant care, but especially true for propagations. Soggy soil is an invitation for fungal diseases and rot. Aim for consistently moist, not drowning, soil. If you’re unsure, gently poke your finger into the soil – if it feels damp a couple of inches down, you’re good.
- Light, But Not Direct Sun: Your cuttings need bright, indirect light. Think of a spot where you can read a book comfortably without harsh sunlight. Too much sun will scorch their delicate new growth, while too little light will make them leggy and weak.
Aftercare & Troubleshooting
Once you see those glorious new roots appearing – hooray!
- When roots are about an inch long, it’s time to transition your cuttings. For those in water, gently pot them up into your well-draining potting mix, treating them much like your potted cuttings.
- Continue to water gently and maintain that humidity for a week or two while they acclimate to their new soil home.
- Watch for signs of failure. The most common issue is rot, which looks like mushy, blackened stems or leaves. This is usually a sign of overwatering or poor air circulation. If you spot rot, act fast, try to nip off the affected parts, and give the remaining healthy bits a chance in drier conditions. Sometimes, a cutting just won’t take – it’s nothing to be discouraged by, just part of the learning curve!
So there you have it! Propagating Rolandra fruticosa is a wonderfully rewarding way to expand your collection and share the joy of these beautiful plants. Be patient, give them a little extra TLC, and don’t be afraid to experiment. Happy propagating!
Resource:
https://identify.plantnet.org/k-world-flora/species/Rolandra%20fruticosa%20(L.)%20Kuntze/data