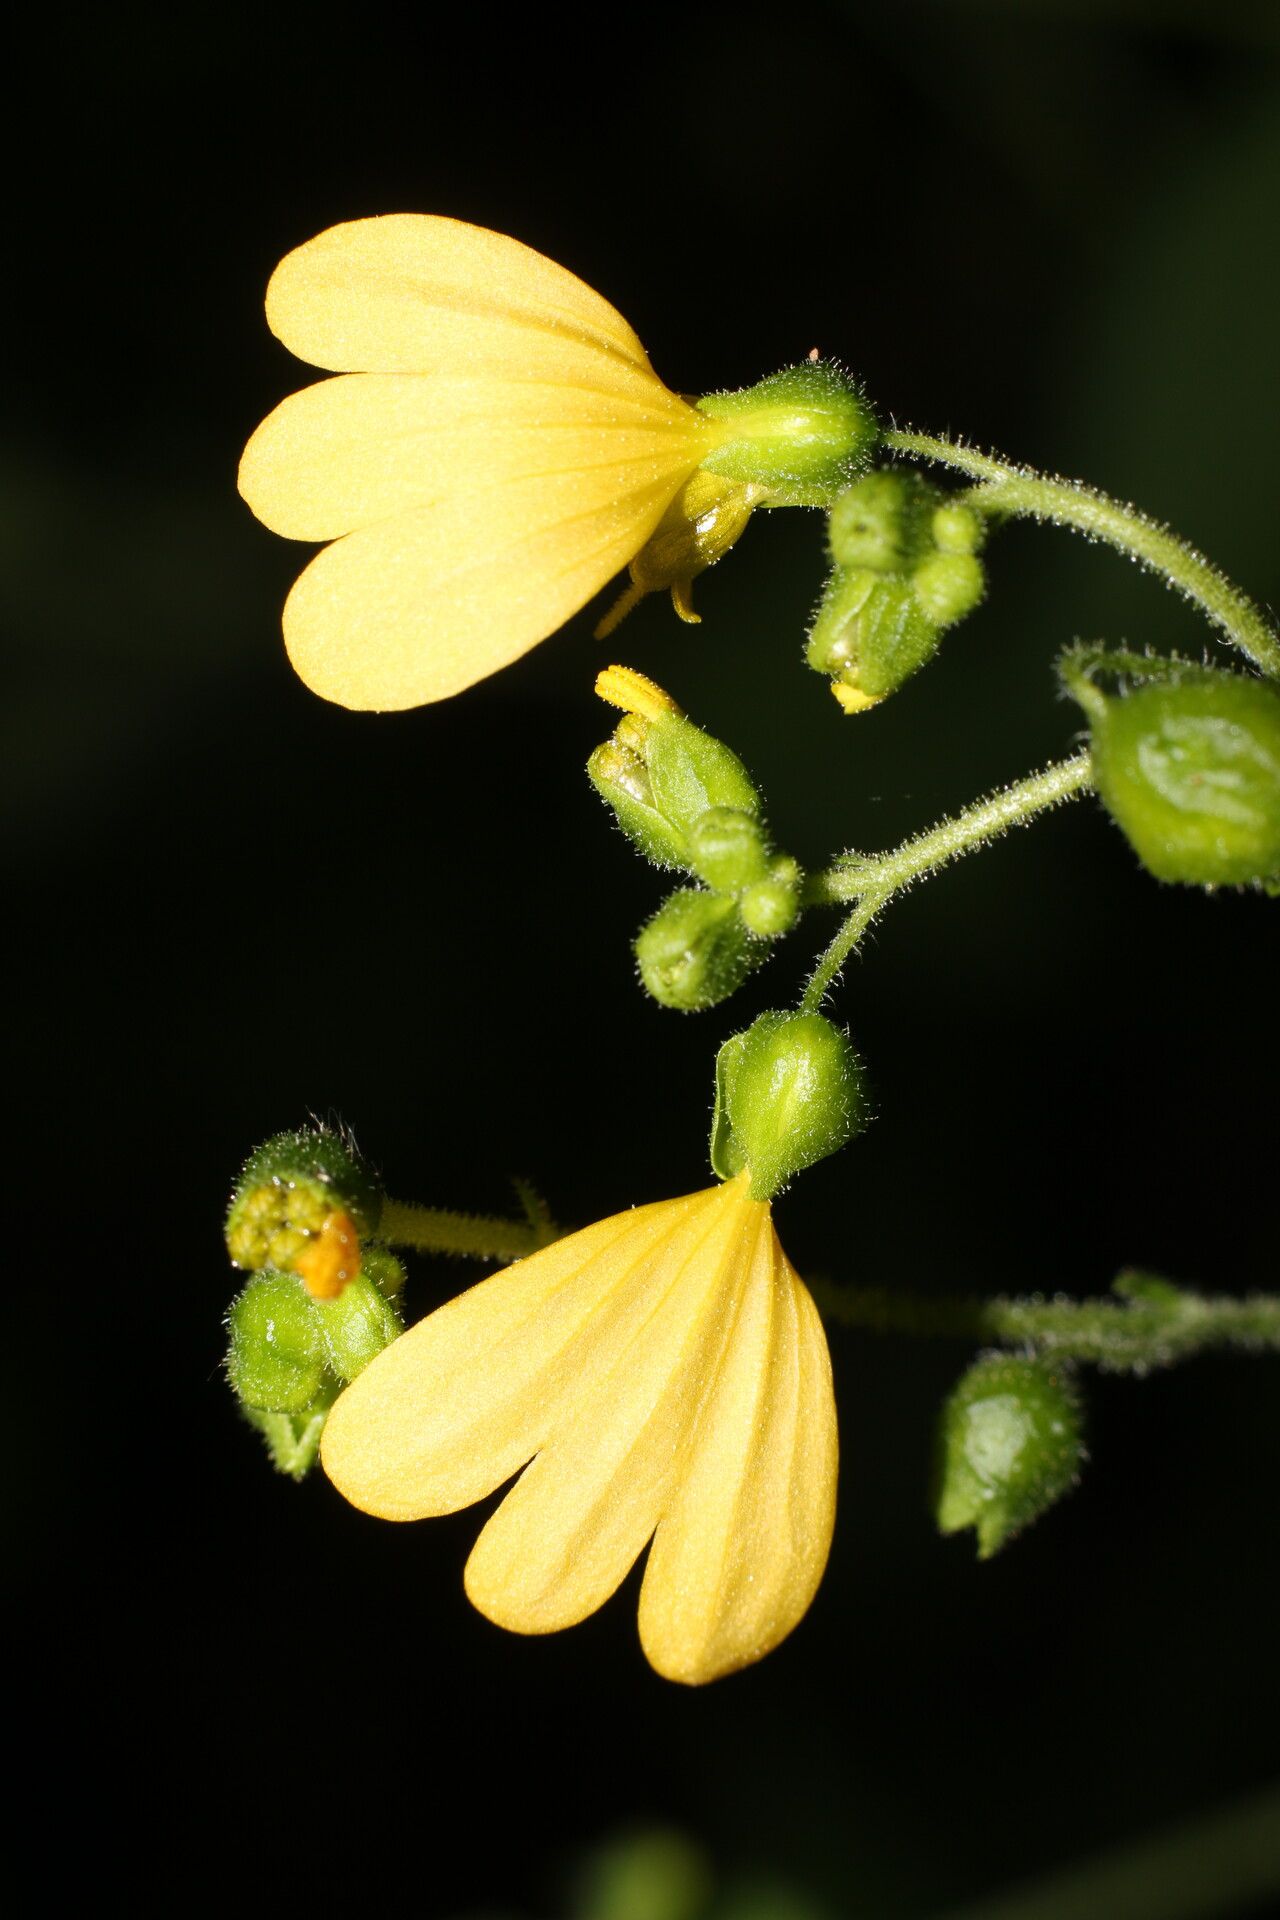
Oh, hello there! Pull up a chair, let’s chat about Milleria quinqueflora. It’s one of those unsung heroes in the garden, isn’t it? Those cheerful, daisy-like flowers, often a lovely shade of yellow or white, just bring such a burst of sunshine and informal charm. Plus, they have this wonderful way of attracting beneficial insects. Propagating them is a joy, and I’d say it’s a fairly straightforward process, even for those just dipping their toes into the world of plant propagation. It’s incredibly rewarding to see a tiny cutting transform into a whole new, thriving plant!
The Best Time to Start
For Milleria quinqueflora, you’ll have the most luck propagating from cuttings taken in late spring to early summer. This is when the plant is actively growing and has plenty of energy to put into developing roots. Think of it as striking while the iron is hot, garden-wise! You can also take cuttings in early autumn, but you might find the rooting process a bit slower as the days shorten.
Supplies You’ll Need
Before we dive in, let’s gather our tools. You don’t need anything too fancy, just the essentials:
- Sharp Pruning Shears or a Craft Knife: Clean cuts are key for healthy root development.
- Rooting Hormone (Optional but Recommended): A little powder or gel can give your cuttings a real boost.
- Well-Draining Potting Mix: I like a blend of equal parts peat moss or coco coir, perlite, and a bit of compost. This ensures good aeration and prevents soggy roots.
- Small Pots or Seedling Trays: Clean ones, please!
- A Watering Can or Mister: Gentle watering is important.
- Plastic Bags or a Propagator: To create a humid environment.
- Labels: So you don’t forget what you’ve planted!
Propagation Methods
We’ll focus on stem cuttings, as they are generally the easiest and most reliable for Milleria quinqueflora.
- Select Your Cuttings: Gently examine your Milleria quinqueflora plant. Look for healthy, non-flowering stems. You want pieces that are about 4-6 inches long.
- Make the Cut: Using your clean pruning shears or knife, make a clean cut just below a leaf node. A leaf node is where a leaf attaches to the stem – this is where roots are most likely to form.
- Prepare the Cuttings: Carefully remove the lower leaves from your cuttings, leaving just the top couple of leaves. This prevents them from rotting in the soil. If your cuttings are long, you can even cut the remaining leaves in half. This reduces water loss from the leaves while the cutting is trying to establish roots.
- Apply Rooting Hormone (if using): Dip the cut end of the stem into your rooting hormone, tapping off any excess.
- Plant Your Cuttings: Fill your pots or trays with your prepared potting mix. Make a small hole with your finger or a pencil and gently insert the cut end of the
cuttings. Firm the soil gently around the stem. - Water Gently: Water the soil thoroughly but avoid waterlogging. A light misting works well too.
- Create Humidity: Cover your pots or trays with a clear plastic bag or place them in a propagator. This will help maintain a humid environment, which is crucial for cuttings to root. Make sure the leaves don’t touch the inside of the plastic bag. You can prop it up with small stakes if needed.
- Provide Light and Warmth: Place your cuttings in a bright spot, but out of direct sunlight. A warm location is ideal.
The “Secret Sauce” (Pro Tips)
Here are a few little tricks I’ve learned over the years that can really make a difference:
- Don’t be afraid to “wound” the stem very lightly at the base before dipping in rooting hormone. Just a tiny scrape on one side of the stem can sometimes encourage more vigorous root growth.
- If you have a heated propagator, bottom heat makes a world of difference! It gently warms the soil, which significantly speeds up the rooting process. Even placing your pots on a sunny windowsill will provide some beneficial warmth.
- Periodically “air out” your cuttings. Open the plastic bag or propagator for about an hour each day to allow for fresh air circulation and to prevent fungal issues.
Aftercare & Troubleshooting
Once your cuttings have roots – and you can test this by giving a gentle tug; there will be resistance – it’s time for a new routine.
- Gradually Acclimatize: Slowly remove the plastic covering over a week or so to allow the new plants to adjust to normal humidity.
- Water Wisely: Keep the soil consistently moist but not waterlogged. Let the top inch of soil dry out slightly between waterings.
- Transplant: Once your new plants have developed a good root system and are showing new growth, you can pot them up into slightly larger individual pots.
Now, what if things don’t go as planned? The most common sign of trouble is rot, where the stem turns black and mushy. This is usually caused by too much moisture and poor air circulation. If you see this, discard the affected cutting and ensure you’re not overwatering and that your mix is draining well. Sometimes, cuttings simply fail to root – don’t be discouraged! It’s all part of the learning process.
So there you have it! Propagating Milleria quinqueflora is a lovely way to multiply these garden charmers. Be patient, trust your instincts, and enjoy the magical journey of growing new life from a simple stem. Happy gardening!
Resource:
https://identify.plantnet.org/k-world-flora/species/Milleria%20quinqueflora%20L./data