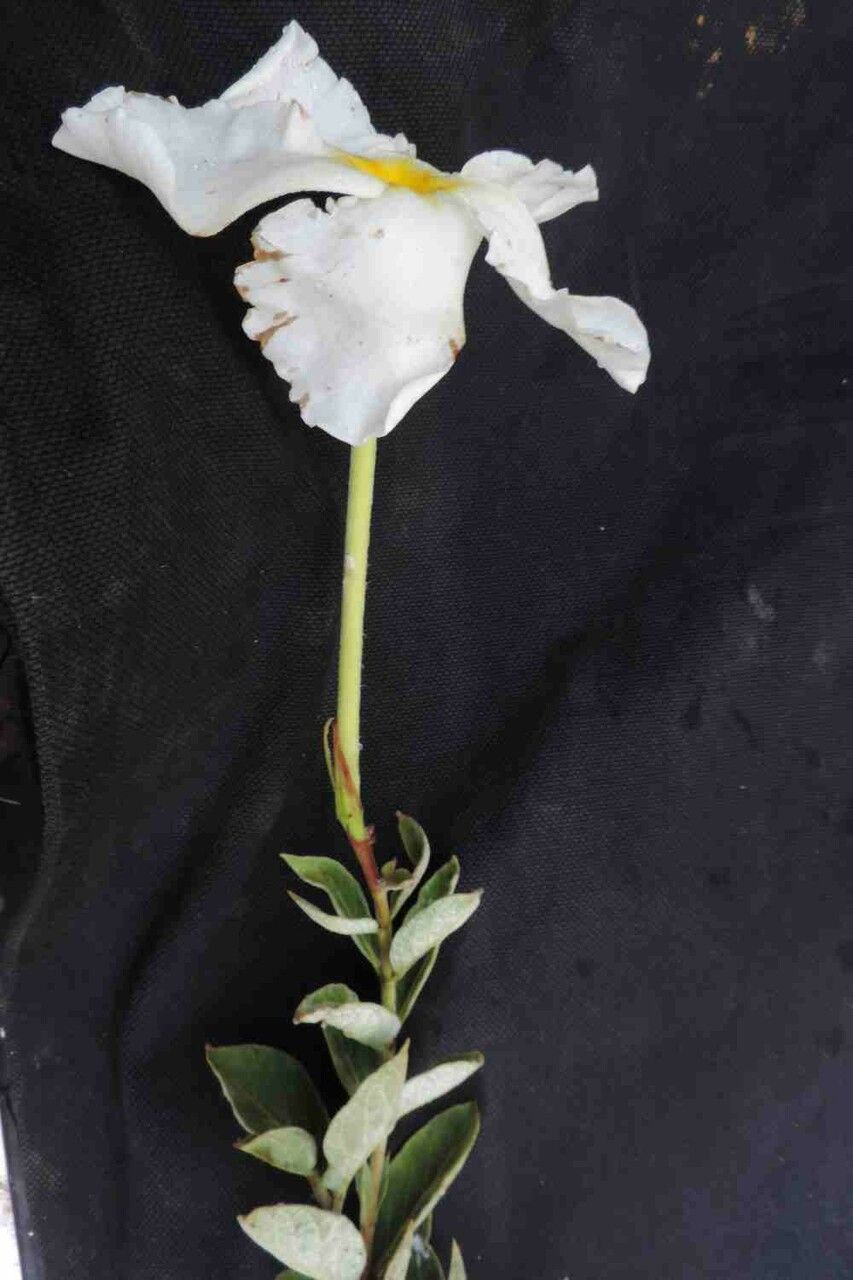
Hello there, fellow garden enthusiasts! Today, I’m absolutely thrilled to talk about one of my favorite tropical beauties: the Mandevilla longiflora. If you’ve ever been captivated by those trumpet-shaped blooms cascading over fences or adding vibrant pops of color to your patio, you’re not alone. Seeing your own Mandevilla thrive and bloom is a special kind of joy, and the even greater joy comes from creating more of them.
Propagating Mandevilla longiflora is, I’d say, moderately challenging – a lovely project for those who’ve dabbled a bit in plant magic before. It might not be as foolproof as a succulent cutting, but with a little patience and the right approach, you’ll be rewarded with a whole new generation of these stunners.
The Best Time to Start
The absolute sweet spot for propagating Mandevilla is late spring to early summer. This is when the plant is actively growing, brimming with energy that it can channel into developing roots. You’re essentially tapping into its most vigorous phase, which dramatically increases your chances of success. Look for stems that have recently finished flowering but still feel firm, not woody.
Supplies You’ll Need
Before we get our hands dirty, let’s gather our tools:
- Sharp Pruning Shears or a Clean Knife: For making clean cuts.
- Rooting Hormone: A powdered or gel form will do. This is your friend for encouraging root development.
- Potting Mix: A well-draining mix is crucial. I like to use a blend of seed starting mix and perlite, roughly a 50/50 ratio. You can also find special cacti and succulent mixes that work beautifully.
- Small Pots or Seedling Trays: With drainage holes, of course!
- Plastic Bags or a Propagation Dome: To create a humid microclimate.
- Watering Can or Misting Bottle: For gentle watering.
- Optional: Bottom Heat Mat: This can significantly speed up root formation.
Propagation Methods
We’ll focus on the most reliable method for Mandevilla: stem cuttings.
-
Take Your Cuttings: On a healthy, active plant, identify a stem that’s about 6-8 inches long. Using your clean shears or knife, make a clean cut just below a leaf node. A leaf node is that little bump where a leaf attaches to the stem – it’s where roots love to emerge. Remove the leaves from the bottom two-thirds of the cutting. You want to keep at least two to three leaves at the top to help the cutting photosynthesize.
-
Apply Rooting Hormone: Dip the cut end of the stem into your chosen rooting hormone. Gently tap off any excess.
-
Plant Your Cuttings: Fill your small pots or trays with your prepared potting mix. Make a small pilot hole in the center of the soil with your finger or a pencil. Carefully insert the treated end of your cutting into the hole, ensuring the leaf nodes you trimmed are below the soil surface. Gently firm the soil around the stem.
-
Water and Cover: Water your cuttings gently until the soil is evenly moist but not waterlogged. Now, create that humid environment. You can cover the pots with a clear plastic bag, creating a little tent, or use a propagation dome. Make sure the plastic doesn’t touch the leaves.
-
Find the Right Spot: Place your potted cuttings in a bright location with indirect light. Avoid direct sun, which can scorch the tender cuttings. If you have a bottom heat mat, place the pots on it now – it’s a game-changer!
The “Secret Sauce” (Pro Tips)
Here are a few tricks I’ve learned over the years:
- Don’t Let the Leaves Touch the Water (or Wet Plastic): This is a cardinal rule for preventing rot. If using a plastic bag, ensure it’s well-supported so no leaves are soggy.
- Use Bottom Heat: Seriously, if you can manage it, a heat mat makes a phenomenal difference. It mimics the warmth of the soil in their natural environment and really encourages those roots to get going.
- Be Patient with the Leaves: Some of the original leaves might yellow and drop. Don’t panic! As long as you have a couple of healthy leaves at the top, the cutting is likely doing fine. It’s busy working on roots below, not producing new foliage just yet.
Aftercare & Troubleshooting
Once your cuttings have been planted, give them a gentle misting every few days or as needed to keep the soil consistently moist. The covering will help retain moisture, so you won’t need to water too often. You’ll know your cuttings are rooting when you see new leaf growth or a gentle tug on the stem reveals some resistance. This usually takes 4-8 weeks, sometimes longer.
The most common problem you’ll encounter is rot. If your cutting starts to look mushy or black at the base, it’s likely succumbed to rot. This is usually due to too much moisture or poor air circulation. If you catch it early, you might be able to salvage a healthy part of the stem, but often it’s best to start fresh.
Once you see signs of significant root development (new growth is your best indicator!), you can slowly acclimate your new plants to lower humidity by gradually opening the plastic bag or ventilation on your dome. After a week or so of acclimatization, you can remove the cover entirely. Keep them in their pots and continue to water as needed until they are more established and ready for a slightly larger pot.
A Little Encouragement
Creating new life from your favorite plants is one of the most rewarding aspects of gardening. Don’t be discouraged if your first attempts aren’t perfect. Each cutting you take is a learning experience. Be patient, observe your plants, and most importantly, enjoy the process of nurturing your own little Mandevilla babies. Happy propagating!
Resource:
https://identify.plantnet.org/k-world-flora/species/Mandevilla%20longiflora%20(Desf.)%20Pichon/data