Growing More of That Gorgeous Macaranga Peltata: A Gardener’s Guide to Propagation
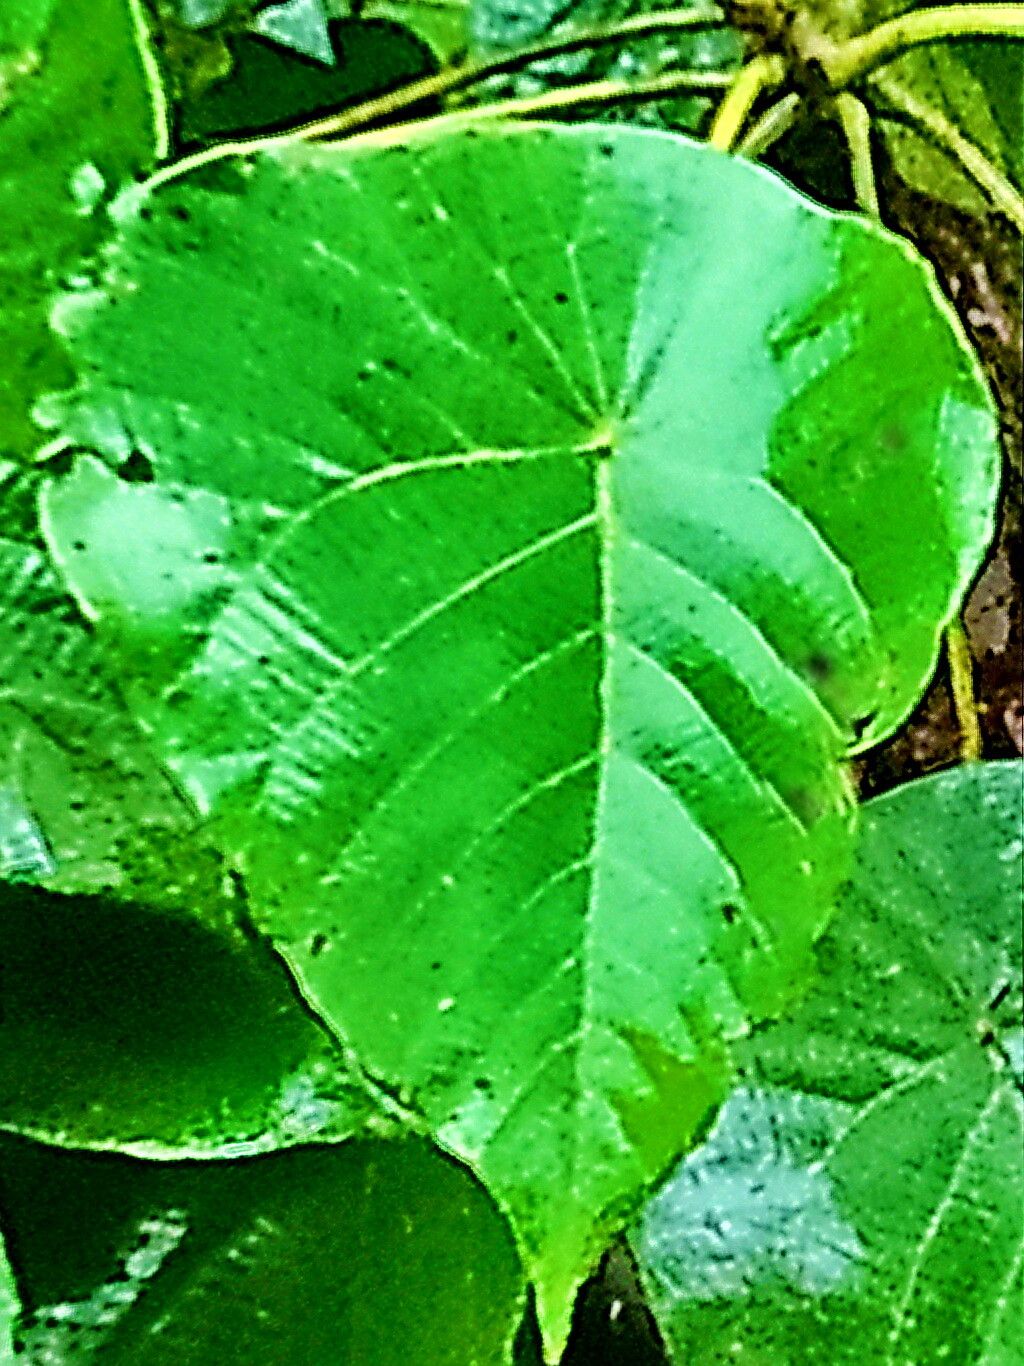
There’s something undeniably cheerful about a Macaranga peltata. Its big, bold leaves, often with those distinctive peltate (shield-shaped) characteristics, can instantly add a tropical flair to any space, indoor or out. And the best part? They’re surprisingly rewarding to share! Propagating Macaranga peltata is a wonderful way to expand your collection without spending a fortune, and honestly, there’s a special kind of satisfaction in nurturing a new plant from a small piece of an existing one. For beginners, I’d say it’s moderately easy. With a few key steps, you’ll be well on your way.
When is the Best Time to Get Started?
Timing is everything in the garden, and for Macaranga peltata, the sweet spot is definitely spring or early summer. This is when the plant is actively growing and has the most energy reserves to put into developing new roots. You’re looking for healthy, vigorous stems that aren’t flowering or fruiting. Think of it as tapping into the plant’s prime growth spurt for the best chance of success.
What You’ll Need to Gather
Before we dive in, let’s make sure you have your arsenal ready. A little preparation goes a long way!
- Clean, Sharp Pruning Shears or a Knife: Essential for making clean cuts that heal faster and reduce the risk of disease.
- Rooting Hormone (Optional but Recommended): Especially helpful for encouraging faster and stronger root development. Look for a powder or gel formula.
- Well-Draining Potting Mix: I like to use a blend of equal parts peat moss or coco coir, perlite, and a bit of compost. The crucial part is that it drains freely.
- Small Pots or Propagation Trays: Clean pots are a must! About 4-inch pots are usually a good size for cuttings.
- Clear Plastic Bag or Dome: To create a humid environment for your cuttings.
- Watering Can with a Fine Rose: For gentle watering.
- Labels and a Pen: To keep track of what you’ve propagated and when!
Bringing New Macarangas to Life: Propagation Methods
Stem cuttings are my go-to for Macaranga peltata. They’re reliable and give you a good chance of a successful strike.
Stem Cuttings:
- Select Your Cuttings: With your clean pruning shears, take cuttings from healthy, non-flowering stems. Aim for pieces that are about 6-8 inches long and have at least 2-3 nodes (the little bumps where leaves emerge). Make your cut just below a node.
- Prepare the Cuttings: Gently remove the lower leaves, leaving just a couple of leaves at the very top. This reduces moisture loss. If the remaining leaves are very large, you can even cut them in half horizontally – just think about reducing the surface area that needs water.
- Apply Rooting Hormone (Optional): Dip the cut end of the stem into water, then into the rooting hormone powder or gel. Tap off any excess.
- Plant Your Cuttings: Fill your pots with your prepared potting mix. Make a hole with your finger or a pencil in the center of the soil. Gently insert the cut end of the stem into the hole, ensuring that at least one node is buried beneath the surface. Firm the soil gently around the cutting.
- Water Gently: Water the soil thoroughly but gently. You want it moist, not waterlogged.
- Create a Humid Environment: Place a clear plastic bag over the pot, securing it loosely with a rubber band or tape around the rim. You can also use a propagation dome if you have one. This creates a mini-greenhouse effect, keeping the humidity high, which is vital for cuttings to root.
- Placement: Put your potted cuttings in a warm spot with bright, indirect light. Avoid direct sunlight, as this can cook your precious cuttings.
The “Secret Sauce” from My Garden to Yours
Here are a couple of things I’ve learned over the years that really give your Macaranga cuttings a boost:
- Bottom Heat is Your Friend: If you can, place your pots on a heat mat designed for propagation. A little warmth from below encourages root development much faster than ambient room temperature alone, especially if your house is on the cooler side.
- Don’t Let Leaves Drip: When you mist or water your cuttings, make sure the leaves aren’t sitting in water inside the plastic bag. This is a prime situation for fungal issues, and you want to avoid that at all costs. If you see condensation dripping directly onto leaves, gently wipe it off or adjust the bag.
Aftercare and What to Watch For
Once your cuttings have rooted, it’s time to transition them to a slightly less humid environment. You’ll know they’ve rooted when you see new leaf growth, or if you gently tug on the cutting and feel resistance.
- Acclimatize: Gradually remove the plastic bag over a week or two. Start by just taking it off for an hour or two each day, and slowly increase the time. This helps the new plant adjust to normal household humidity.
- Watering: Water when the top inch of soil feels dry. Err
Resource:
https://identify.plantnet.org/k-world-flora/species/Macaranga%20peltata%20(Roxb.)%20Müll.Arg./data