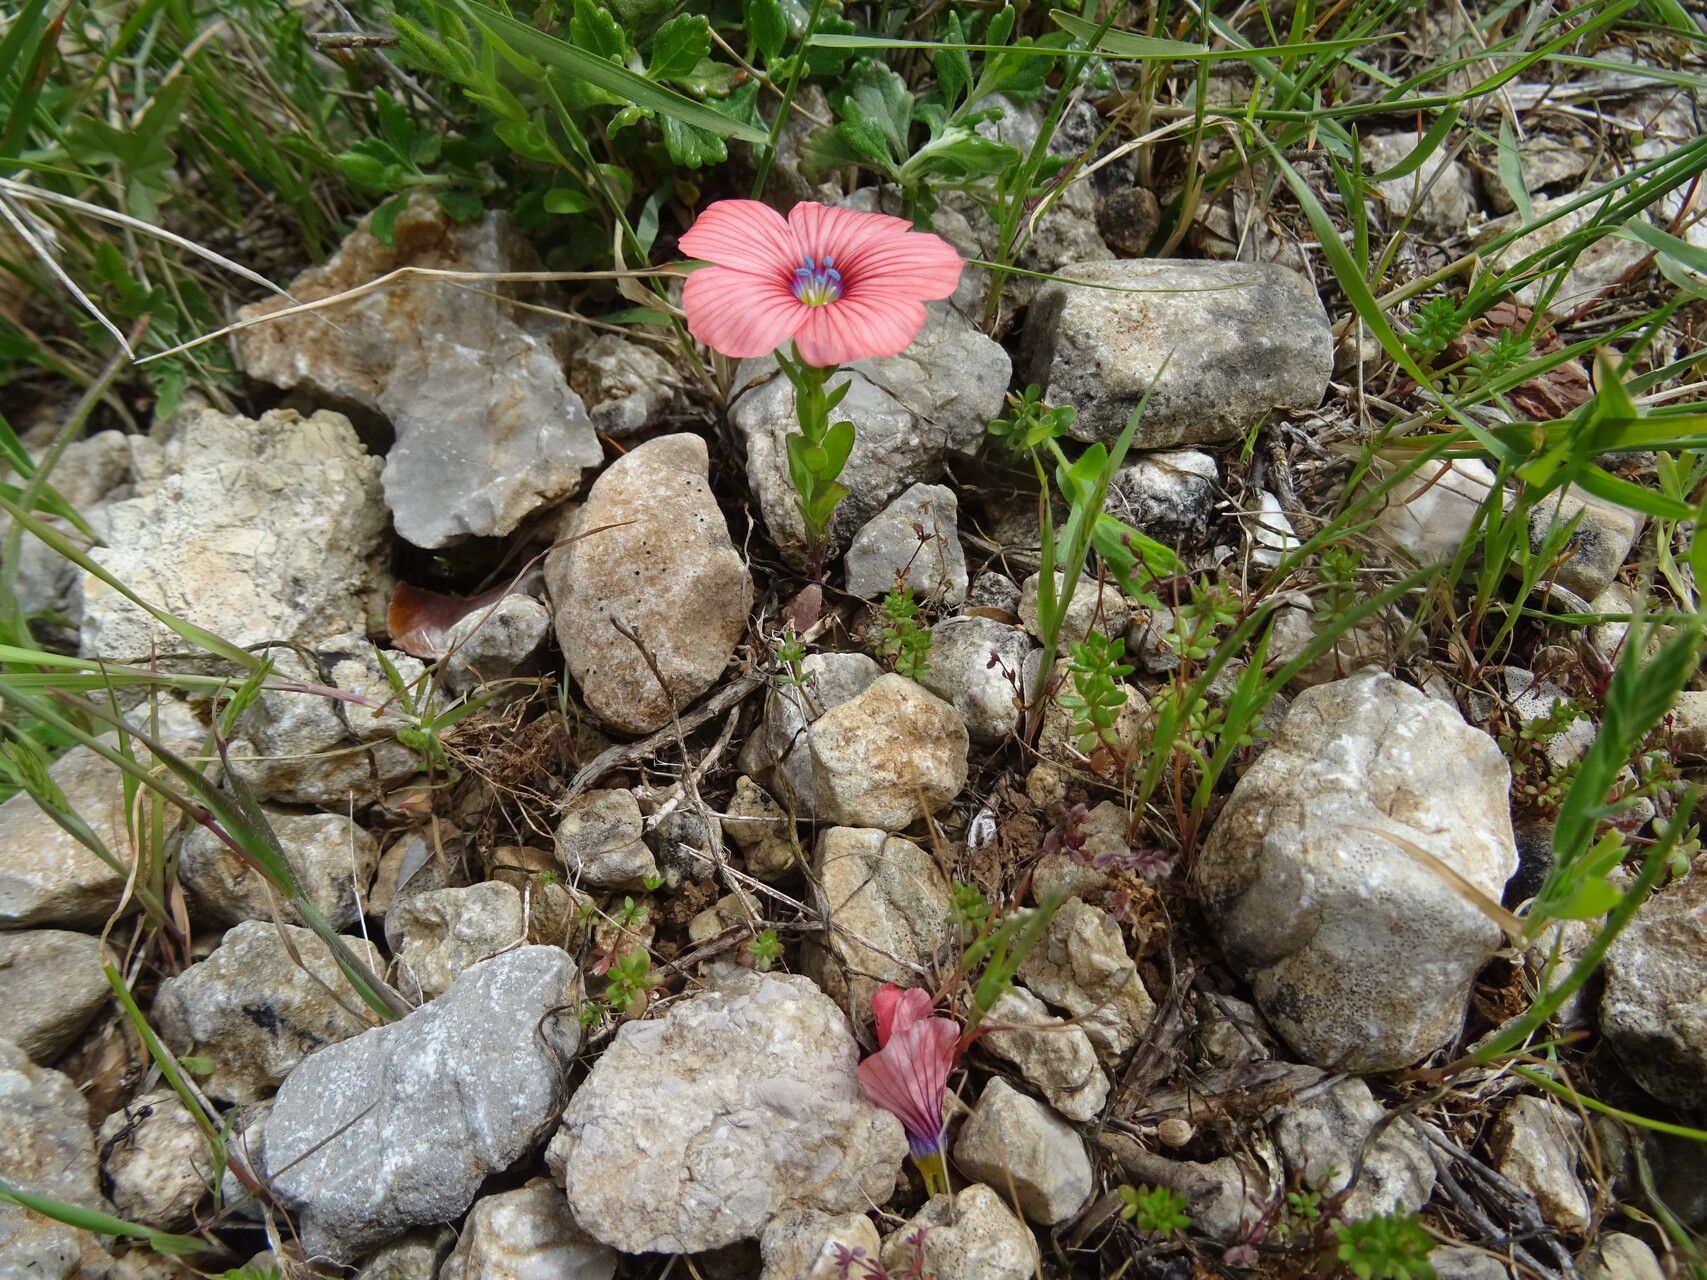
Hello there, fellow plant lovers! Today, we’re diving into the wonderful world of Linum decumbens, also known as creeping flax. This lovely little plant, with its delicate blue flowers, is a true gem in any garden. It sprawls beautifully, adding a touch of airy elegance, and it’s surprisingly rewarding to multiply. If you’re relatively new to propagating, you’ll be happy to hear that Linum decumbens is quite forgiving. It’s not one of those fussy divas that requires an advanced degree in botany!
The Best Time to Start
For the highest success rate with Linum decumbens, I always aim to propagate in late spring to early summer. This is when the plant is actively growing and has plenty of healthy, new stems to work with. You want to catch it before it gets too woody or starts thinking about setting seed.
Supplies You’ll Need
Here’s what I gather before I get started:
- Sharp pruning shears or a clean knife: For taking clean cuts.
- Potting mix: A well-draining mix is crucial. I usually use a blend of equal parts peat moss, perlite, and coarse sand.
- Small pots or seed trays: Cleaned thoroughly, of course!
- Rooting hormone (optional but recommended): A powder or gel can give your cuttings a helpful boost.
- Plastic wrap or a clear plastic dome: To create a humid environment.
- Watering can with a fine rose: For gentle watering.
Propagation Methods
Linum decumbens is a trooper when it comes to propagation, and stem cuttings are my go-to method.
- Take Your Cuttings: Select healthy, non-flowering stems from your parent plant. Using your clean shears, make a cut just below a leaf node (where the leaves attach to the stem). Aim for cuttings that are about 4-6 inches long. Remove the lower leaves, leaving just a few at the top.
- Prepare the Cuttings: If you’re using rooting hormone, dip the cut end of each stem into the powder or gel. Gently tap off any excess.
- Plant the Cuttings: Fill your pots or trays with your well-draining potting mix. Make a small hole with your finger or a pencil, and insert the cut end of the stem. Gently firm the soil around it to ensure good contact.
- Create a Humid Environment: Water the soil lightly until it’s moist but not soggy. Then, cover the pots or trays with a clear plastic bag or a dome. This traps humidity, which is essential for the cuttings to root. Place them in a bright spot with indirect light. Avoid direct sunlight, as this can scorch the delicate cuttings.
The “Secret Sauce” (Pro Tips)
Here are a couple of things I’ve learned over the years that make a real difference:
- Don’t be afraid to experiment with different parts of the stem. Sometimes, a slightly softer tip cutting works wonders, while other times a more mature, semi-hardwood cutting is the better choice. Keep an eye on your parent plant and try both!
- Bottom heat is your friend! If you have a heated propagator mat, putting your pots on it can significantly speed up root development. It mimics the warmth of spring and encourages those roots to get going.
Aftercare & Troubleshooting
Once your cuttings have been planted, keep the soil consistently moist and the humidity high. You’ll know they’re rooting when you see new growth appearing at the top, or when you gently tug on a cutting and feel slight resistance. This usually takes 3-6 weeks.
The main issue you might encounter is rot. If your cuttings look mushy or have blackening stems, they’ve likely gotten too much water and not enough air circulation. In this case, try to increase ventilation by propping up your plastic cover slightly and ensure your soil mix is as well-draining as possible. It’s a common hurdle, so don’t get discouraged if it happens!
A Encouraging Closing
Propagating Linum decumbens is a truly satisfying way to fill your garden with more of its delicate charm. Be patient with the process, enjoy the quiet observation of a new life taking root, and celebrate every bit of progress. Happy propagating!
Resource:
https://identify.plantnet.org/k-world-flora/species/Linum%20decumbens%20Desf./data