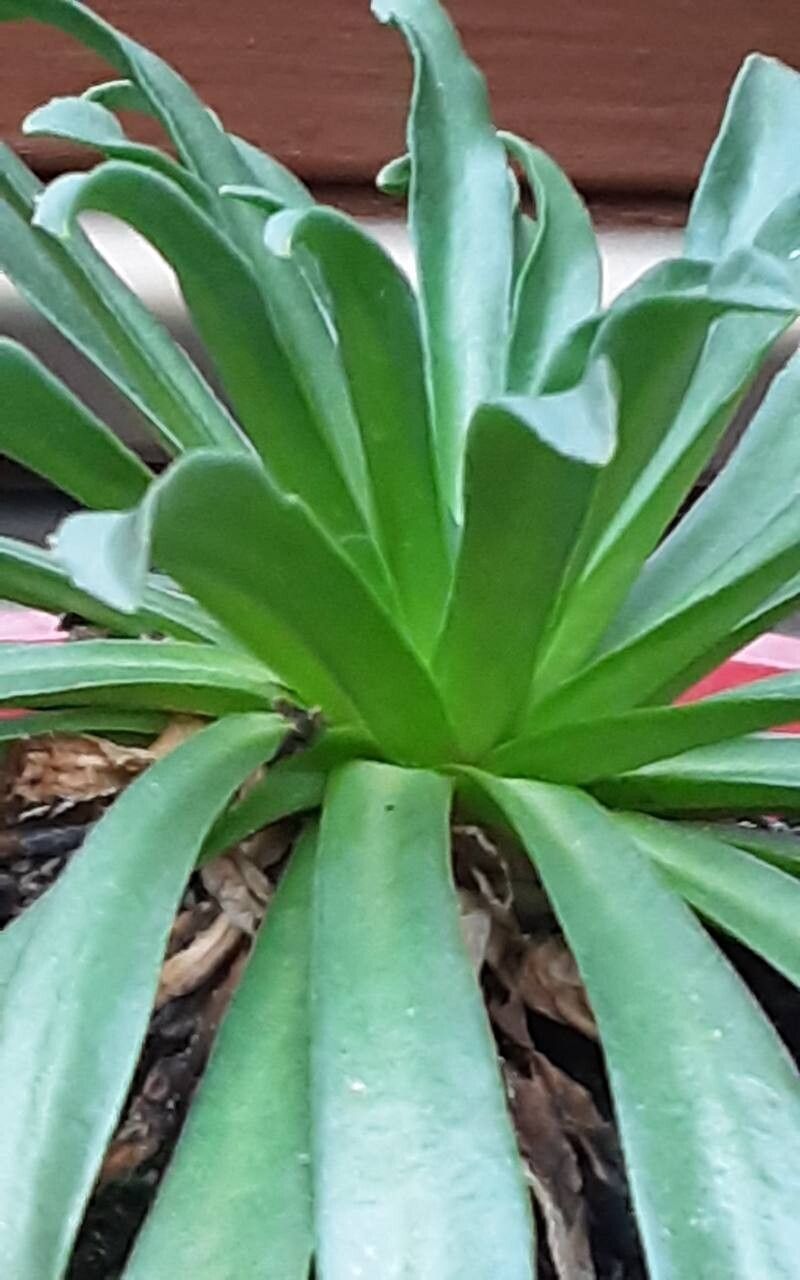
Ah, Lewisia longipetala! Isn’t it just a darling? Those delicate, star-like flowers in shades of pink and white, peeking out from their rosettes of fleshy leaves. They truly are a gem in any rock garden or crevice planting. And the joy of coaxing new life from your existing plants? It’s a feeling that never gets old, even after two decades of this gardening gig. Now, I’ll be honest, Lewisia might make you work a tad harder than, say, a geranium, but the rewards are absolutely worth the effort. It’s more of a “gentle persuasion” plant, if you will.
The Best Time to Start
For Lewisia, I find the spring is truly the magic window. As the plant is waking up from its winter slumber and starting its vigorous growth spurt, it’s brimming with energy. Taking cuttings or dividing during this time gives them the best chance to establish quickly in their new homes. Aim for just as new leaves are forming or when the plant looks plump and happy after a good rain.
Supplies You’ll Need
Gathering your tools beforehand makes the whole process smoother. You’ll want:
- Sharp pruning shears or a clean knife: For making clean cuts.
- A well-draining potting mix: I usually combine potting soil with plenty of perlite or pumice. Lewisias absolutely hate soggy feet, so drainage is king!
- Small pots or trays: Choose ones with drainage holes, of course.
- Rooting hormone (optional but recommended): A little boost can really help things along.
- A hand trowel or dibber: For gently firming the soil.
- A watering can with a fine spray: To mist without disturbing your cuttings.
- Labels and a marker: So you don’t forget what you’ve planted!
Propagation Methods
Lewisia longipetala is best propagated through division or stem cuttings.
Division for Mature Plants
When your Lewisia has grown into a nice clump, it’s a perfect candidate for division. You’re essentially splitting a mature plant into smaller, independent ones.
- Gently excavate: Carefully dig up the entire plant, trying to disturb the root ball as little as possible.
- Clean the roots: Gently brush away excess soil so you can clearly see where the plant naturally divides.
- Separate the crowns: Using your fingers or a clean knife, carefully pull or cut the plant into sections. Each section should have a healthy root system and at least one good bud or crown. Don’t be afraid to be a little firm but also delicate!
- Replant immediately: Pot each division into its own container with your well-draining mix. Bury the roots and firm the soil gently around them.
Stem Cuttings: A More Adventurous Approach
This method involves taking pieces of the plant and encouraging them to form roots.
- Choose your cutting: Look for a healthy, non-flowering stem that’s about 2-3 inches long. Ideally, it will have a few leaves.
- Make the cut: Using your sharp shears or knife, make a clean cut just below a leaf node (the point where a leaf attaches to the stem).
- Prepare the cutting: Pinch off any lower leaves. You want to expose a clean length of stem. If the stem is a bit thick or seems watery, let it dry and callus over for a day or two in a cool, dry spot. This helps prevent rot.
- Apply rooting hormone (optional): Dip the cut end into your rooting hormone. Tap off any excess.
- Insert into medium: Make a hole in your well-draining potting mix with a pencil or dibber. Gently insert the cut end of the stem. Firm the soil around the base of the cutting so it stands upright.
- Water gently: Lightly mist the soil and the cutting.
The “Secret Sauce” (Pro Tips)
Here are a few tricks I’ve picked up over the years that often make all the difference with these lovely plants:
- Don’t let the leaves touch the water (for stem cuttings): If you’re tempted to try water propagation, which I don’t usually recommend for Lewisia due to rot risk, never let the fleshy leaves sit in the water. Only the cut stem should be submerged. However, for soil propagation, this is less of a concern, so focus on good air circulation.
- Bottom heat is your friend: For stem cuttings, placing your pots on a heating mat can work wonders. It encourages root development from below without drying out the tops too quickly. Just keep an eye on moisture levels.
- Think “airy and dry”: Even after planting divisions or cuttings, your primary goal is to keep their environment airy and relatively dry. Good airflow is crucial to prevent fungal diseases.
Aftercare & Troubleshooting
Once your divisions or cuttings are planted, keep them in a bright location out of direct, harsh sun. Water sparingly, allowing the soil to dry out slightly between waterings. You’re aiming for consistently moist, but never waterlogged, conditions.
Roots can take anywhere from a few weeks to a couple of months to form, so patience is key. Gently tugging on a cutting is a good way to test for root development. If there’s resistance, you’ve got roots!
The most common sign of failure is rot. Yellowing leaves, mushy stems, or a blackening at the base of the cutting are all indicators that things have gone wrong. This is usually a sign of too much moisture and poor air circulation. If you see this, it’s often best to discard the affected cutting and review your watering and air flow practices.
A Encouraging Closing
See? It’s not impossibly complicated! Propagating Lewisia longipetala is a beautiful way to expand your collection and share these charming plants with fellow gardeners. Be observant, be patient, and most importantly, enjoy the journey of nurturing new life from your own garden. Happy propagating!
Resource:
https://identify.plantnet.org/k-world-flora/species/Lewisia%20longipetala%20(Piper)%20S.Clay/data