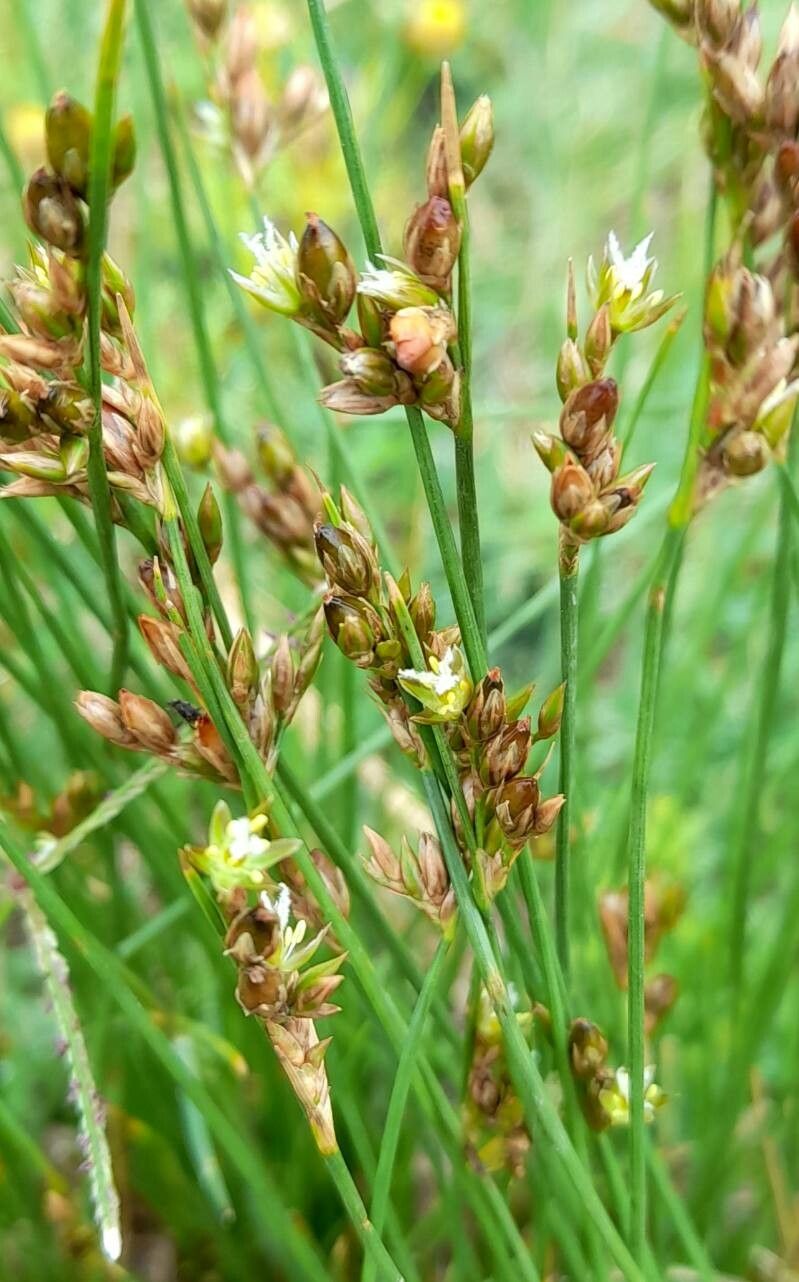
Well hello there, fellow plant lovers! I’m so glad you’ve stopped by for a chat. Today, we’re diving into the wonderful world of Juncus dichotomus, or as I sometimes affectionately call it, the “switchgrass juncus” for its gracefully arching stems. This little beauty is a real gem for any garden, especially if you have a moist spot or a bog garden. Its fine, airy foliage brings a lovely texture, and the subtle, almost insignificant flowers do have a charm all their own.
Propagating Juncus dichotomus is a truly rewarding endeavor. There’s something incredibly satisfying about nurturing a tiny new plant from a piece of its parent. And the best part? I find it’s quite forgiving, making it a great plant for beginners looking to dip their toes into propagation. You’ll be surprised at how quickly you can fill that empty corner of your garden or share a piece of your green haven with friends.
The Best Time to Start
For Juncus dichotomus, the sweet spot for propagation is generally in the late spring or early summer. Think of it as when everything is bursting with life and energy. The plant is actively growing after winter, and temperatures are warm enough to encourage good root development without being excessively hot and dry. You’ll have the best success if you’re taking divisions or cuttings when the plant is healthy and vigorously putting on new growth.
Supplies You’ll Need
Gathering your tools beforehand makes the whole process smoother. Here’s what I like to have on hand:
- Sharp Pruning Shears or a Clean Knife: For making clean cuts.
- Small Pots or Trays: Clean ones are essential to prevent disease.
- Well-Draining Potting Mix: A good starting point is a mix of peat moss, perlite, and a bit of compost. For Juncus, I often lean towards a mix that retains a good amount of moisture but still drains well, so I might add a bit more peat or coir.
- Rooting Hormone (Optional, but helpful): A powdered or gel form can speed up root formation.
- Watering Can or Spray Bottle: For gentle watering.
- Labels and a Marker: To keep track of what you’ve planted and when.
Propagation Methods
Juncus dichotomus is most easily propagated through division, and it’s my go-to method. Cuttings are possible, but division is usually more straightforward for this particular plant.
Division: Your Best Bet
- Prepare Your Parent Plant: First, gently water your Juncus dichotomus plant a day or two before you plan to divide it. This helps the soil cling to the roots, making them easier to handle.
- Gently Excavate: Carefully dig up the entire plant from its pot or the ground. You want to expose the root ball.
- The Divide: Inspect the root ball. You’ll likely see distinct clumps or sections already forming. Insert your hands or a clean spade, and gently pull the plant apart into smaller sections. Each section should have a healthy amount of roots and some healthy foliage. If the roots are densely tangled, using your sharp pruning shears or knife to cut through them is perfectly acceptable. Just aim for divisions with at least a few strong stems and roots.
- Pot Up Your New Babies: Fill your clean pots with your prepared potting mix. Make a small well in the center of each pot and place your new divisions in. Firm the soil gently around the roots, ensuring they are well-covered. Plant them at roughly the same depth they were growing before.
- Water Gently: Water thoroughly after planting. You want the soil to be moist but not waterlogged.
The “Secret Sauce” (Pro Tips)
Here are a couple of things I’ve learned over the years that can really give your Juncus propagation an extra boost:
- Don’t Be Afraid of Moisture: Remember, Juncus loves a bit of dampness. When you’ve potted up your divisions, keep the soil consistently moist but not soggy. A good trick is to place the pots on a saucer filled with a little water, allowing the soil to wick up what it needs. This mimics their natural habitat beautifully.
- Think About a “Warm Bed”: While not absolutely essential for Juncus, if you’re propagating in cooler weather, providing a bit of gentle bottom heat can really speed things up. This could be a heating mat designed for plants. The warmth encourages those roots to get going faster, giving your new plants a stronger start.
Aftercare & Troubleshooting
Once your divisions are planted, give them some bright, indirect light. Direct sun can be a bit harsh for these young plants while they’re establishing. Keep that soil consistently moist. You should start to see new growth emerging within a few weeks.
The most common sign of trouble is rot. If your new divisions are looking limp, yellowing excessively, or have a mushy stem base, it’s usually a sign of too much moisture without enough air circulation. In this case, you might need to ease up on the watering, ensure your pot has good drainage holes, and perhaps even try to unpot it and let the roots air out a bit before repotting in fresh, slightly drier mix. If you used too much rooting hormone, it can also burn the roots, so always follow the manufacturer’s instructions.
A Warm Encouraging Closing
Propagating plants is a journey, and like any good journey, it’s best enjoyed one step at a time. Be patient with your new Juncus dichotomus babies. They’ll take a little time to settle in and show you their true potential. Don’t be discouraged if a division doesn’t take; nature has its own rhythm, and every attempt is a learning experience. So, get your hands dirty, enjoy the process, and soon you’ll have a whole patch of this lovely grass to admire! Happy gardening!
Resource:
https://identify.plantnet.org/k-world-flora/species/Juncus%20dichotomus%20Elliott/data