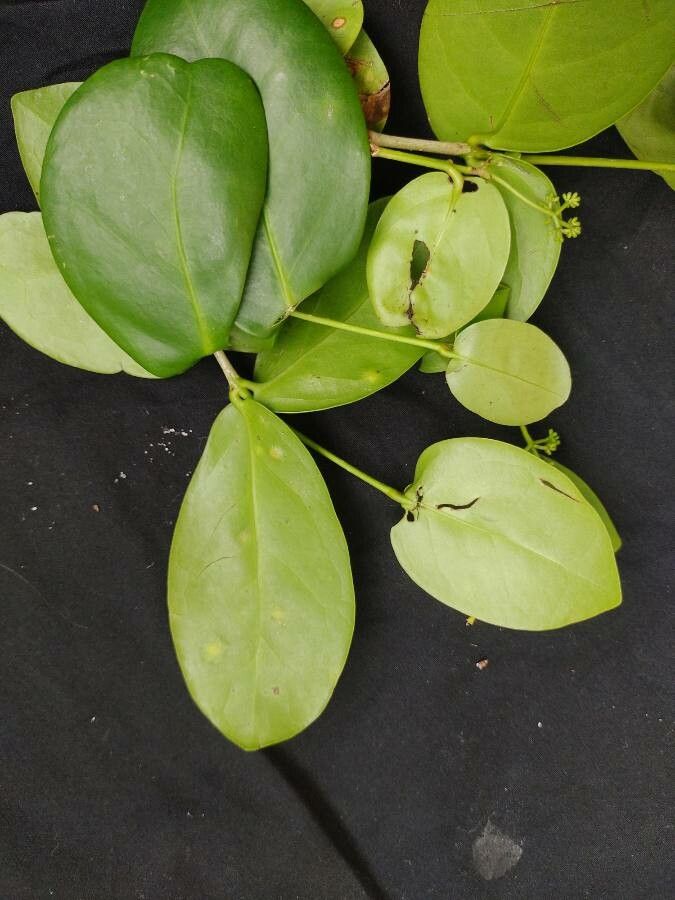
Hello fellow plant lovers! Today, I want to chat about a truly delightful plant: Guapira pernambucensis, often known by its common name, Brazilian Holly or Coastal Holly. If you’re looking for a touch of the tropics with a dash of elegance, this is your gal. Its glossy, deep green leaves and often vibrant berries make for a stunning addition to any garden or indoor space. And the best part? She’s wonderfully rewarding to propagate! For beginners, I’d say she’s moderately easy. A little patience goes a long way, and with the right approach, you’ll be sharing these beauties with friends in no time.
The Best Time to Start
When it comes to coaxing new life from your Guapira, spring and early summer are your golden windows. This is when the plant is in its most vigorous growth phase. You want to take cuttings from stems that are semi-hardwood. This means they’re not brand new and super soft, but also not old and woody. Think of a pencil – firm, but with a little bend. This stage offers the best balance for successful rooting.
Supplies You’ll Need
Gathering your tools before you begin makes the whole process much smoother. Here’s what I always have on hand:
- Sharp Pruning Shears or Knife: Cleanliness is key!
- Rooting Hormone: A powder or gel for enhanced root development.
- Potting Mix: A light, well-draining mix. I like a blend of peat moss, perlite, and a little bit of compost. A good quality seed-starting mix also works well.
- Small Pots or Trays: Clean, with drainage holes.
- Plastic Bags or Clear Domes: To create a humid environment.
- Watering Can or Mister: For gentle watering.
- Labels: To keep track of what you’ve propagated!
Propagation Methods
Let’s get our hands dirty! I find stem cuttings to be the most reliable method for Guapira pernambucensis.
Stem Cuttings:
- Take Cuttings: In spring or early summer, select healthy, semi-hardwood stems. Using your sharp, clean pruning shears or knife, cut stems that are about 4-6 inches long. Make your cut just below a leaf node (where a leaf attaches to the stem).
- Prepare the Cuttings: Gently remove the lower leaves from the stem, leaving just the top 2-3 leaves. If the remaining leaves are very large, you can cut them in half to reduce water loss.
- Apply Rooting Hormone: Dip the cut end of each stem into your rooting hormone. Tap off any excess. This step is crucial for encouraging robust root growth.
- Plant the Cuttings: Fill your clean pots or trays with your prepared potting mix. Make a small hole in the center of the mix with your finger or a pencil.
- Insert and Firm: Place the prepared cutting into the hole, ensuring the rooting hormone-coated end is covered. Gently firm the soil around the base of the cutting to ensure good contact.
- Water Gently: Water the potting mix thoroughly but gently. You don’t want to dislodge the cuttings.
- Create Humidity: Place a plastic bag over the pot, securing it with a rubber band, or use a clear plastic dome. This creates a miniature greenhouse, keeping the humidity high and preventing the cuttings from drying out. Make sure the bag doesn’t touch the leaves too much.
- Place in Bright, Indirect Light: Find a spot that gets bright, indirect light. Avoid direct sunlight, which can scorch the delicate cuttings.
The “Secret Sauce”
Here are a couple of tricks I’ve learned over the years that really make a difference:
- Bottom Heat is Your Friend: If your propagating area tends to be cooler, consider using a seedling heat mat placed under your pots. This gentle warmth encourages root development from below, significantly boosting your success rate, especially in cooler months.
- Don’t Let Leaves Drip: When misting or watering your cuttings, avoid letting water sit on the leaves for extended periods. This can encourage fungal diseases. A light mist or watering the soil directly is best. If you do notice water pooling, gently blot it dry with a paper towel.
Aftercare & Troubleshooting
Once your cuttings have been planted, patience is key! Check for signs of rooting by gently tugging on the cutting after about 4-6 weeks. If you feel resistance, roots have likely formed. You’ll also start to see new growth appearing at the tips, which is a fantastic sign.
Once roots are established, you can gradually acclimate your new plant to normal room humidity by opening the plastic bag or dome for increasing periods over a week. Water when the top inch of soil feels dry.
Now, about troubleshooting. The most common issue you’ll face is rot. If your cutting turns black and mushy, it’s usually a sign of too much moisture and not enough air circulation. Unfortunately, a rotten cutting can’t be saved. The key is to prevent it by ensuring well-draining soil and avoiding overwatering. If a cutting simply fails to root and looks limp but not rotten, it might not have gotten enough warmth or humidity. Don’t be discouraged! Try again.
A Closing Thought
Propagating plants is such a wonderful way to connect with nature and expand your green collection. Seeing a new Guapira sprout its own roots is incredibly satisfying. Remember to be patient, celebrate the small victories, and enjoy the entire process. Happy propagating!
Resource: