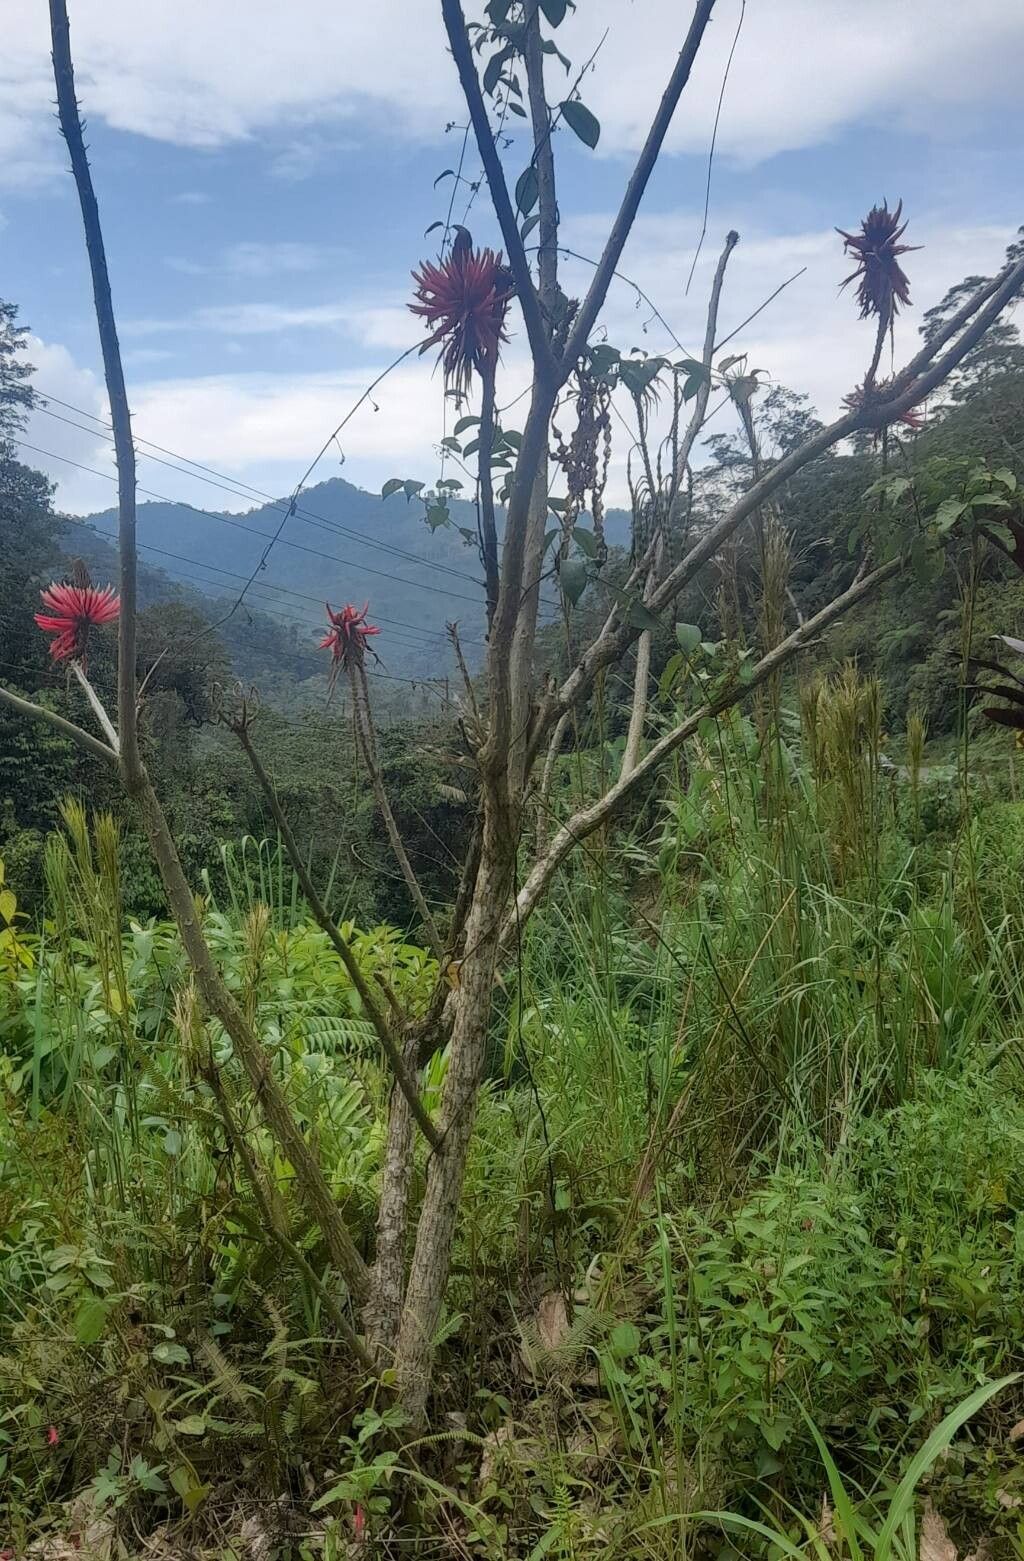
Hello there, fellow plant enthusiasts! Today, we’re diving into the world of a truly spectacular plant: Erythrina amazonica. You might know it by its common name, the Coral Tree, and believe me, its vibrant coral-red blossoms are absolutely breathtaking. There’s something incredibly fulfilling about coaxing new life from an existing plant, and with the Coral Tree, that reward is amplified by the sheer beauty of its potential offspring.
Now, I know some propagation can feel a bit daunting, especially for newcomers. But I’m happy to say that Erythrina amazonica is generally quite forgiving. With a little patience and the right approach, you’ll be well on your way to success. It’s a fantastic plant for experimenting with, and I truly think you’ll enjoy the journey.
The Best Time to Start
For the highest success rate, the spring is your golden ticket. Specifically, aim for when new growth is actively emerging. This vigorous stage means the plant has plenty of energy to direct towards rooting. I usually start my propagation efforts right after the last frost has passed and the days are getting noticeably warmer.
Supplies You’ll Need
Gathering your tools beforehand makes the whole process smoother. Here’s what I’ve found indispensable:
- Sharp pruning shears or a clean knife.
- A good quality potting mix. I like a blend that’s well-draining, perhaps a mix of peat moss, perlite, and a bit of compost.
- Small pots or containers for your cuttings.
- Rooting hormone (optional, but it gives a nice boost).
- A spray bottle for misting.
- Labels or markers to keep track of your propagated plants.
- A clear plastic bag or propagation dome to create a humid environment.
Propagation Methods
There are a couple of ways to go about this, but I find stem cuttings to be the most reliable.
Stem Cuttings:
- Select your cutting: Look for healthy, semi-hardwood stems on your established Coral Tree. These are stems that are not brand new and soft, but also not old and woody. You want a length of about 6-8 inches. Make sure your cutting has at least two to three leaf nodes (the little bumps where leaves grow).
- Make the cut: Using your clean pruning shears or knife, make a clean cut just below a leaf node. This is where the magic tends to happen.
- Prepare the cutting: Gently remove any lower leaves, leaving just a couple at the very top. This reduces water loss. If you’re using rooting hormone, dip the cut end into it now, tapping off any excess.
- Plant your cutting: Fill your small pots with your well-draining potting mix. Make a little hole in the center with your finger or a pencil. Insert the cut end of your stem cutting into the hole, ensuring at least one node is buried. Gently firm the soil around it.
- Create a humid environment: Water the soil lightly. Then, place the pot inside a clear plastic bag, forming a mini-greenhouse. You can also use a propagation dome. Make sure the leaves aren’t directly touching the plastic.
Water Propagation (Less common for Erythrina, but an option to experiment with):
If you’re feeling adventurous, you can try water propagation. Take a cutting as described above, but instead of planting it, place the cut end in a jar or vase of water. Ensure no leaves are submerged. You’ll want to change the water every few days to keep it fresh. Once adequate roots have formed (usually a few inches long), you can then transplant it into soil.
The “Secret Sauce” (Pro Tips)
Here are a few things I’ve learned over the years that make a real difference:
- Bottom Heat is Your Friend: While not strictly essential, placing your pots on a gentle heat mat can significantly speed up the rooting process. It mimics the warmth of spring soil and really encourages root development. If you don’t have a heat mat, a warm windowsill can work, but watch out for direct, scorching sun.
- Don’t Overwater! This is crucial. Cuttings sitting in waterlogged soil are magnets for rot. The soil should be consistently moist, not soggy. I always tell people to check the soil moisture with their finger. If the top inch feels dry, then it’s time to give it a light watering or misting.
- A Little Airflow Goes a Long Way: Even though we’re creating a humid environment with the plastic bag, you’ll want to open the bag for a few minutes each day or every couple of days. This allows for some air circulation, which helps prevent fungal issues.
Aftercare & Troubleshooting
Once your cuttings have started to show signs of rooting – think new leaf growth or a gentle tug resistance when you very lightly pull on it – they’re ready for a little more independence. Gradually acclimate them to drier air by opening the plastic bag for longer periods over a week. Continue to water when the top inch of soil feels dry.
The most common sign of failure is rot. If your cutting turns black and mushy, or the leaves start to yellow and drop for no apparent reason, it’s likely due to overwatering or poor air circulation. Don’t be discouraged if you lose a few; it happens to all of us! Another sign of trouble is if the cutting simply refuses to do anything after several weeks. This often means it just didn’t take.
A Encouraging Closing
Propagating plants is a journey of patience and observation. Celebrate every little success, and don’t be too hard on yourself if things don’t go perfectly the first time. The act of nurturing new life is incredibly rewarding, and with your beautiful Erythrina amazonica, the results are truly spectacular. Happy propagating!
Resource:
https://identify.plantnet.org/k-world-flora/species/Erythrina%20amazonica%20Krukoff/data