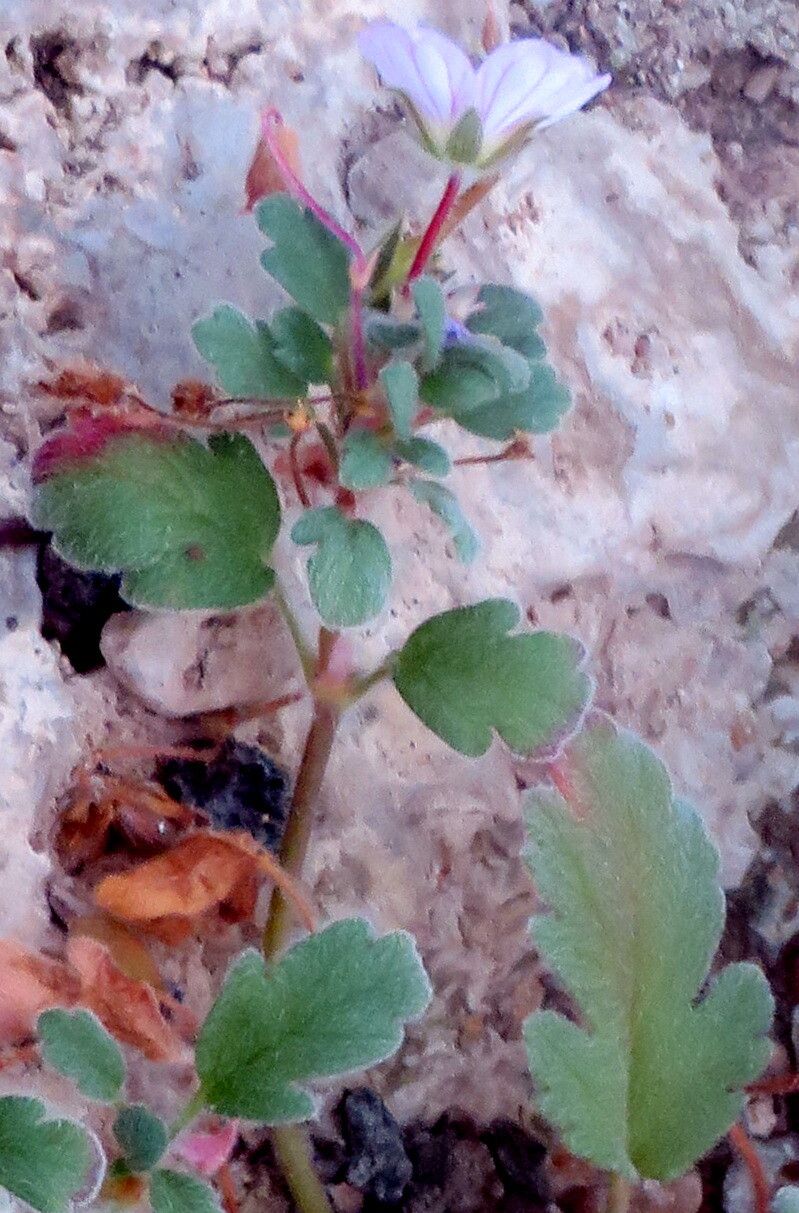
Hello fellow garden enthusiasts! Today, we’re diving into the delightful world of Erodium corsicum, often called Corsican stork’s-bill. If you’re a fan of delicate, daisy-like flowers in shades of pink and white, often with a lovely purple veining, and love plants that seem to thrive with a bit of neglect (my kind of plant!), then Erodium corsicum is for you. It has this charming, low-growing, mat-forming habit that’s just perfect for rock gardens, borders, or even spilling over the edges of a terracotta pot.
Propagating Erodium corsicum is a truly rewarding endeavor. It’s how I fill up my own garden and share these beauties with friends. For those of you just starting out on your propagation journey, I’d say Erodium corsicum falls into the moderately easy category. It’s not quite as foolproof as a succulent, but with a little attention, you’ll be amazed at how readily it responds.
The Best Time to Start
When it comes to giving your cuttings the best possible start, late spring to early summer is generally your golden window. This is when the plant is actively growing and has plenty of fresh, new stems that are neither too woody nor too soft. You’re looking for stems that snap cleanly, rather than bend.
Supplies You’ll Need
Gathering your tools beforehand makes the whole process much smoother. Here’s what I always have on hand:
- A clean pair of sharp pruning shears or a sharp knife.
- A well-draining potting mix. I like a blend of about 50% perlite and 50% high-quality potting soil, or even a dedicated cactus/succulent mix.
- Small pots or seed trays with drainage holes.
- A rooting hormone (optional, but it can give your cuttings a nice boost). I prefer a powder form.
- A plastic bag or propagation dome to create a humid environment.
- Labels to keep track of your plants.
- A spray bottle filled with water.
Propagation Methods
I find stem cuttings to be the most reliable way to propagate Erodium corsicum. It’s straightforward and yields great results.
- Taking the Cuttings: Using your clean shears or knife, select a healthy, non-flowering shoot from your parent plant. Cut a piece about 3-4 inches long. Make the cut just below a leaf node (where a leaf attaches to the stem).
- Preparing the Cuttings: Gently remove the lower leaves from the cutting, leaving just a few at the top. This helps prevent them from rotting when placed in the soil.
- Applying Rooting Hormone (Optional): If you’re using rooting hormone,dip the cut end of the stem into the hormone, tapping off any excess.
- Planting the Cuttings: Fill your small pots or trays with your well-draining potting mix. Make a small hole in the center of the soil with your finger or a pencil. Insert the cut end of the stem into the hole, ensuring that the leaf nodes you stripped are buried. Gently firm the soil around the cutting.
- Watering and Humidifying: Lightly mist the cuttings with your spray bottle. Then, cover the pots with a plastic bag or place them under a propagation dome. This creates a mini-greenhouse effect, keeping the humidity high, which is crucial for root development.
The “Secret Sauce” (Pro Tips)
Over the years, I’ve picked up a few tricks that really seem to make a difference for these little fellas.
- Don’t let the leaves touch the water/soil surface unnecessarily. When you’re preparing your cuttings, making sure the lower leaves are above the soil line is key. If leaves sit right on damp soil or in standing water, they’re prime candidates for fungal issues.
- Bottom heat is your friend. If you have a heat mat, placing your pots on it can significantly speed up root formation. It mimics the warmth of spring and early summer soil, encouraging those roots to emerge more quickly. It’s not strictly necessary, but it’s a lovely little accelerator.
- Be patient with watering. Once the cuttings are in the pot and covered, you only need to water sparingly. The humidity inside the bag will keep them moist. Check the soil moisture by gently touching the surface – if it feels dry, a light misting is usually enough. Overwatering is the quickest way to invite rot.
Aftercare & Troubleshooting
Once your cuttings have been planted, place them in a bright, but indirect light location. Avoid direct, scorching sun, as this can scorch the delicate new growth.
Keep an eye on your cuttings. You should start to see signs of new growth, like tiny leaves emerging from the tip, within 3-6 weeks. The best indicator that roots have formed is when the cutting feels resistant when you gently tug on it.
The most common issue you might encounter is rot. If a cutting turns mushy, black, or wilts dramatically and doesn’t perk up after a gentle mist, it has likely succumbed to rot. This is usually a sign of too much moisture or poor air circulation. If you see this happening, remove the affected cutting immediately to prevent it from spreading to others. Sometimes, a cutting just won’t take. Don’t be discouraged by the occasional failure – it happens to all of us! It just means you get to try again.
Once your cuttings have a good root system and show robust new growth, you can gradually acclimate them to lower humidity. This means slowly opening the plastic bag or propagation dome over a few days. Once they’re happy outside the dome, you can transplant them into their own individual pots if they aren’t already.
A Encouraging Closing
Propagating plants is a wonderful way to connect with the natural world and expand your garden on a budget. With Erodium corsicum, you’re not just growing more plants; you’re cultivating patience and gaining confidence with each new little sprout. So, gather your supplies, get your hands in the soil, and enjoy the magical process of coaxing new life from a simple stem. Happy gardening!
Resource:
https://identify.plantnet.org/k-world-flora/species/Erodium%20corsicum%20Léman%20ex%20DC./data