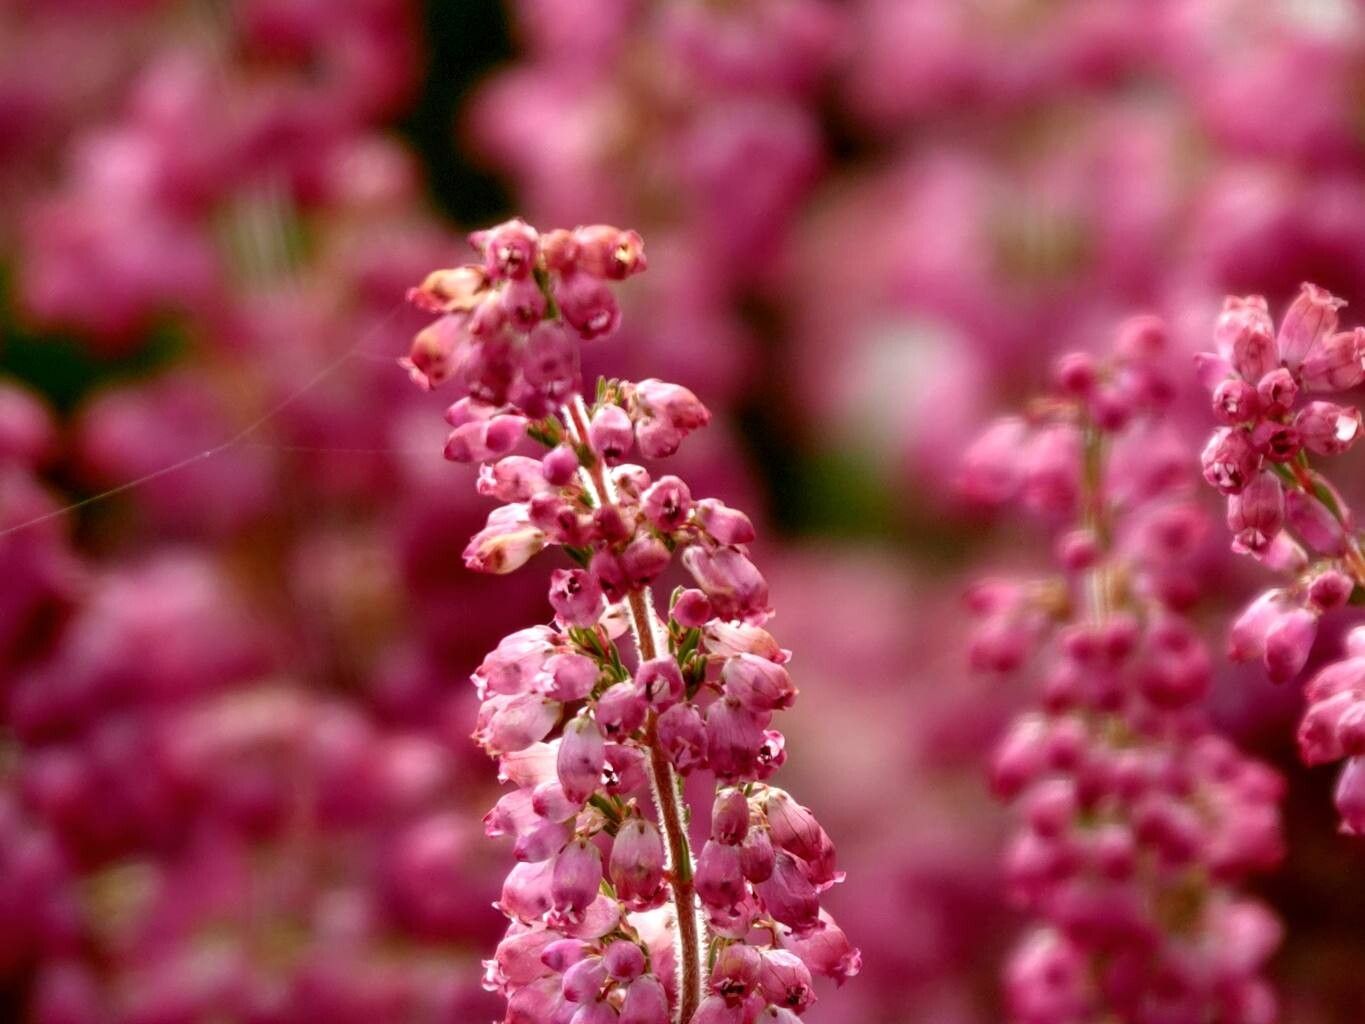
Hello fellow garden enthusiasts! I’ve got a real treat for you today, and it’s all about Erica gracilis, often called the Pink Heather or Autumn Heather. If you haven’t grown this beauty, you’re missing out. Its delicate, bell-shaped flowers bring such a soft splash of color to the garden, especially when other blooms are starting to fade. Propagating it yourself? Well, that’s a truly rewarding endeavor. It’s not the absolute easiest plant to start from scratch, but with a little patience and these tips, I think you’ll find it quite manageable.
The Best Time to Start
For Erica gracilis, timing is key. The ideal window for taking cuttings is during the late spring to early summer. This is when the plant is actively growing, and the new shoots have started to mature just enough to be a good candidate for propagation. You want a stem that’s a bit firm, not floppy and brand new, but also not woody and old. Think of it like a pencil – firm, but not rock hard!
Supplies You’ll Need
Gathering your tools before you start makes the whole process so much smoother. Here’s what I like to have on hand:
- Sharp, clean pruning shears or a sharp knife: Cleanliness is crucial to prevent disease.
- Rooting hormone powder or gel: This isn’t strictly mandatory, but it significantly boosts your success rate.
- A good propagating medium: I swear by a mix of 50% perlite and 50% peat moss or coco coir. It needs to be light, airy, and drain well. Avoid heavy garden soil.
- Small pots or trays: Clean ones are a must!
- A plastic bag or propagation dome: To maintain humidity.
- Water mister: For keeping things nice and damp.
- Labels: So you don’t forget what you planted where!
Propagation Methods: Stem Cuttings
This is generally the most successful way to propagate Erica gracilis.
- Select Your Parent Plant: Find a healthy, vigorous Erica gracilis plant. Look for stems that are about 4-6 inches long and have a slight bend to them.
- Take Your Cuttings: Using your sharp, clean shears, make a clean cut just below a leaf node (the point where leaves attach to the stem). Try to take several cuttings – not all of them will make it, and this increases your chances.
- Prepare the Cuttings: Gently strip off the leaves from the bottom half to two-thirds of each cutting. This prevents them from rotting in the soil and exposes the nodes where roots will form.
- Apply Rooting Hormone: Dip the cut end of each prepared cutting into your rooting hormone. Tap off any excess. The hormone helps stimulate root development.
- Plant Your Cuttings: Fill your clean pots or trays with your propagating mix. Make a small hole in the center with a pencil or your finger. Firmly insert the bottom of each cutting into the hole, ensuring the nodes are buried. Gently firm the soil around the base of the cutting.
- Water Gently: Water the mix thoroughly but gently after planting. You want the medium to be moist, not waterlogged.
- Create a Humid Environment: Place the pots or trays into a plastic bag or cover with a propagation dome. This creates that essential high-humidity environment that cuttings need to thrive before they develop their own root systems. Keep it out of direct sunlight.
The “Secret Sauce”
Here are a few tricks that have made all the difference for me:
- Bottom Heat is Your Friend: If you have a heat mat, place your pots on it. This gentle warmth from below encourages root development much faster than ambient room temperature. It’s like giving your cuttings a cozy little spa treatment.
- Misting is More, Not Less: Don’t be shy with the mister. Daily misting, or even twice a day in very dry conditions, is key to keeping those leaves turgid and signaling to the cutting that it’s time to grow roots. The moisture on the leaves helps them photosynthesize a bit while they’re still rooting.
- Patience with the “Wilting” Phase: Newly taken cuttings often look a bit sad and droopy for a few days. This is normal! As long as the leaves are still green and you’ve maintained good humidity, they’re likely just getting settled before they start their rooting journey. Don’t despair too soon!
Aftercare & Troubleshooting
Once your cuttings have been in their humid environment for about 4-8 weeks, it’s time to check for roots. You can gently tug on a cutting; if you feel resistance, you likely have roots!
- Gradual Acclimatization: If you’ve used a bag or dome, gradually remove it over a few days. This helps the new plants adjust to lower humidity before you pot them up individually.
- Potting Up: Once roots are established, you can pot each cutting into its own small pot using a well-draining potting mix, similar to what you’d use for mature heather plants.
- Watering: Water consistently, allowing the soil to dry out slightly between waterings.
- Common Signs of Failure: The most common issue is rot. If your cuttings turn black and mushy, it’s usually a sign of too much moisture and not enough aeration, or a lack of ventilation under the plastic. Another sign is if the cuttings remain completely limp and unresponsive for weeks on end – they simply might not have rooted. Don’t be discouraged; just try again!
A Encouraging Closing
And there you have it! Propagating Erica gracilis is a wonderful way to expand your collection or share these charming plants with friends. Remember, gardening is a journey of learning and discovery. Be patient with your little cuttings, celebrate every tiny root you find, and most importantly, enjoy the process. Happy propagating!
Resource:
https://identify.plantnet.org/k-world-flora/species/Erica%20gracilis%20J.C.Wendl./data