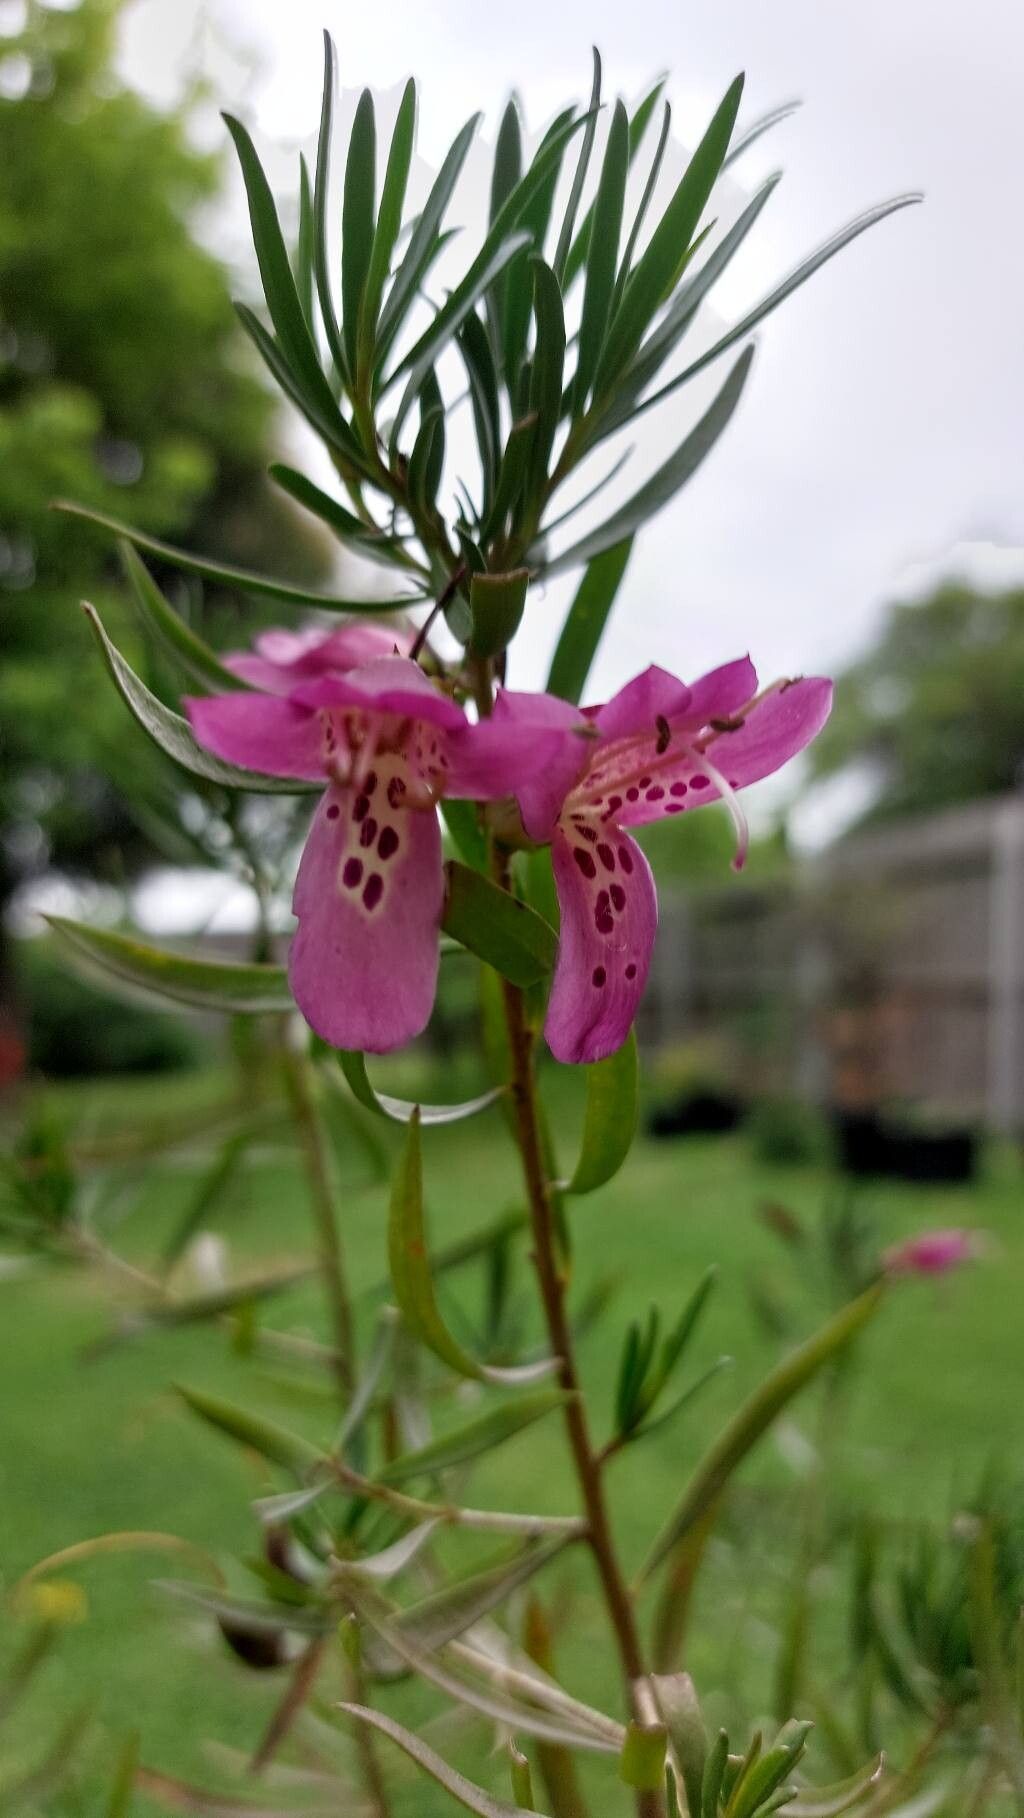
Hello fellow garden enthusiasts! Today, I want to chat about a truly delightful shrub that’s often a standout in Australian gardens: Eremophila oppositifolia, commonly known as the opposing-leaved Eremophila. I’ve been growing these beauties for a couple of decades now, and believe me, there’s something incredibly special about multiplying them yourself. They offer such vibrant blooms, and seeing a tiny cutting develop into a thriving plant is a joy that never fades.
Now, if you’re new to propagation, you might be wondering if Eremophila oppositifolia is a good place to start. I’d say it’s moderately easy. It’s not as foolproof as, say, a succulent, but with a little patience and attention, you’ll be successful. The reward of a new plant, grown from your own hands, is absolutely worth it.
The Best Time to Start
For the best chance of success, I almost always go for softwood or semi-hardwood cuttings taken in late spring or early summer. This is when the Eremophila is actively growing, but the stems have started to firm up a little. Think of it as the perfect moment – not too floppy, not too woody. You can also try in early autumn, but I find spring just gives them that extra boost.
Supplies You’ll Need
Before we get our hands dirty, let’s gather our tools:
- Sharp pruning shears or a clean, sharp knife: For making neat cuts.
- Rooting hormone powder: This is a crucial friend for Eremophila.
- A well-draining potting mix: I like a blend of coarse sand, perlite, and a good quality seed-starting mix. You want it to drain like a sieve!
- Small pots or seed trays: Clean ones are important to prevent disease.
- Plastic bags or a propagation dome: To create a humid environment.
- Gravel or grit: For improving drainage in the pots.
- Watering can with a fine rose: For gentle watering.
Propagation Methods: Taking Cuttings
This is my go-to method for Eremophila oppositifolia.
- Select your stems: Look for healthy, non-flowering shoots. They should be about 10-15 cm long.
- Make the cut: Using your clean shears or knife, make a clean cut just below a leaf node. This is where the best rooting action happens.
- Prepare the cutting: Gently strip off the lowest leaves. If the remaining leaves are very large, I often cut them in half horizontally. This reduces water loss through transpiration.
- Apply rooting hormone: Dip the cut end into your rooting hormone powder, tapping off any excess.
- Pot them up: Fill your pots with your prepared free-draining mix, adding a layer of gravel at the bottom if your pots don’t have good drainage holes. Make a small hole with a pencil and insert the cutting, firming the soil gently around it.
- Create humidity: Water your cuttings thoroughly and then cover them with a plastic bag or place them under a propagation dome. Ensure the bag doesn’t touch the leaves too much – this can lead to rot.
The “Secret Sauce” (Pro Tips)
Here are a few things I’ve learned over the years that can really make a difference:
- Bottom Heat is Your Friend: If you can, place your pots on a heated propagation mat. This warmth really encourages those roots to form. It’s like giving them a warm bed to develop in!
- Don’t Drown Your Newbies: While we want humidity, we don’t want soggy soil. If your propagation mix stays wet for too long, you’ll quickly get rot. I often water the cuttings in well initially, and then only lightly mist the leaves every few days if they look dry, ensuring the soil itself isn’t saturated.
- Patience, Patience, Patience: Eremophila can be a bit slow to root. Don’t be tempted to pull them up too early to check for roots. I usually leave them for at least 6-8 weeks, and often longer. Trust the process!
Aftercare & Troubleshooting
Once you see signs of new growth – a tiny leaf unfurling or a slight tug resistance when gently jiggled – it’s a good sign that roots are forming!
- Gradual Acclimation: Slowly introduce your cuttings to fresh air by opening the plastic bag or propagation dome for increasing periods each day. This helps them adjust to drier conditions.
- Gentle Watering: Continue to water them when the top inch of soil feels dry. Avoid overwatering at all costs.
- Light: Place your newly rooted cuttings in a bright spot out of direct, harsh sunlight.
- Troubleshooting: The most common issue you’ll face is rot. If you see your cutting turning black and mushy, it’s likely because it’s too wet. Unfortunately, at that stage, it’s usually too late. Prevention through good drainage and avoiding overwatering is key. Yellowing leaves can sometimes indicate poor drainage or insufficient light.
So there you have it! Propagating Eremophila oppositifolia is a wonderfully rewarding endeavor. Don’t get discouraged if your first attempt isn’t perfect. Each cutting is a learning experience. Be patient, observe your plants, and before you know it, you’ll have a whole new collection to enjoy and share. Happy propagating!
Resource:
https://identify.plantnet.org/k-world-flora/species/Eremophila%20oppositifolia%20R.Br./data