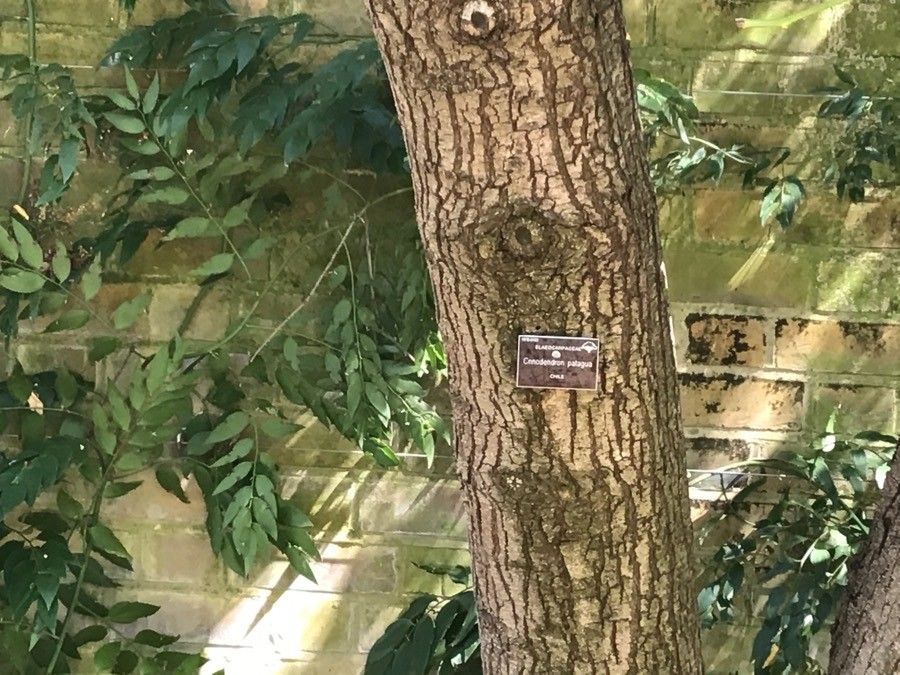
Oh, Crinodendron patagua! Isn’t it just a dream? Those delicate, lantern-shaped flowers hanging like little jewels from its glossy, evergreen foliage – it’s truly a showstopper in any garden. Seeing one of these beauties thrive is one thing, but growing your own from scratch? That’s a whole other level of garden joy. And while I wouldn’t exactly call it a “beginner’s plant” for propagation, it’s definitely achievable with a little guidance and patience. Think of me as your plant-minded coffee buddy, ready to spill the beans!
The Best Time to Start
For Crinodendron patagua, softwood cuttings taken in late spring to early summer are your golden ticket. This is when the plant is actively growing, and those young, flexible stems have the best chance of taking root. Think of it like this: it’s a time of energy and growth, and your cuttings will tap into that beautifully.
Supplies You’ll Need
Here’s what you’ll want to gather before we get our hands dirty:
- Sharp pruning shears or a clean craft knife: For making precise cuts.
- Rooting hormone: A powdered or gel form works wonders.
- Well-draining potting mix: I like a blend of 50% peat moss or coco coir and 50% perlite or coarse sand. Some folks even use a bit of fine bark fines for structure.
- Small pots or propagation trays: Clean ones are key!
- Plastic bags or a propagator lid: To create a humid environment.
- Spray bottle: For misting.
- Optional but highly recommended: A heat mat: This can significantly speed up rooting.
Propagation Methods: Stem Cuttings
This is my go-to method for Crinodendron patagua, and I’ve had the most success with it.
- Select Your Cuttings: Look for healthy, non-flowering shoots that are about 4-6 inches long. They should be flexible, not woody and stiff. Gently bend a stem – if it snaps cleanly, it’s likely too woody. If it bends too much without breaking, it’s probably too soft. You’re looking for that happy medium.
- Make the Cut: Using clean secateurs or a sharp knife, take cuttings just below a leaf node. A leaf node is where a leaf attaches to the stem; this is where the magic happens for root formation.
- Prepare the Cuttings: Carefully remove the lower leaves, leaving just 2-3 leaves at the tip. This reduces water loss. If the remaining leaves are very large, I like to snip them in half horizontally to further decrease transpiration.
- Apply Rooting Hormone: Dip the cut end of each cutting into your rooting hormone, ensuring it’s coated. Tap off any excess.
- Pot Them Up: Fill your clean pots or trays with your prepared potting mix. Make a small hole with a pencil or your finger for each cutting. Insert the cuttings, ensuring the hormone-coated end is in the soil. Gently firm the soil around them.
- Create Humidity: Water the soil thoroughly until it drains from the bottom. Then, cover the pots with a clear plastic bag or place them in a propagator. Ensure the plastic doesn’t touch the leaves of the cuttings too much.
The “Secret Sauce” (Pro Tips)
Here are a couple of things I’ve learned over the years that make a real difference:
- Bottom Heat is Your Friend: Crinodendron patagua absolutely loves a little warmth from below. Placing your pots on a heated propagator mat set to around 70-75°F (21-24°C) will dramatically speed up the rooting process. It mimics the natural warmth of summer soil.
- Don’t Overwater, but Keep it Consistent: While we want humidity, soggy soil is the quickest way to rot. The goal is consistently moist, not wet. Check the soil regularly. If it feels dry an inch down, give it a gentle misting or a light watering.
Aftercare & Troubleshooting
Once your cuttings have started to root – you’ll know this when you see new growth or gentle resistance when you tug lightly – it’s time for a little more attention.
Gradually acclimate your cuttings to less humid conditions by opening the propagator lid or the plastic bag a little each day. Once they’re looking robust and have clearly taken, you can remove the covering entirely. Continue to keep the soil moist and provide bright, indirect light.
The most common issue you’ll face is rot. If you see stems turning black and mushy, it’s a sign of too much moisture and not enough air circulation. It’s heartbreaking, but it happens. Remove any affected cuttings immediately to prevent it from spreading. There’s no coming back from rot, so prevention through good drainage and moderate watering is key.
A Little Patience, A Lot of Reward
Propagating Crinodendron patagua is a journey, my friends. There will be times you question if it’s working, and that’s okay! Celebrate every new leaf, every hint of root. Be patient with the process, embrace the learning curve, and soon enough, you’ll have a whole new generation of these magnificent plants to admire. Happy gardening!
Resource:
https://identify.plantnet.org/k-world-flora/species/Crinodendron%20patagua%20Molina/data