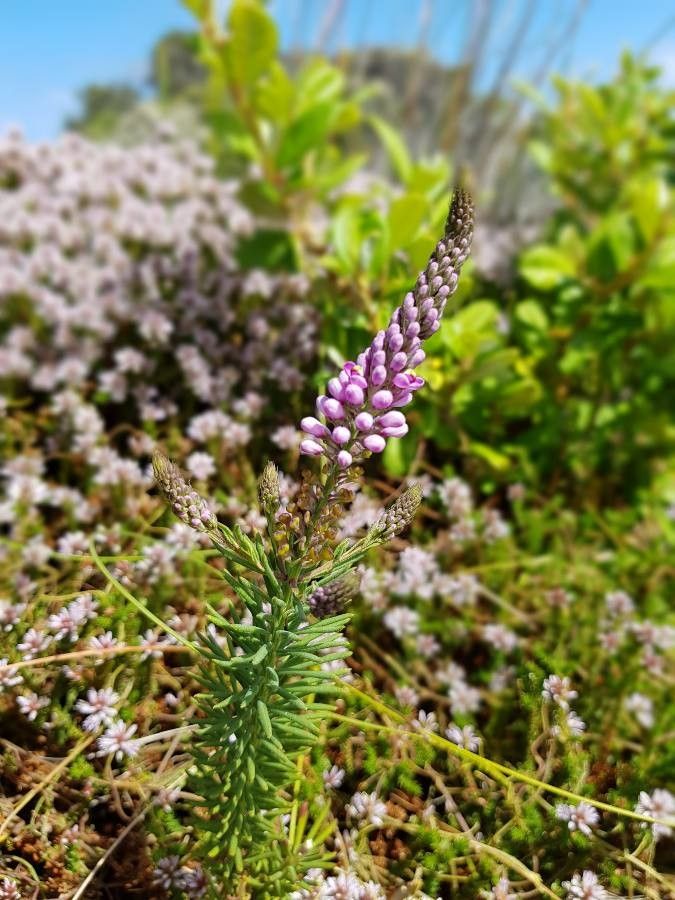
Hello fellow garden enthusiasts! I’m so excited to chat with you today about a truly beautiful native Australian, Comesperma virgatum, often called Pink Fountain or Narrow-leaved Bitter Pea. Its wispy, arching stems adorned with delicate pink to purple pea-like flowers are just enchanting, especially when they cascade over a rockery or spill from a pot. If you’ve fallen for its charms, you’ll be delighted to know that propagating it can be a very rewarding process. While not quite as beginner-proof as, say, a spider plant, with a little patience and the right approach, you’ll be well on your way to success!
The Best Time to Start
For Comesperma virgatum, the sweet spot for propagation is usually late spring or early summer. This is when the plant is actively growing, brimming with energy, and more receptive to producing new roots. You’re looking for new, semi-hardwood growth – think of stems that are firm but still have a bit of flexibility, not the totally soft, brand-new shoots or the woody, established stems.
Supplies You’ll Need
Gathering your tools beforehand makes the whole process smoother. Here’s what I usually have on hand:
- Sharp pruning shears or a clean craft knife: For taking your cuttings cleanly.
- Rooting hormone powder or gel: While not always strictly necessary for Comesperma, it can give your cuttings a helpful boost.
- Small pots or trays: With drainage holes, of course!
- A well-draining potting mix: I like a blend of perlite, peat moss or coco coir, and a little coarse sand. Some commercial seed-starting mixes also work well.
- A spray bottle: For misting the cuttings.
- A plastic bag or propagation dome: To create a mini-greenhouse effect.
- Labels: To keep track of what you’ve planted!
Propagation Methods
I’ve found stem cuttings to be the most reliable method for Comesperma virgatum.
- Taking Your Cuttings: Select a healthy mature plant. Using your sharp secateurs or knife, take cuttings that are about 10-15 cm (4-6 inches) long. Make a clean cut just below a leaf node (where a leaf attaches to the stem). Remove the lower leaves, leaving only the top few.
- Preparing the Cuttings: If you’re using rooting hormone, dip the cut end of each cutting into the powder or gel, tapping off any excess.
- Planting the Cuttings: Fill your small pots with your prepared potting mix. Make a small hole with your finger or a pencil, and gently insert the cutting, ensuring the nodes where you removed leaves are covered by the soil. Firm the soil gently around the stem.
- Creating a Humid Environment: Water the soil lightly. Then, cover the pots with a clear plastic bag or a propagation dome. This traps moisture and humidity, which is crucial for cuttings to root. You can prop up the bag with a stick or two so it doesn’t touch the leaves.
- Placement: Place the pots in a bright spot that receives indirect sunlight. Avoid direct sun, which can overheat and scorch the delicate cuttings.
The “Secret Sauce” (Pro Tips)
Here are a couple of things I’ve learned over the years that can really make a difference:
- Bottom Heat is Your Friend: If you can, pop your pots onto a heated propagation mat. This little bit of warmth from below encourages root development without overheating the developing foliage. It’s a game-changer for many fussy propagators!
- Don’t Overwater, But Keep it Humid: While humidity is key, the soil should be consistently moist, not waterlogged. Soggy conditions are a fast track to rot. I like to check the moisture level by gently pressing the soil. If it feels dry, give it a light misting or water from the bottom if possible. Remove the plastic cover for a few hours each day to allow for air circulation.
Aftercare & Troubleshooting
Once your cuttings have rooted (this can take 4-8 weeks), you’ll start to see new growth pushing out from the top. You can gently tug on a cutting to feel for resistance – a sure sign of roots!
- Acclimatizing: Once roots are well-established, gradually remove the plastic cover over a few days to let the new plant get used to normal humidity.
- Repotting: When the new plant is a good size and has a decent root system, you can repot it into a slightly larger pot with fresh potting mix.
- Common Problems: The biggest culprit is rot. If you see your cuttings wilting, turning mushy, or developing black spots, it’s usually a sign of too much moisture and not enough air circulation. If you catch it early, you might be able to salvage a cutting by trimming away the rotted parts and replanting in drier soil, but prevention is always better!
Propagating Comesperma virgatum is a wonderful way to multiply these beauties and share them with friends. Be patient with the process; nature works on its own timetable. Enjoy watching those tiny roots form and the promise of new life! Happy gardening!
Resource:
https://identify.plantnet.org/k-world-flora/species/Comesperma%20virgatum%20Labill./data